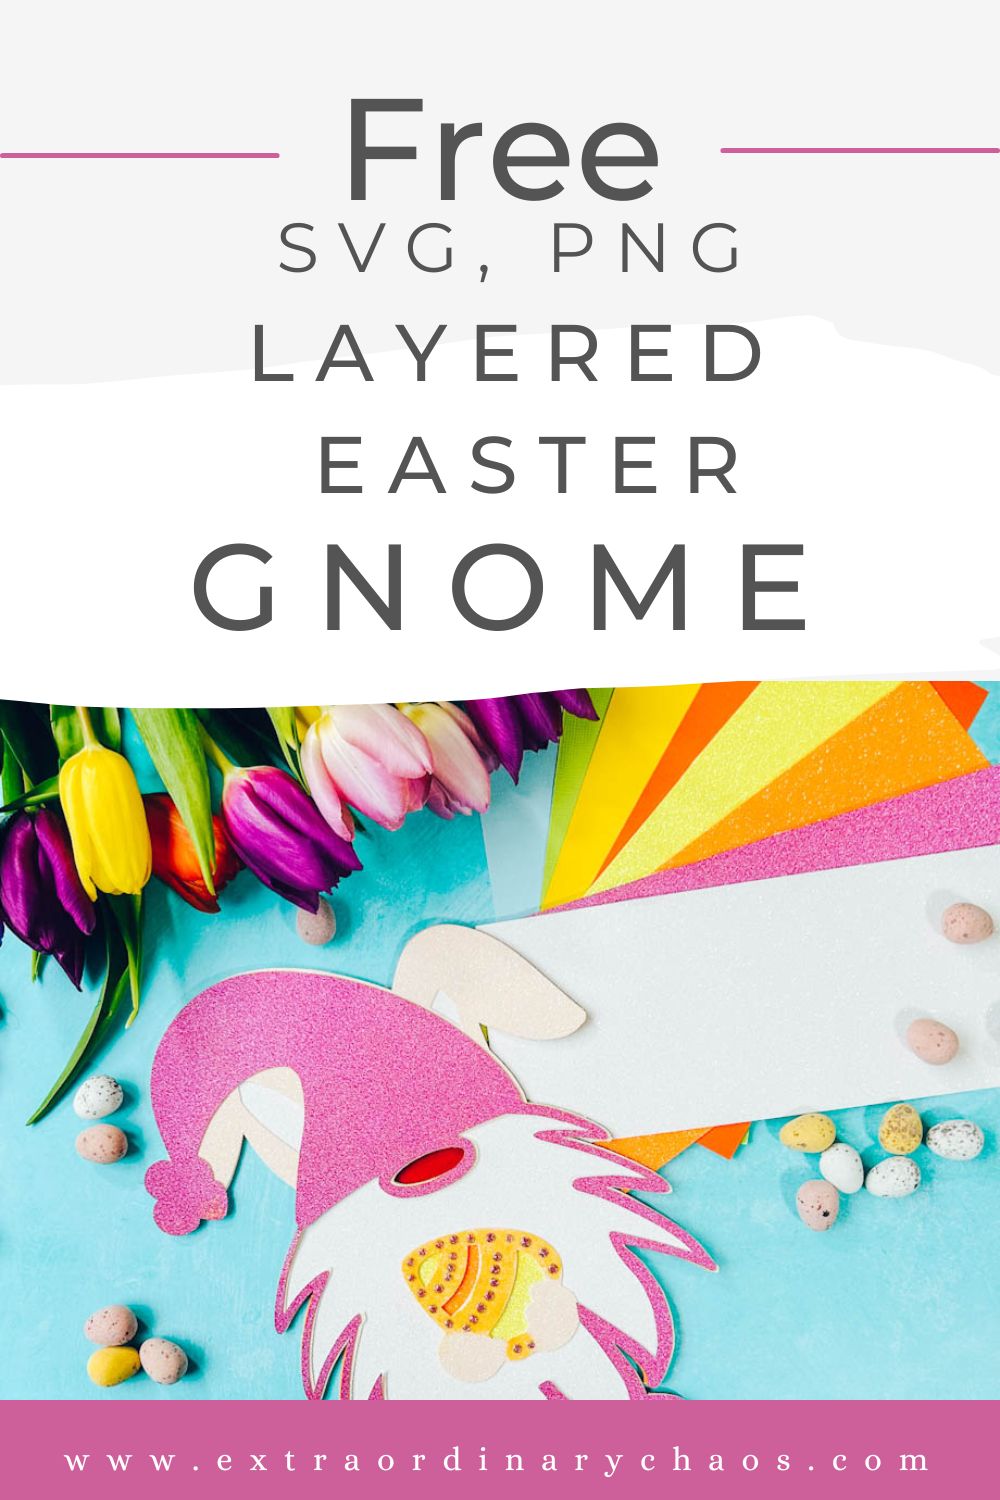
This is a bit of a random one as Gnomes aren’t traditionally linked to Easter, however I wanted to create a Free Layered Easter Gnome SVG Files For Easter Crafting, making Easter cards and decorations. And of course an Easter Gnome must have bunny ears right?
The beauty of my layered files and mandalas is that you can use all the layers and create something layered, or indeed use one layer on your Glowforge or for a scrapbooking file or outline. I love that my files have multiple uses!
If you want to see me create my projects, follow me on Tik Tok and Instagram.
This post may contain affiliate links. Which means I may receive a small commission if you click a link and purchase something that I have recommended at no extra cost to yourself. As an amazon, Cricut and Glowforge associate, I earn from qualifying purchases.
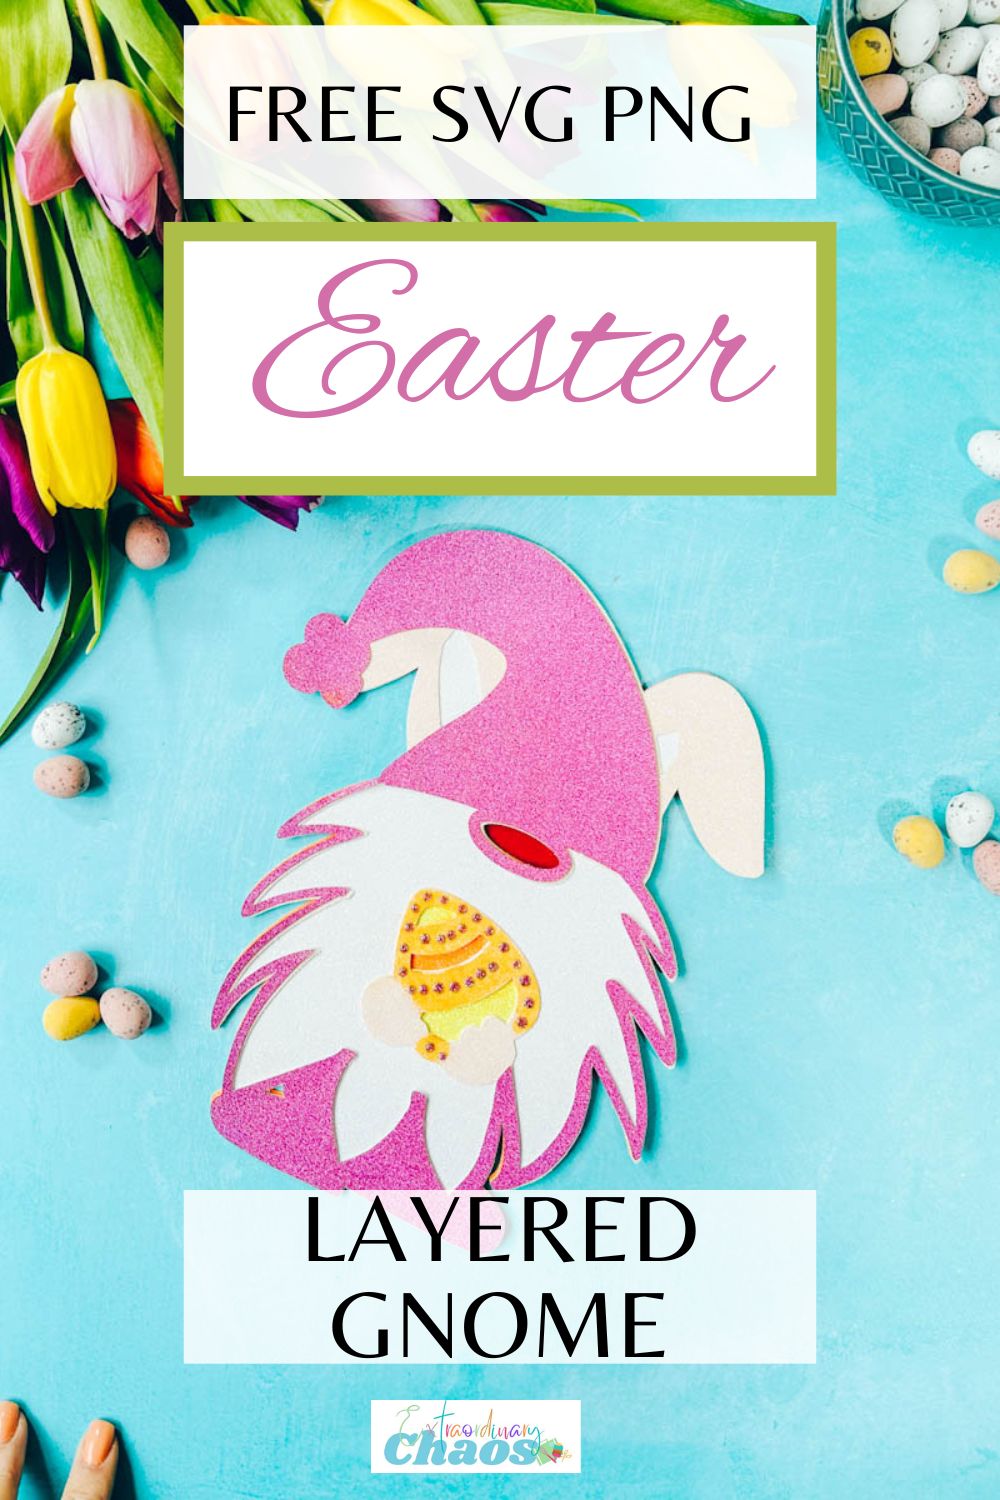
Project Ideas For My Easter Gnome SVG
- Easter Cards
- Easter Day Cake Toppers
- Wooden Art With Glowforge
- Use Pegs And String For Hanging Easter Banners
- Framed Art
- Iron On Vinyl Hoops
- Welcome Signs
- Decoupage Easter Cushions
- Scrapbooking Pages
How To Make My Layered Easter Gnome SVG
What You Will Need
- Cricut Maker, or Cricut Explore Air
- Weeding Tools
- Brayer
- Fine Point Blade
- Card Stock, White, 2 Shades of Pink, Orange and Yellow Glitter, Red Textured Card
- Glue, I use Cosmic Shimmer Acrylic Glue
- Novo Drops
Making Layered Easter Gnome On Cricut
Cutting Your Gnome Easter Layered Gnome SVG On Cricut
When you send your Gnome SVG/PNG files to your Cricut to cut, ensure you use your brayer to roll the paper, vinyl or card to adhere to the mat. Movement will affect the cut.
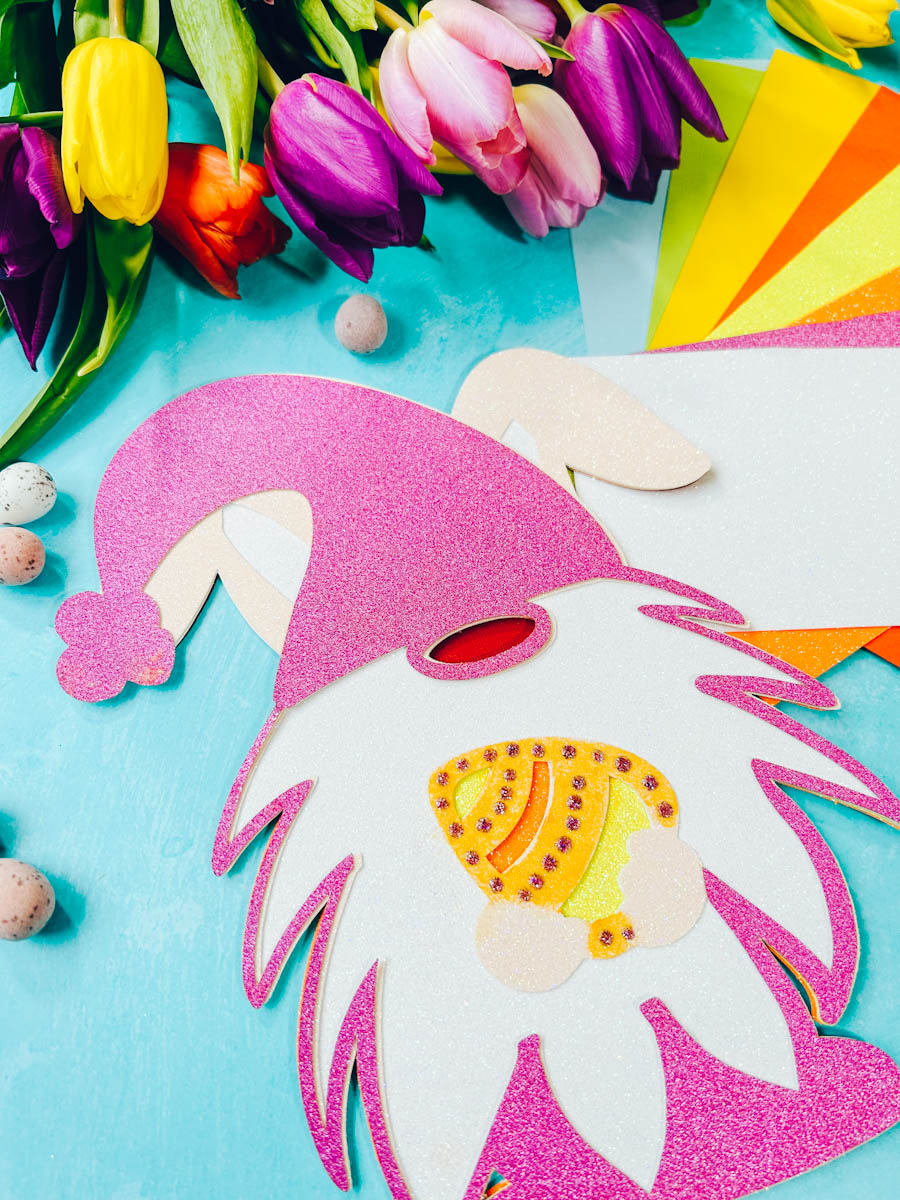
Line up all the layers in design space, to confirm all files line up correctly and exactly the same size. Remember you are using 6 colours so have the card stock ready to hand and really think about the colours and layers….
- Dark Pink
- Pale Pink
- White
- Yellow
- Orange
- Red
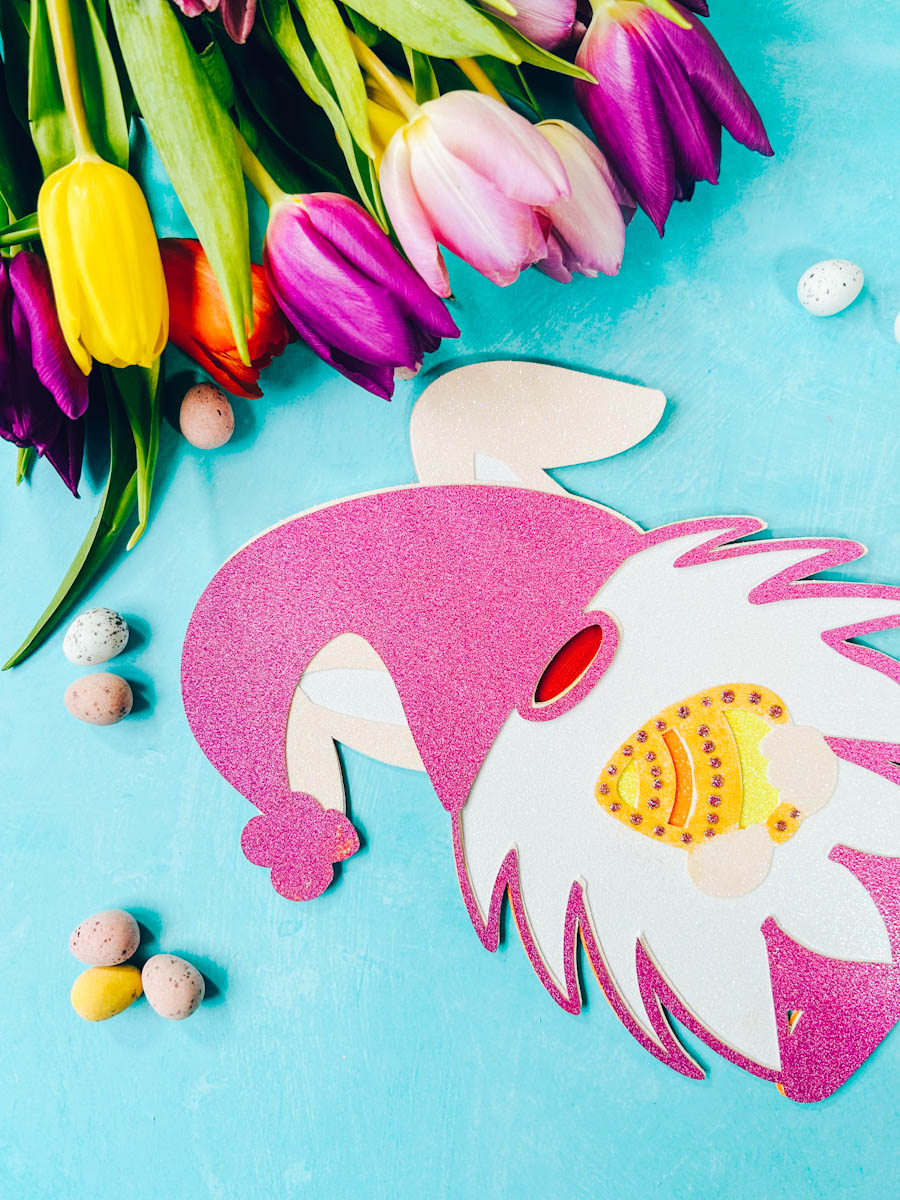
How To Build Your Gnome Layered File
I have suggested an order on the files which makes sense and the layers are numbered accordingly.
Start by placing the back red Easter Gnome SVG layer face up, now add glue to the back of the orange layer and position onto of the red layer ensuring it lines up. Repeat this with the yellow, then white, pale pink and finally the dark pink layer.
How To Get Your Easter Gnome SVG/PNG Files
Click here or on the image below to get your free downloadable Easter Gnome SVG/png files from our shop and follow these instructions to add to Cricut Design Space. Note if you are using Glowforge you need SVG files to cut the image out of wood or acrylic. Or Png or SVG to engrave.

If You’re Having Problems?
Check out my trouble shooting page, hopefully it will answer any questions you may have.
Tips And Advice For Using Your Download For Cricut
- Cricut Design Space Guide
- How To Slice And Weld In Cricut Design Space
- How to upload to Cricut Design Space
- Using Iron On Vinyl
- Where Else To Get Free SVG Files
Also please do pop over to Instagram, and give me a follow and if you make a project tag me! I love seeing everyone else’s makes and chatting crafting. I could do that all day!
=