
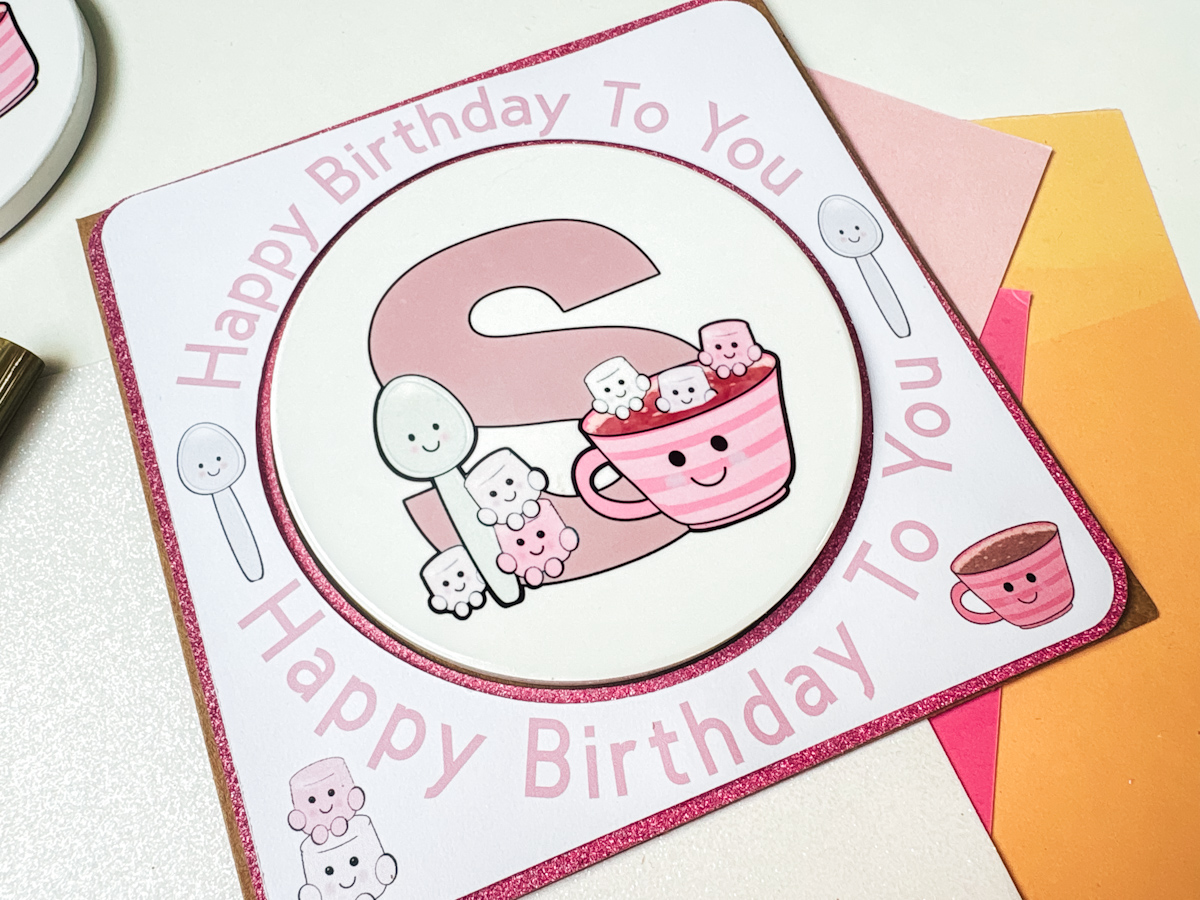
If you are looking for a unique Cricut card-making project that combines sublimation crafts, personalised gifts and beginner-friendly Cricut techniques, then you are going to LOVE this reusable coaster birthday card tutorial using our adorable Cute Marshmallow and Coffee Alphabet. This easy Cricut project combines Print Then Cut, layered cardstock and sublimation printing to create a handmade birthday card that doubles as a personalised coaster gift.
For this Cricut sublimation project, I’m using my Marshmallow Hot Chocolate Alphabet and Number Set alongside the matching decorative elements, including the cutest marshmallows, a coffee cup, and a spoon. They work perfectly for cute birthday cards, personalised gifts and fun handmade craft projects. You can personalise your coaster card with initials, ages, names or even themed designs for weddings, bridesmaid proposals or gifting using any of our alphabets.

What You Will Find Here
Project Ideas For Our Printable Cute Marshmallow and Coffee Clip Art PNG Alphabet
- Cute Coffee and Marshmallow Cake Toppers
- Cute Drink Themed Banners
- Planner Stickers
- Fridge Magnets
- Sublimation Mugs and Plates
- Birthday Cards
- Scrapbooking Page Layouts
- Door Signs
How To Make a Reusable Cricut Coaster Birthday Card With Sublimation
If you love Cricut card making, sublimation crafts and personalised gifts, then this reusable coaster birthday card is the perfect project for you. Not only does it create a beautiful handmade birthday card, but it also becomes a practical keepsake coaster that your recipient can use long after their birthday has passed.
This Cricut beginner-friendly tutorial combines Print Then Cut, layered cardstock techniques and sublimation crafting to create a truly unique handmade gift idea.
Supplies You’ll Need
- Cricut machine (Joy Extra, Explore, or Maker)
- Free Canva
- Cricut Design Space (free software)
- Standard Gripmat (green) Joy, Maker
- Cardstock in your chosen colours Glitter
- Weeding tool (for removing small bits)
- Brayer (optional, to smooth cardstock on mat)
- Sticky Pads
- Sublimation Printer and paper
- Sublimation Coasters
- HTVront Auto Heat Press
- Heat-Resistant Tape
- Heat-Resistant Gloves
1: Measure Your Coaster & Card Blank
Measuring your project correctly at the beginning will help all of your Cricut layers fit together perfectly later.
Start by measuring your coaster and card. For this project:
- Coaster size = 4 inch round
- Card blank = 6×6 inch square
These measurements are important because your coaster needs to fit perfectly inside the card opening.
2: Upload Your SVG Designs Into Cricut Design Space
Now it’s time to start designing your coaster card inside Cricut Design Space.
Upload your chosen:
- Monogram letter SVG
- Number SVG
- Decorative SVG elements
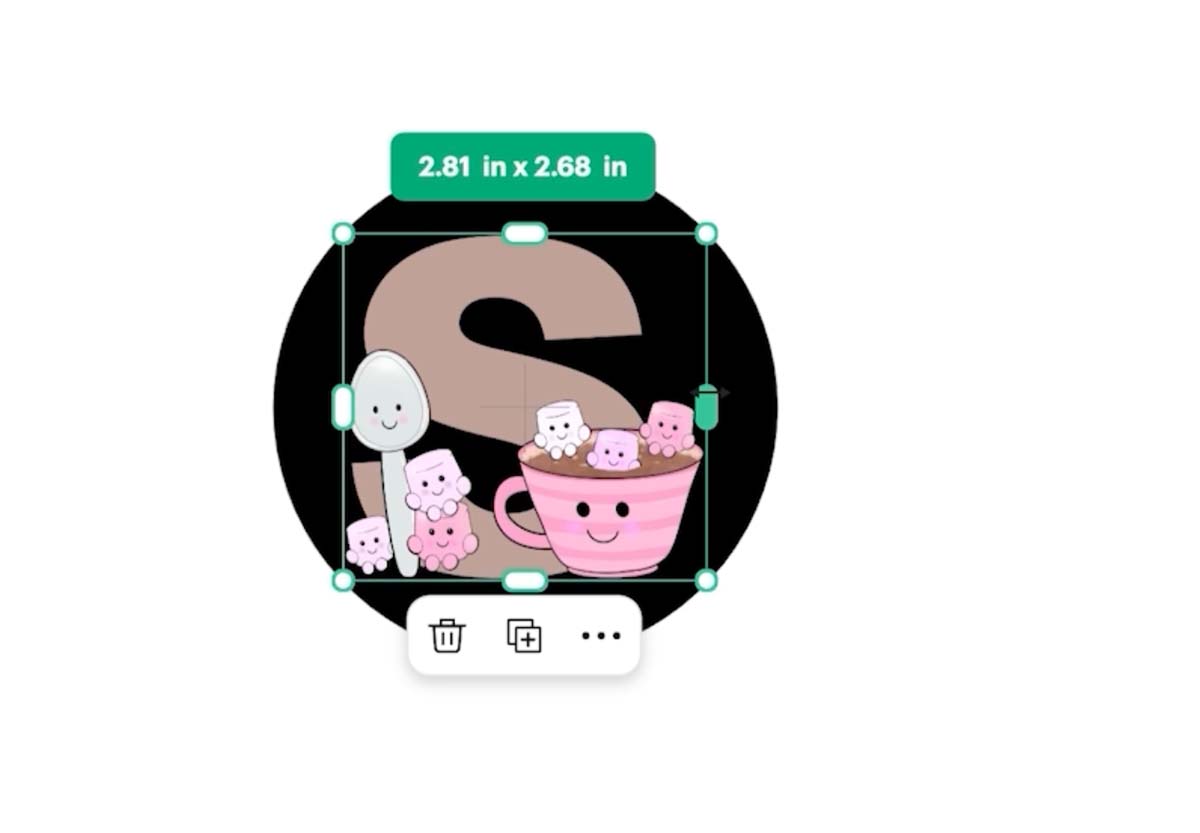
Resize your monogram so it fits comfortably inside a 4-inch circle.
3: Create the Coaster Design
This step creates the personalised coaster that will sit inside your handmade birthday card.
Add a circle shape in Cricut Design Space and size it to 4 inches if that is the size of your coaster and place your monogram on top and centre it.
This will become your sublimation coaster design.
If sublimating:
- Remember to mirror your design before printing.
4: Design the Card Base
The card base is designed to hold the coaster securely while still looking decorative and layered.
Add:
- A rounded square shape
- A circle slightly larger than your coaster
Use the Slice tool to cut a circular opening from the centre of the card layer.
This opening will hold your coaster perfectly.
5: Create a Layered Card Effect
Layering cardstock adds depth and gives your Cricut card a more professional handmade finish.
To create dimension:
- Select your card layer
- Click Offset
- Create a negative offset
This gives you a layered effect where the glitter cardstock peeks through underneath.
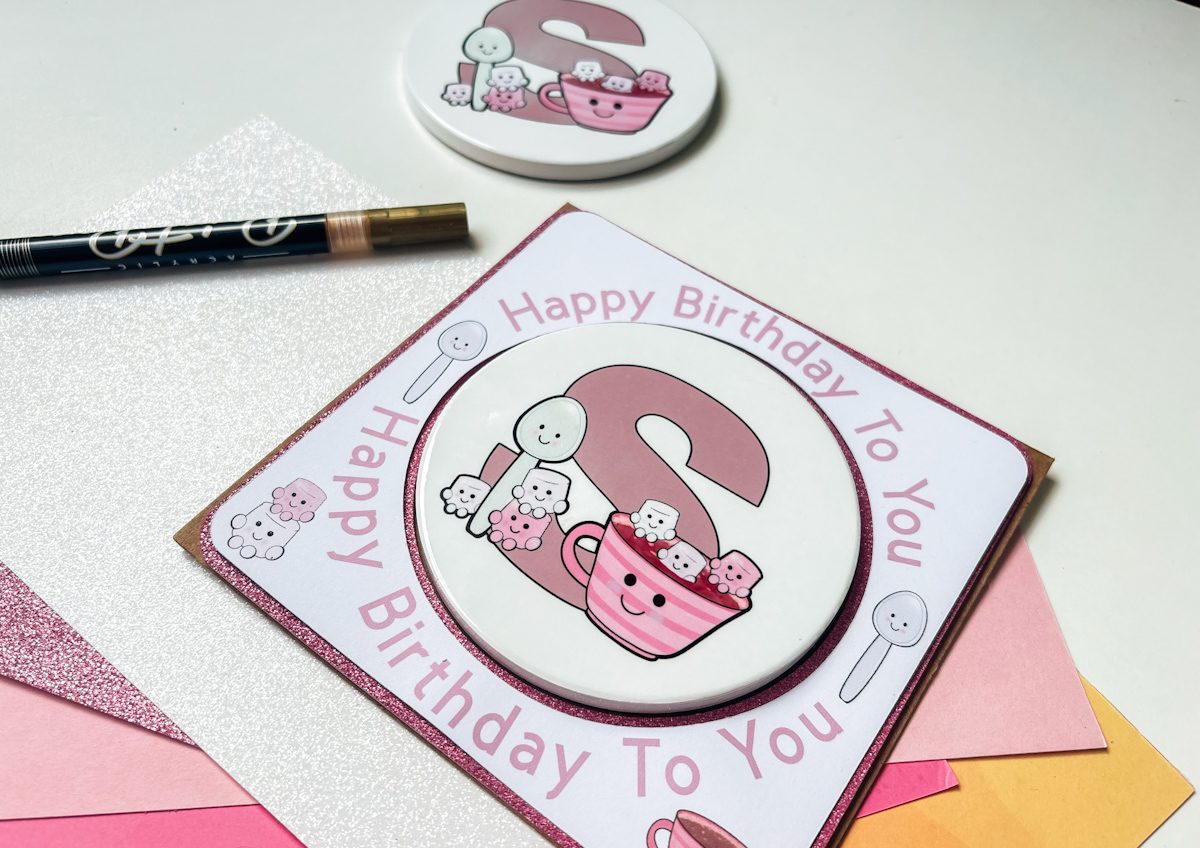
Layered cards instantly make Cricut projects look more professional and high-end.

6: Add Curved Birthday Text
Curved text is a great way to frame your coaster design and make the card feel more personalised.
Type your birthday message such as:
- Happy Birthday To You
Then:
- Select the text
- Click Curve
- Curve the text around the circular opening
Duplicate the text for the bottom section and curve it in the opposite direction.
Resize until it fits perfectly around the coaster opening.
7: Add Decorative Elements
This is where you can really personalise your Cricut coaster card and make it unique.
Add decorative SVG elements such as:
- Marshmallows
- Coffee cups
- Spoons
- Hearts
- Stars
Arrange them around your curved text.
Once happy with your layout:
- Select everything
- Click Flatten
This prepares your design for Print Then Cut.
8: Prepare Your Sublimation Print
Preparing your sublimation print correctly ensures your coaster design cuts accurately and presses beautifully.
To keep your coaster design positioned correctly:
- Add a white square behind the coaster design, making sure you have mirrored it
- Change it to Print Then Cut
- Attach everything together
This ensures your Cricut cuts the sublimation print accurately.
Send your coaster design to your sublimation printer using:
- Best print quality
- Correct sublimation colour profile, see the above video for more help on this.
9: Cut Your Cricut Card Layers
Now your designs are ready, it’s time to let your Cricut machine do the cutting for you.
Cut:
- Back glitter layer
- Front Print Then Cut layer
- Coaster surround layer
Because everything was measured inside Cricut Design Space, all the layers should fit together perfectly.
10: Sublimate the Ceramic Coaster
This is the exciting part where your sublimation design transfers permanently onto the coaster blank.
Tape your sublimation print securely onto the coaster blank using heat resistant tape.
Heat press settings:
- 200°C
- 200 seconds
Always use:
- Butcher paper
- Heat resistant gloves
- Ventilation
Once pressed, carefully remove the paper to reveal your vibrant sublimated coaster.

11: Assemble the Cricut Coaster Card
Building up the layers with foam pads helps support the weight of the ceramic coaster while adding depth to the design.
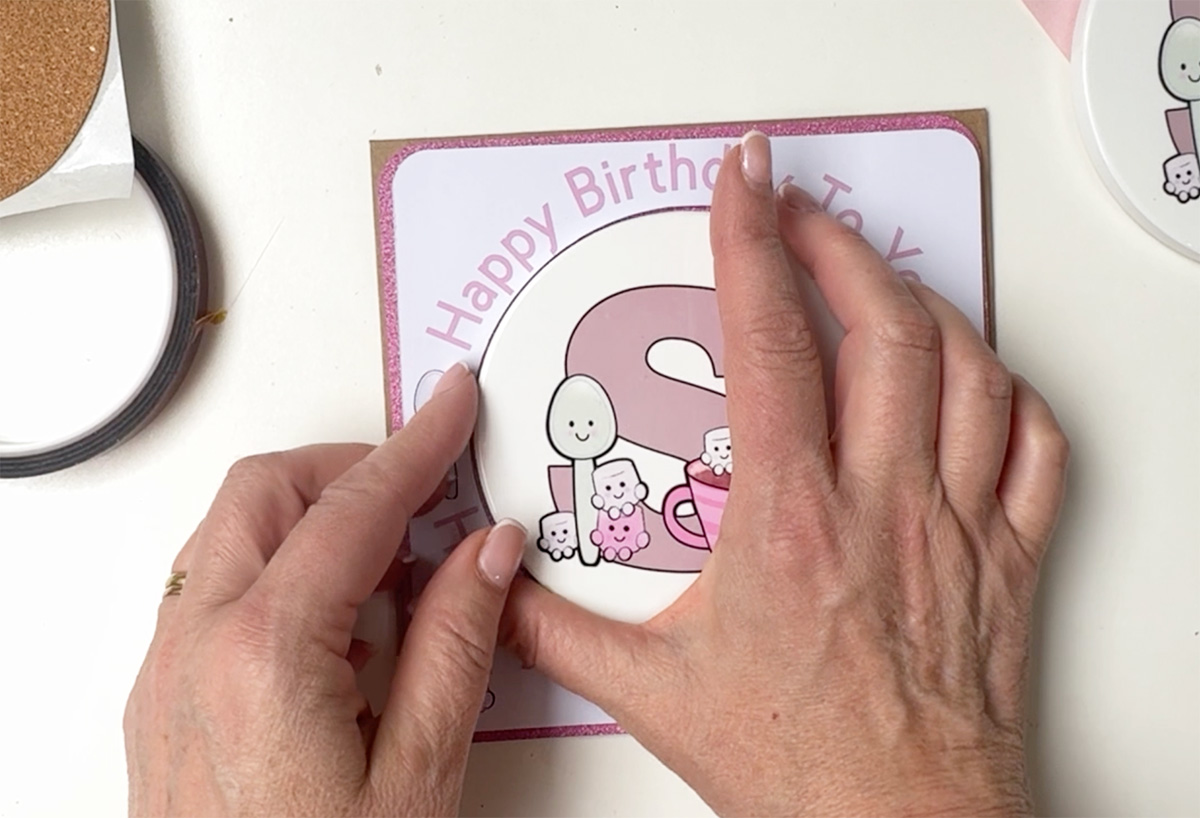
Use foam pads to build dimension between the layers.
Assemble in this order:
- Glitter cardstock base
- Card surround layer
- Print Then Cut decorative layer
Finally:
- Attach the coaster using strong foam pads
The coaster can then be removed and reused later.
Cricut Beginner Tips
If you’re new to Cricut crafting, these simple tips will help make your project much easier.
If you’re new to Cricut crafting:
- Always measure first
- Use Attach for accurate cutting
- Use Flatten for Print Then Cut
- Test your sublimation colours before pressing
This reusable coaster card is such a creative way to combine Cricut crafting, sublimation and handmade gifting into one project.
I absolutely love how this project turns a simple birthday card into a practical keepsake gift. It’s creative, beginner-friendly and such a fun way to combine Cricut crafting with sublimation.

If You Don’t Have Cricut ?
You can upload our Marshmallow and Coffee Alphabet to Canva, a great program for making posters and cards, or to Word or Pages. Just arrange your letters or numbers with spaces between them and cut them with a guillotine.
If You Want To Use These Printable Cute Marshmallow and Coffee PNG Alphabet Letters And Numbers Template?
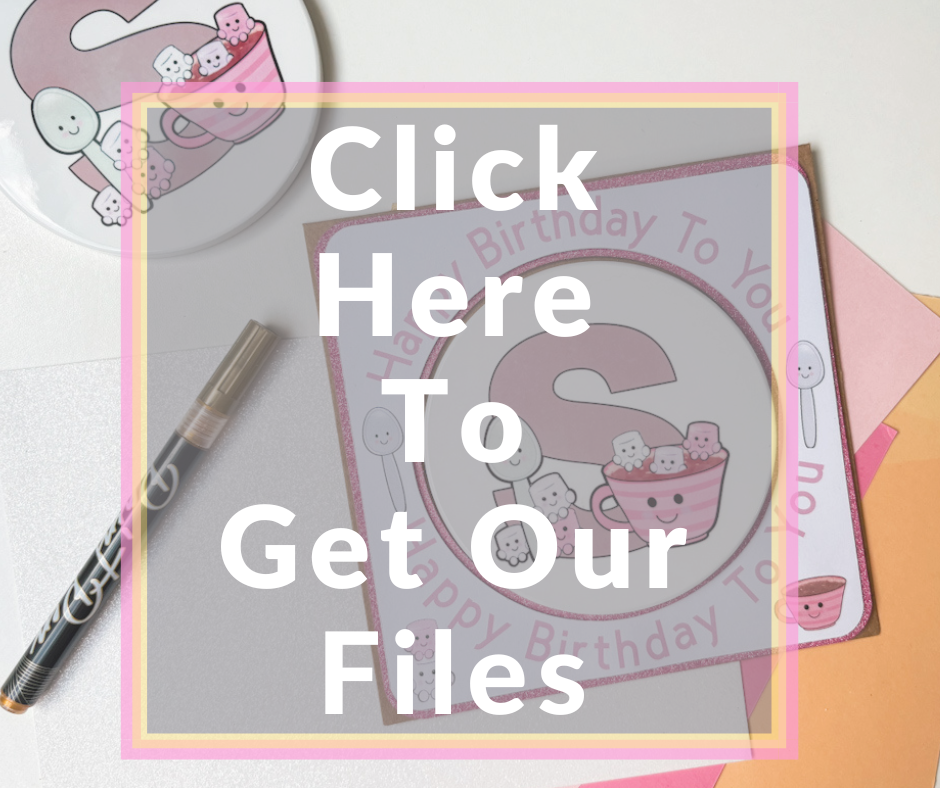
Click here or on the image below to get your download of our Printable Marshmallow and Coffee PNG cut files. They are instant downloads from our shop. Also, check out the Marshmallow elements.
If You’re Having Problems?
Check out my troubleshooting page, hopefully it will answer any questions you may have.
Tips And Advice For Using Cricut
- Cricut Design Space Guide
- How to upload to Cricut Design Space
- How To Make Print And Cut Stickers In Cricut Design Space
- Where Else To Get Free SVG Files
Also please do pop over to Instagram, or TikTok and give me a follow and if you make a project please do tag me! I love seeing everyone else’s makes and chatting crafting. I could do that all day! This is also where I share all my projects in progress.
