
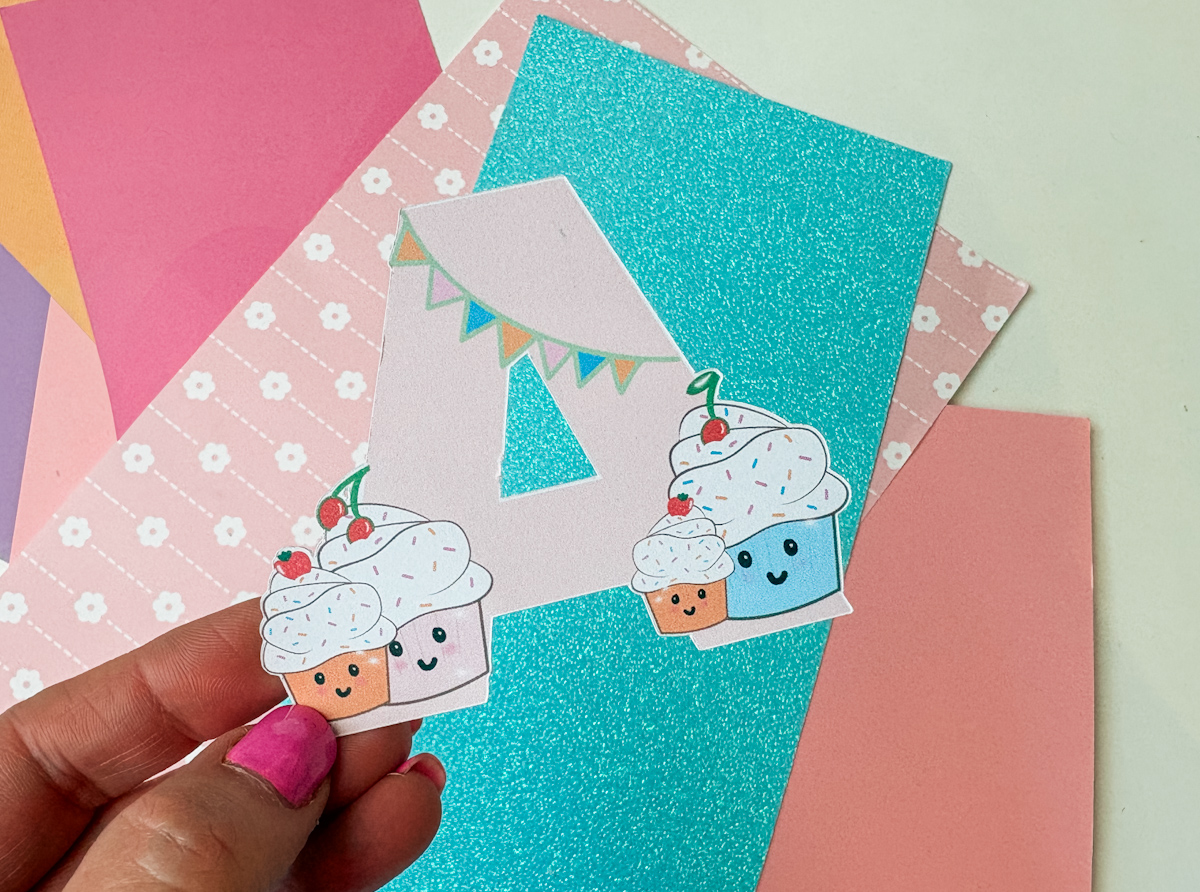
Today, we are sharing a cute Printable PNG Cupcake Alphabet and Number Set. Our Cupcakes-themed PNG Alphabet Letters and Numbers are ideal for use with Cricut and Silhouette or to cut out by hand. Plus an extra cute step-by-step tutorial to make your own cupcake badge cards.
This printable PNG alphabet and number collection is designed for crafters who want their letters to do more than just spell things out. Think dimensional cake toppers, sublimation projects, personalised cards, party banners and nursery prints. All with a playful cupcake theme running through every character. It works beautifully with Cricut and Silhouette, cuts out by hand just as easily, and, as you’re about to see, transforms into stunning 3D effects using free tools like Canva.
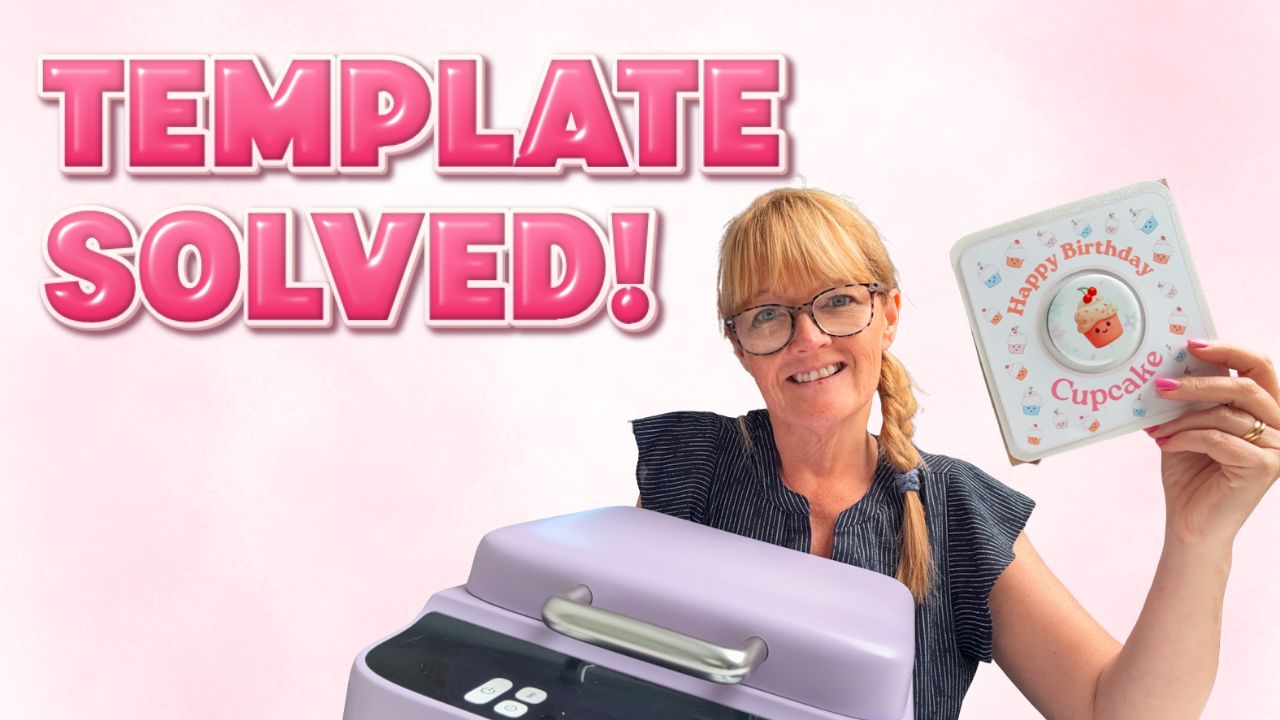
Grab the full alphabet and number set from the shop, then follow along below for the full step-by-step tutorial showing exactly how we turned these letters into gorgeous 3D badge birthday cards using the HTVRONT H17.

This post may contain affiliate links. Which means I may receive a small commission if you click a link and purchase something that I have recommended at no extra cost to yourself. As an amazon, Cricut and Glowforge associate, I earn from qualifying purchases.
What You Will Find Here
Project Ideas For Our Printable Cute Cupcakes Clip Art PNG Alphabet
- Personalised Nursery Decor
- Cake Toppers
- Cup Cakes Themed Birthday Banners
- Planner Stickers
- Sublimation Mugs
- Journals
- Cupcake Scrapbooking Page Layouts
What You’ll Need
- HTVRONT H17 Phone Case Heat Press
- HTVRONT sublimation film
- Badge blanks
- Blank cards and white printable card stock
- Epson sublimation printer (rear feed works perfectly with the film)
- Canva (free version)
- Cupcake Alphabet and Number Set
- Double-sided sticky pads and a tape roller
Watch the Step-by-Step Video Tutorial
Use our step-by-step video tutorial to craft along and create you project.
1. Build Your Card Base in Canva
Open the free version of Canva and create a new A4 document. Search for a rounded square shape; this will form the base of your card front, and adjust the corner rounding to taste.

To create a cut-out circle in the middle of your card (handy if you’re printing and cutting by hand or uploading to a cutting machine), duplicate your square, add a circle, and set the circle’s fill to match your background colour rather than trying to slice it out. Canva doesn’t have a slice or weld tool, so this “matching colour” trick is how you fake it. Duplicate the circle and add a slight offset in a contrasting colour to create a neat outline around the centre of your card.

2. Decorate Your Card Front
This is where the Cupcake Alphabet and Number Set comes in. Add your wording (we used “Happy Birthday”) and click Effects in the side panel to access the Shape tool, which lets you curve your text around the card. Choose a rounded, playful font, then experiment with colours, drop shadows and glow effects, all found under the Effects menu.
Bring in your cupcake elements and duplicate them around the card front, rotating each one slightly so they don’t all face the same way. This scattered, ditsy pattern effect gives a much prettier, more finished look than repeating a single image in a straight line.

3. Measure Your HTVRONT H17 for a Custom Template
The HTVRONT H17 is built to work with LokLik Studio, so if you’re designing in Canva (or anywhere else) there’s no ready-made template to line your badges up correctly. Here’s how to build your own.
Measure the badge-shaped opening on your press. Position a blank badge in the centre of an A4 sheet, exactly where it would sit once loaded into the H17, and take a photo looking straight down from above. This photo becomes the base of your custom template.

4. Build Your Reusable Canva Template
Open a new landscape A4 document in Canva and upload your reference photo. Use the rotate tool to square it up if needed, then use Canva’s ruler to check the badge size in your photo matches the real badge size exactly, this is the step that makes the whole template accurate.
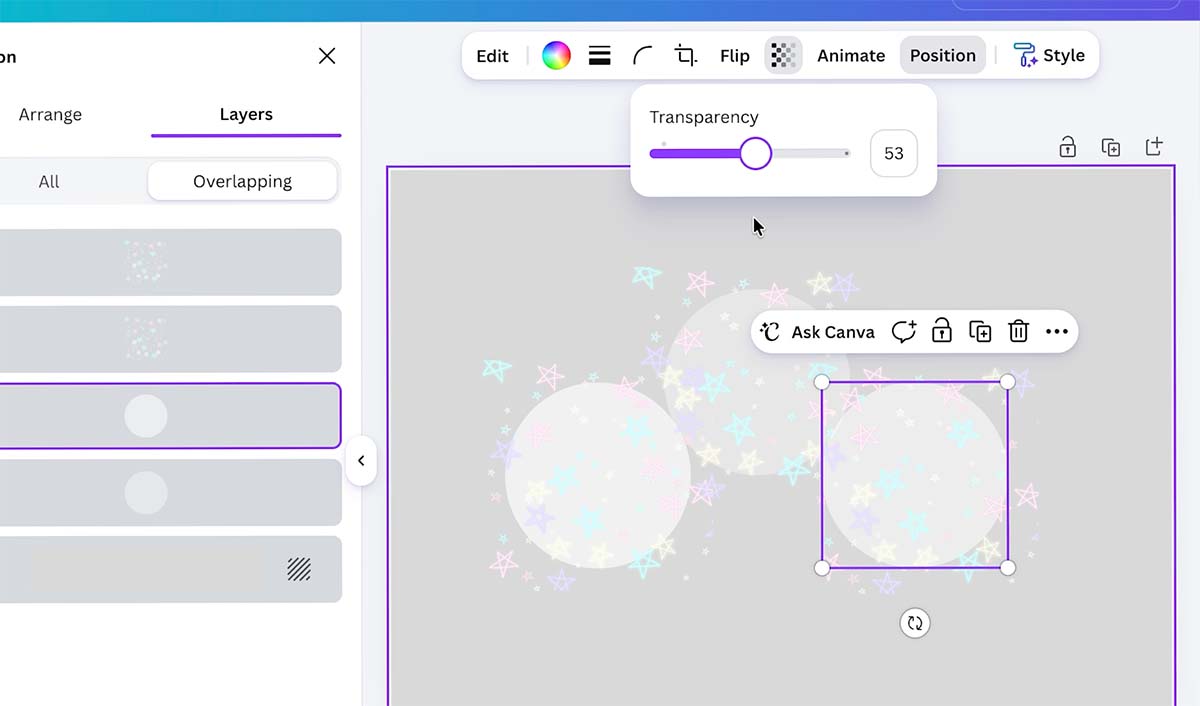
Add circles over each badge position in your photo, set them to a low transparency so you can still see the badge underneath, and nudge them until they’re centred perfectly. Once everything lines up, save this as your Badge Template file so you never have to measure and re-photograph again.
5. Design Your Badge Artwork
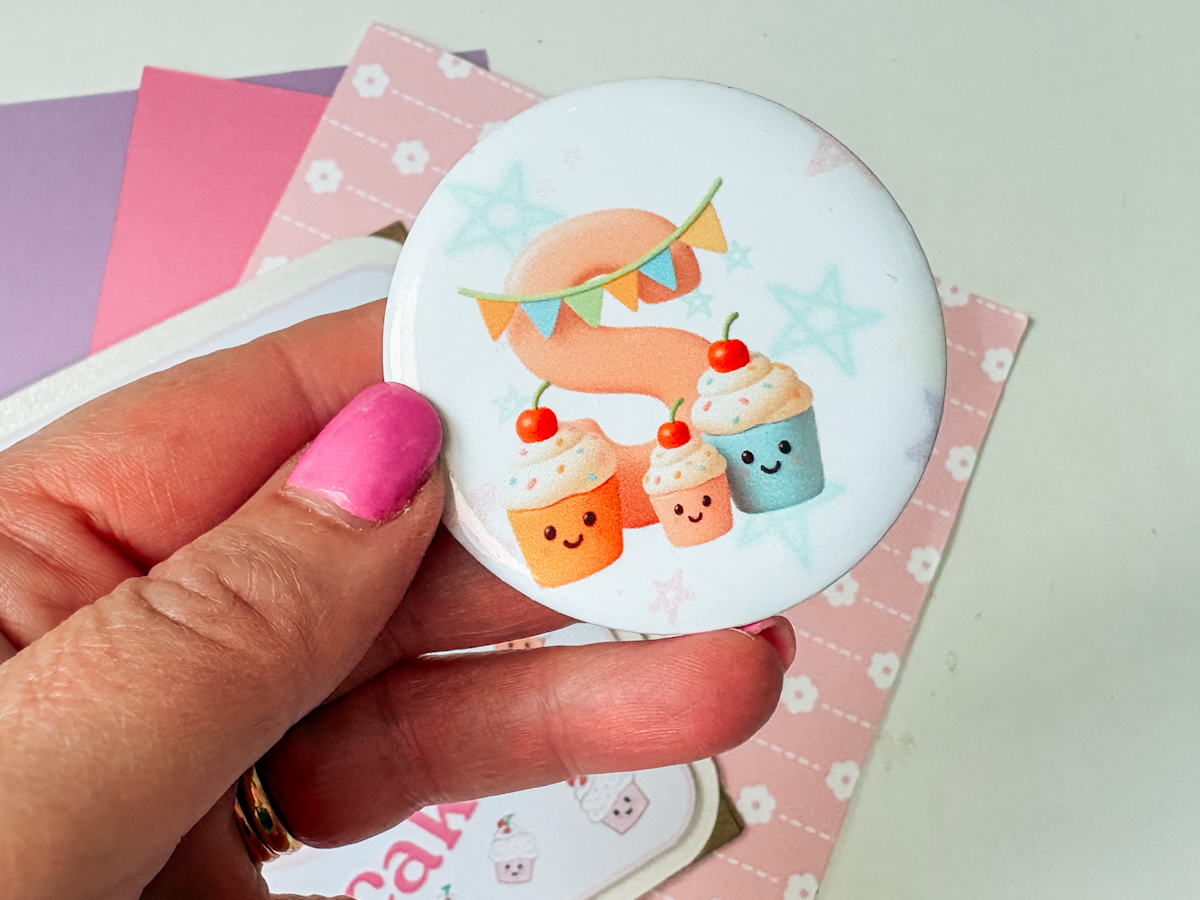
With your template saved, delete the reference photo (keeping your positioned circles) and start adding your artwork inside each circle. We used a pastel star pattern as a background, then layered a letter from the Cupcake Alphabet on top.
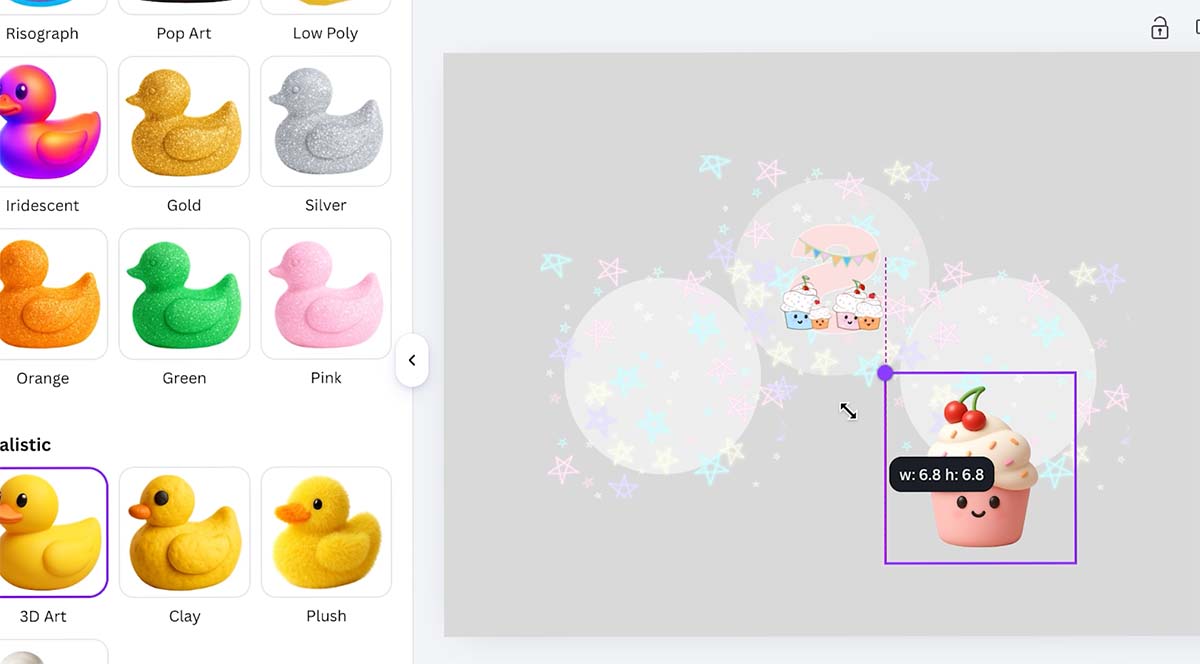
For the 3D effect, select any image or letter, go to Edit at the top, choose Style Match, and select 3D Art. This converts a flat drawing into a dimensional 3D graphic in seconds. It also works just as well with photos of children, pets, or grandchildren as it does with alphabet letters.
Important: because this is a sublimation transfer, flip any text or asymmetrical images horizontally before printing, so they read the correct way round once pressed.
Fill any gaps around your badge circles with extra pattern elements and a thin border colour matching your line, this stops any white gaps showing up around the edge of the finished badge.
6. Print Onto Sublimation Film
Once your design is finished, change the background to white (this won’t print, but it keeps your file clean) and download the whole thing as a PNG.
Open the file and assign your sublimation colour profile before printing (this typically needs resetting every time you print, depending on your printer software). Load your sublimation film into the printer with the matte side facing up, and print on the highest quality setting.

7. Press Your Badges on the HTVRONT H17
Set the H17 to 140°C, with a 10 second preheat and a 330 second press time (check your own badge blank size and material against the H17 manual, as timings vary). While it heats, let your freshly printed sublimation sheet sit for at least 5 minutes to fully dry.

Once warmed up, place your badge blanks in the press, lay your sublimation film matte-side down on top, and close the lid for the full press time. When it’s done, carefully peel back the film to reveal your finished badge.
8. Assemble Your Birthday Card
Attach your decorated card front to a blank card base using a tape roller for fast, mess-free coverage.
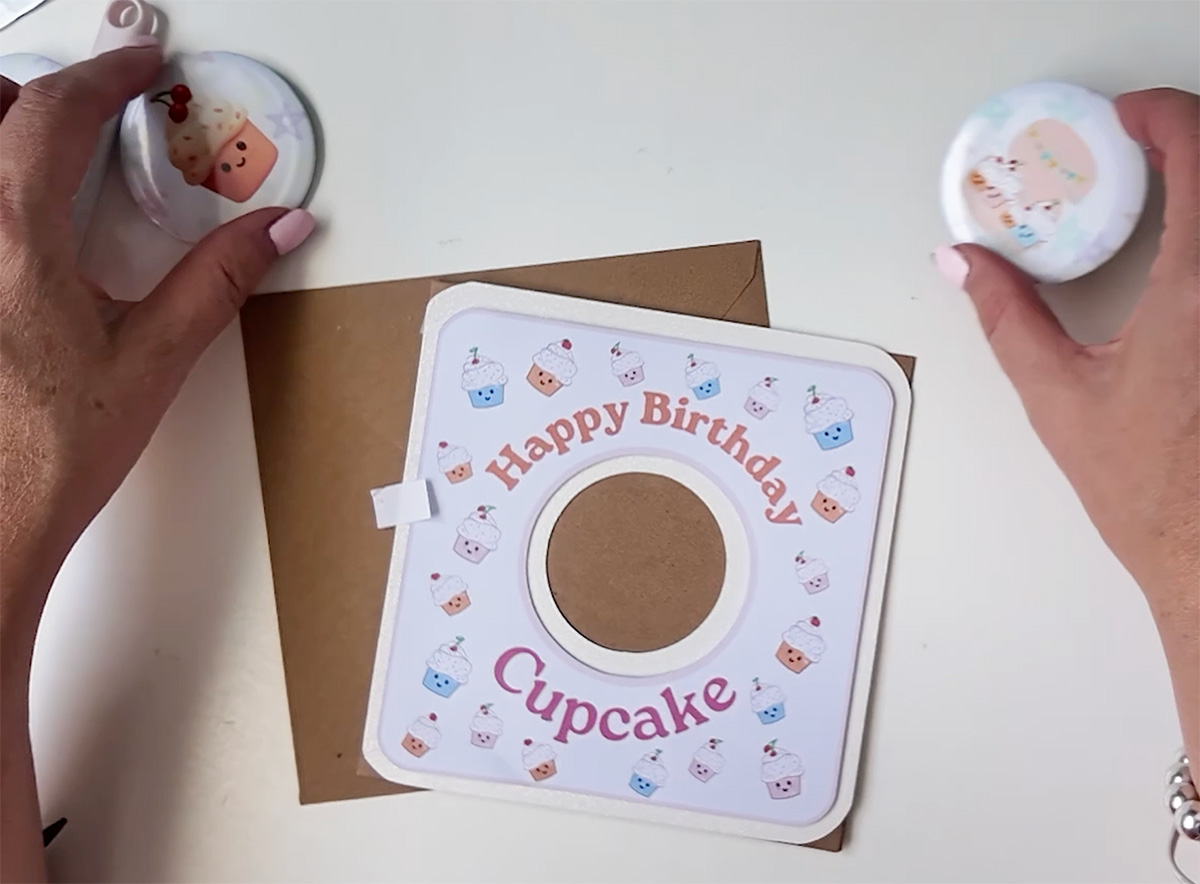
For the badge itself, decide whether to punch a small hole through the card and thread the badge pin through, or use double-sided sticky pads for a flatter, no-hole finish. If pinning it through, add two layers of sticky pads underneath first, this gives the badge enough depth to sit securely rather than wobbling loose.
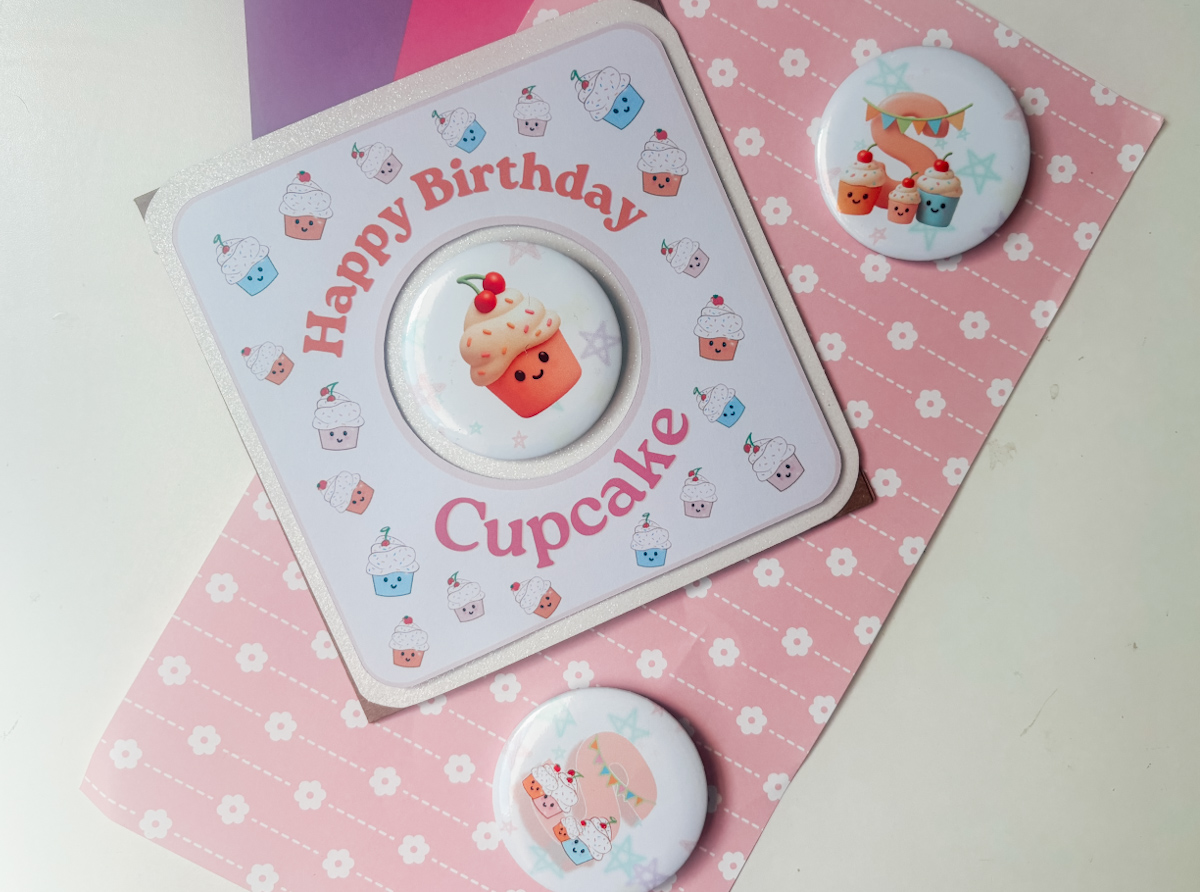
Press your finished 3D badge into place, and your card is ready to gift or sell.
What Does It Cost to Make?
If you’re thinking about selling these, here’s a rough cost breakdown:
- Phone cases: a pack of 6 blanks costs around £7.99, plus one sublimation sheet per phone at roughly £1 each, working out to about £1.88 per finished phone case.
- Badges: you can fit 3 badges per sublimation sheet. At roughly £39.99 for 60 badge blanks and 20 sublimation sheets needed to print them, that works out to around £0.99 per badge.
Add your card blank, your time, and a fair profit margin on top, most handmade personalised cards like this sell for £5 or more.
If You Want To Use Our Printable Cupcakes PNG Alphabet Letters And Numbers Template?
Click here or on the image below to visit the shop to our download of our Printable Cup Cakes PNG cut files. They are instant downloads from our shop.
If You’re Having Problems?
Check out my troubleshooting page, hopefully it will answer any questions you may have.
Tips And Advice For Using Cricut
- Cricut Design Space Guide
- How to upload to Cricut Design Space
- How To Make Print And Cut Stickers In Cricut Design Space
- Where Else To Get Free SVG Files
Also please do pop over to Instagram, or TikTok and give me a follow and if you make a project please do tag me! I love seeing everyone else’s makes and chatting crafting. I could do that all day! This is also where I share all my projects in progress.
