
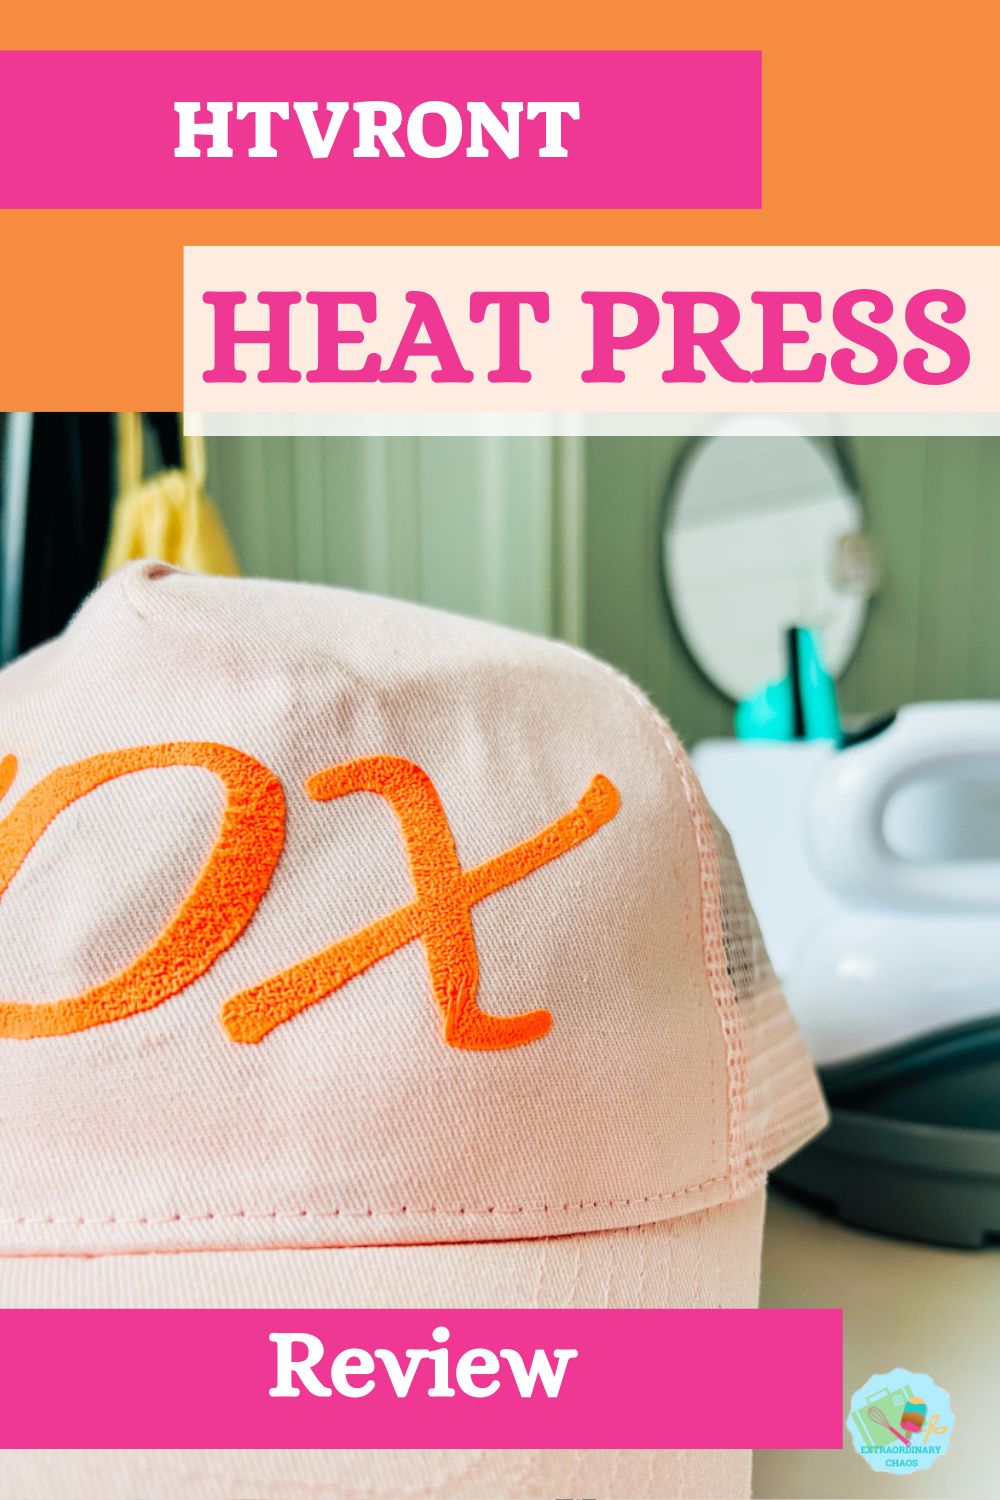
If you have been a reader here for a while, you will know that I love a new gadget. My latest new hat press is no exception. HTVRONT is a brand I am pretty new to, but I am loving exploring the products and their extensive range of HTV vinyl. Today, I am sharing the super cool LokLik/ HTVRONT Hat Press review and taking you through my first-ever project straight out of the box to share how easy the press is to use.
You may have seen my Automatic Heat Press Review; following that this little super nifty Hat Press is a newish addition to the family. At around $89.99 it is excellent value and perfect if you make products to sell as who doesn’t love a baseball hat, and this makes them super easy to personalise.
This post may contain affiliate links. Which means I may receive a small commission if you click a link and purchase something that I have recommended at no extra cost to yourself. As an Amazon, HTVRONT, Xtool Cricut and Glowforge associate, I earn from qualifying purchases.
What You Will Find Here
About the HTVRONT Hat Press
The HTVRONT hat press is designed to customise hats specifically. Its 2.2-lb curved base feels like a lightweight iron and has its own safety base. It is super portable, clipping safely together, and comes in a carry bag with a hat heat mat. This makes it perfect to use at events and craft fairs to personalise hats on the go.

How Does The HTVRONT Hat Press Work?
It works much the same as any other heat press and has a temperature range between 210° F and 390° F. It can be used with sublimation paper, HTV, Flock HTV, Puff HTV or all types of cotton and polyester hats.

The Screen Of The HTVRONT Hat Press
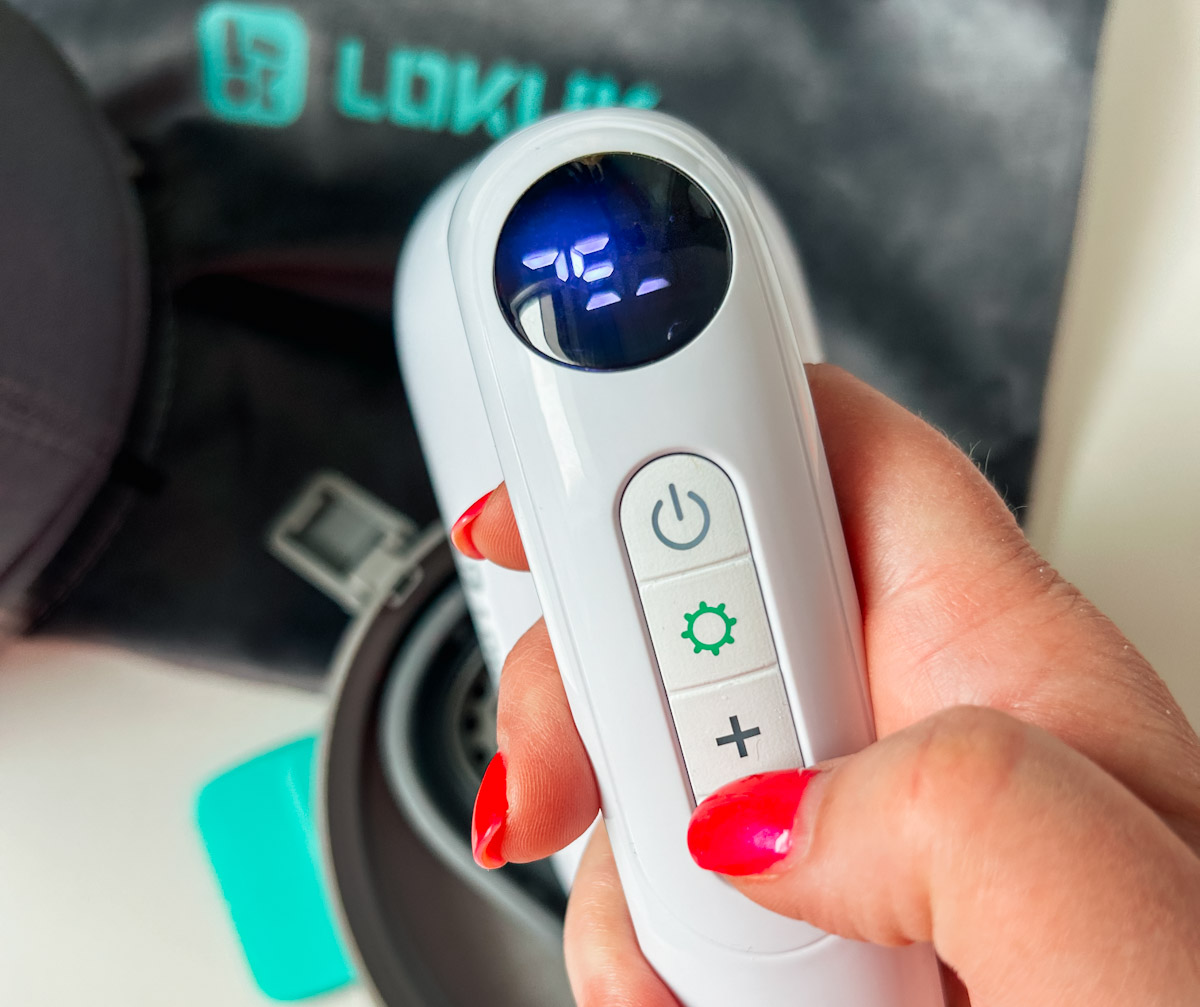
There is no guesswork, as the hat press has an LCD display that allows you to set the temperature to match the material of the hat you want to heat press onto. Simply set the heat and it will bleep when its at the correct heat.
What Type of Hats Can You Make With The HVRONT Hat Press Machine?
You can personalise any type and shape of the hat as long as it can be ironed. I have a few projects I want to try, including tennis balls and a straw hat. There is no official setting for these, but it’s all about trial and error, right?

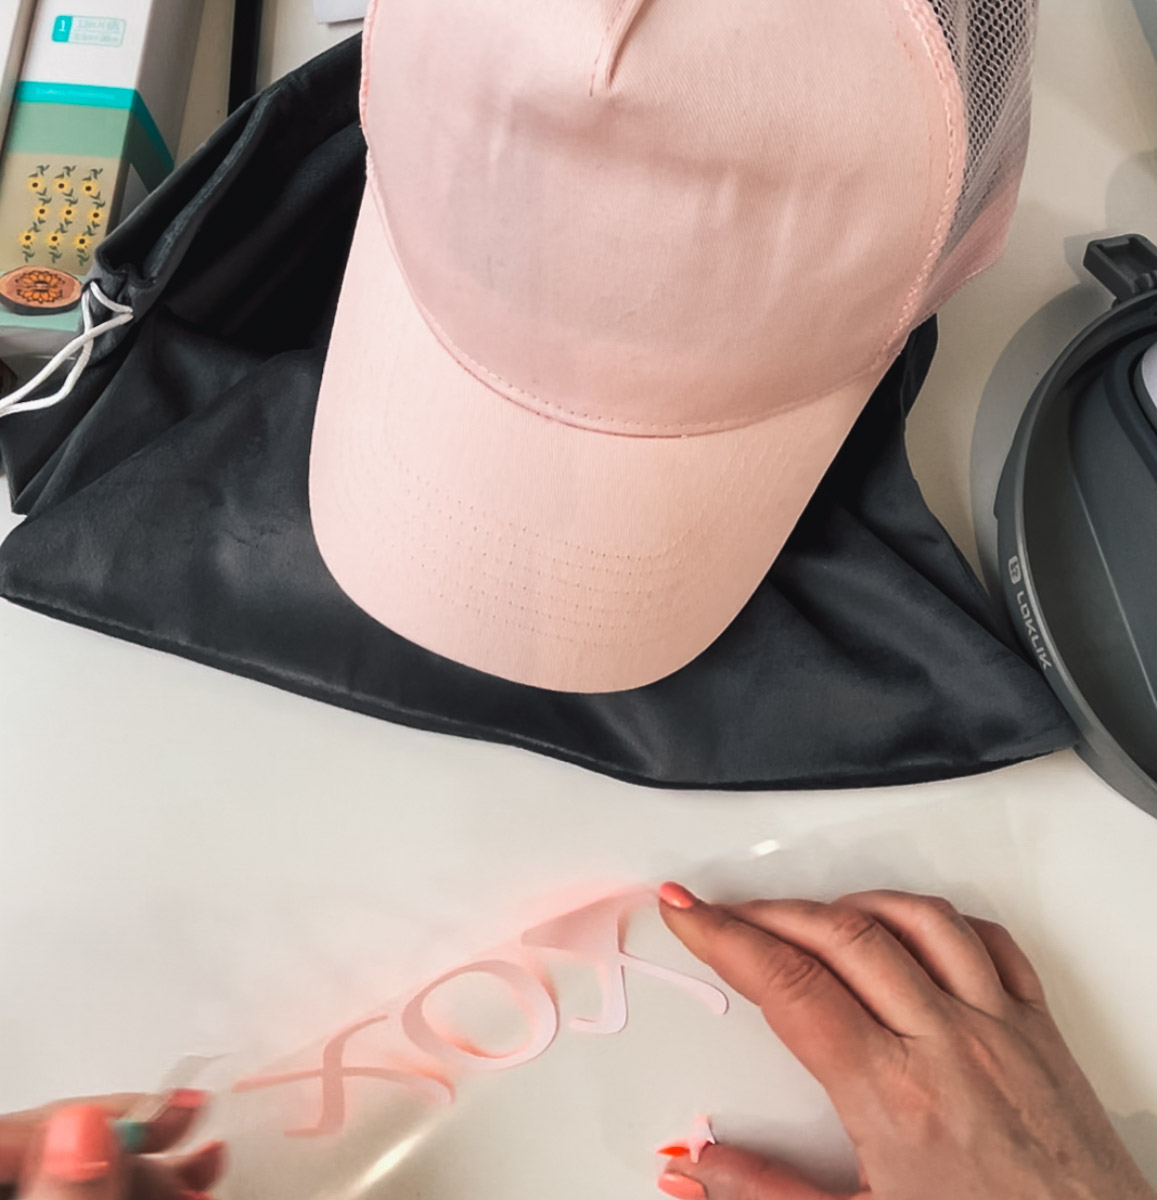
Cut Out Your SVG, HTV Image Or Word
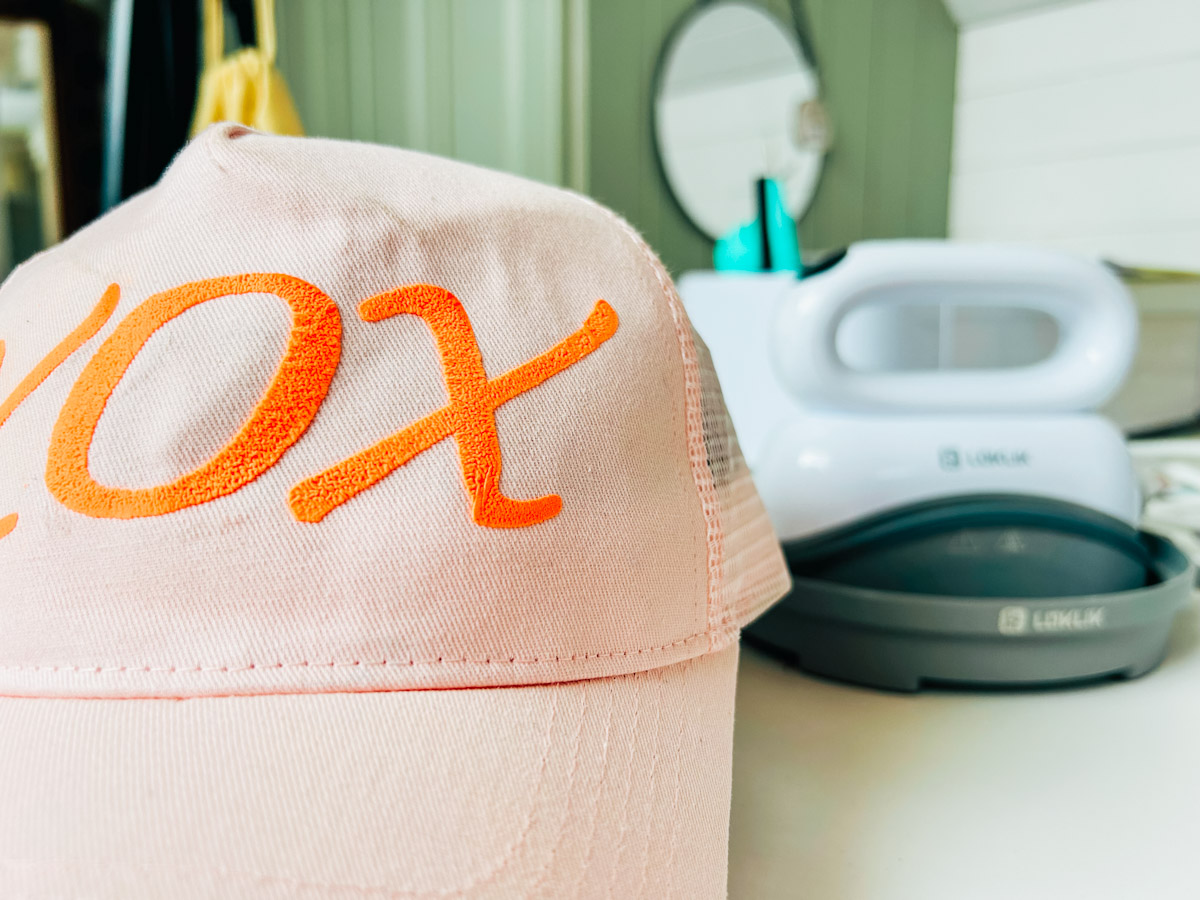
Decide on a hat design first, I went for a simple X O X. However, really think of sizing, as much as I love my hat, I would have liked the lettering a little smaller. Remember when you send your design to cut to mirror it as you usually would HTV. This was my first time using puff vinyl, too, so I had a little practice on fabric, too, before transfering onto my hat.
Weed And Heat Press Your Project
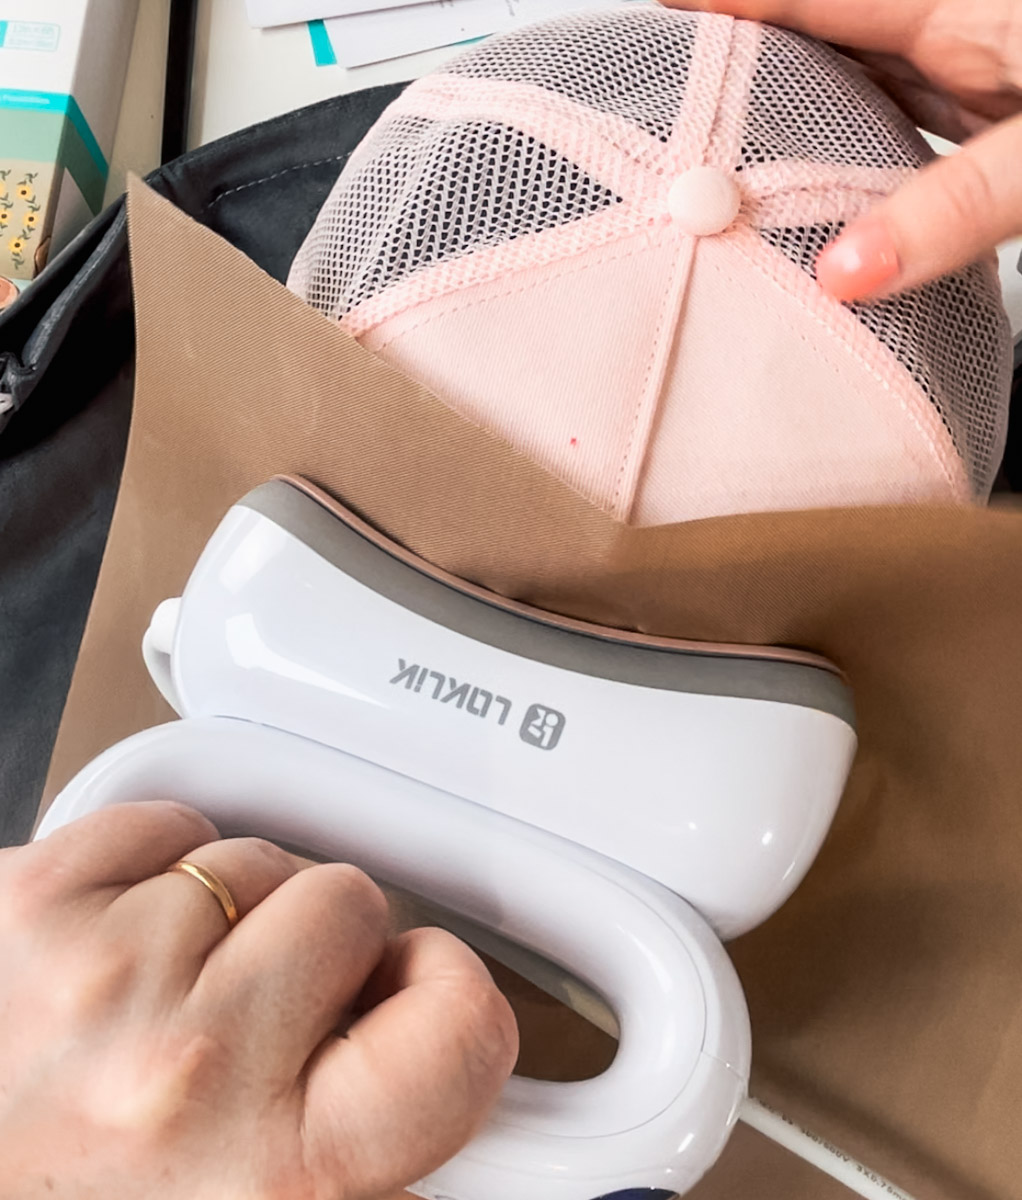
Once weeded, start by heating the heat press and covering the hat with a Teflon sheet to preheat the hat. Then, carefully position your design and attach it with heat-resistant tape.

Can You Press Directly On To The HTV?
No, re-cover with the Teflon sheet and press as I used puff HTV. I set the heat at 311° F for 15 seconds, as recommended, with a firm press, but it did need a little longer. Allow it to cool to cold peel, then peel off the backing.
My Thoughts On The HTVRONT Hat Press
It’s fabulous, so it’s easy to use and quick. You don’t have to make a lot of effort to get great results, so it’s quick and easy to turn a super-effective hat around. This is great for making team or class sets or personalised kiddies’ hats for kids’ birthday parties.
Please note I was gifted the hat press, my thoughts are my own.
