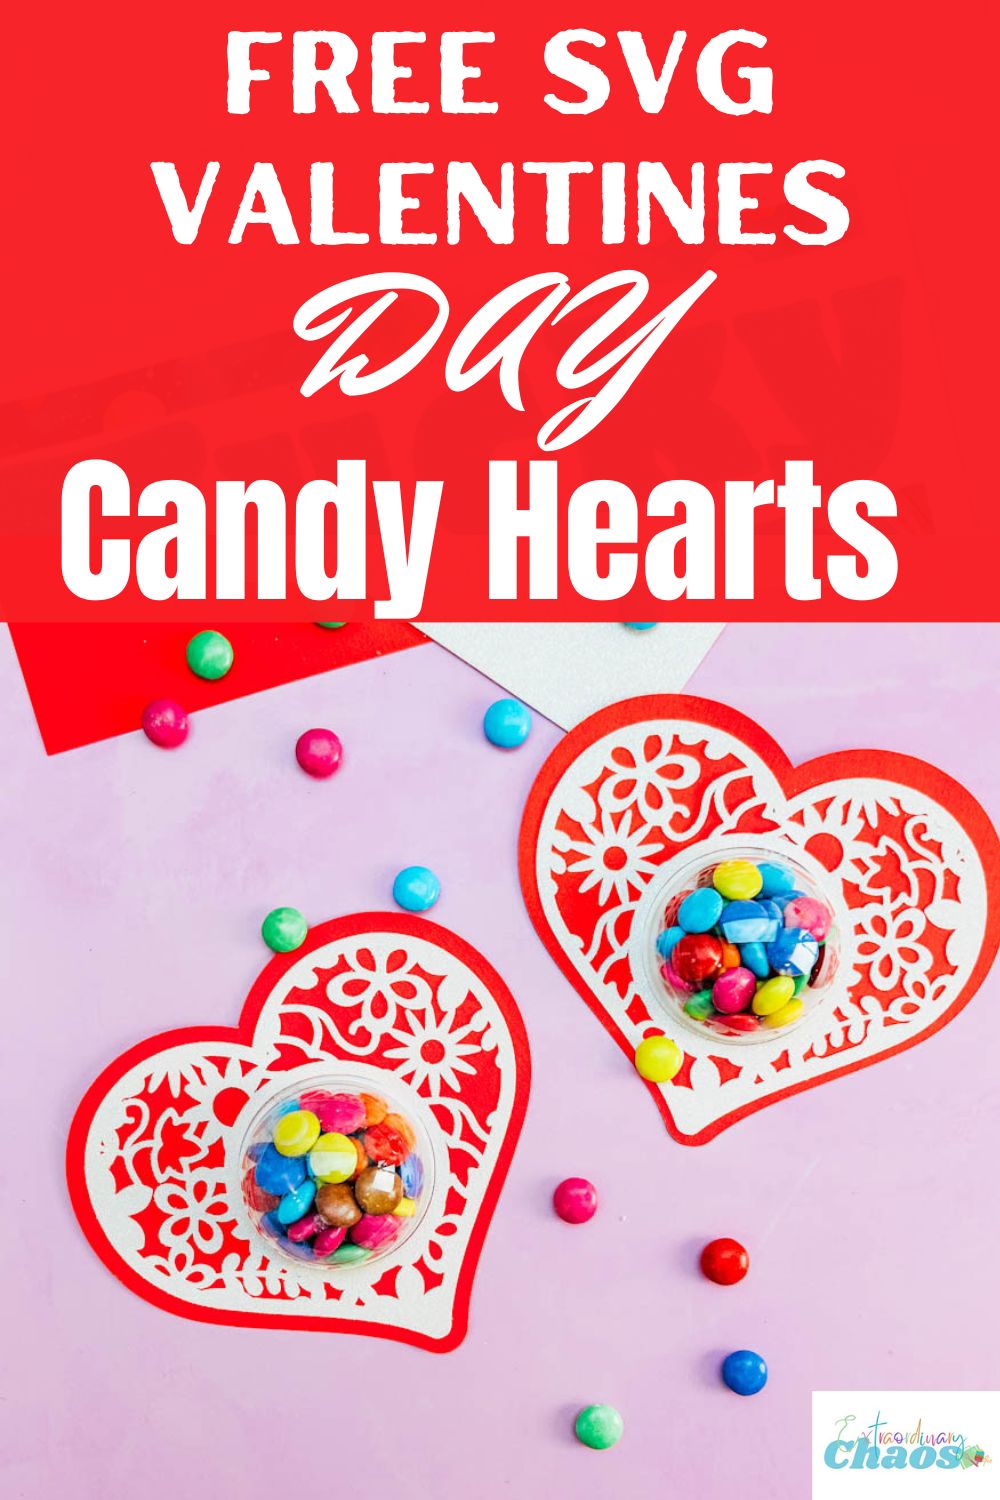
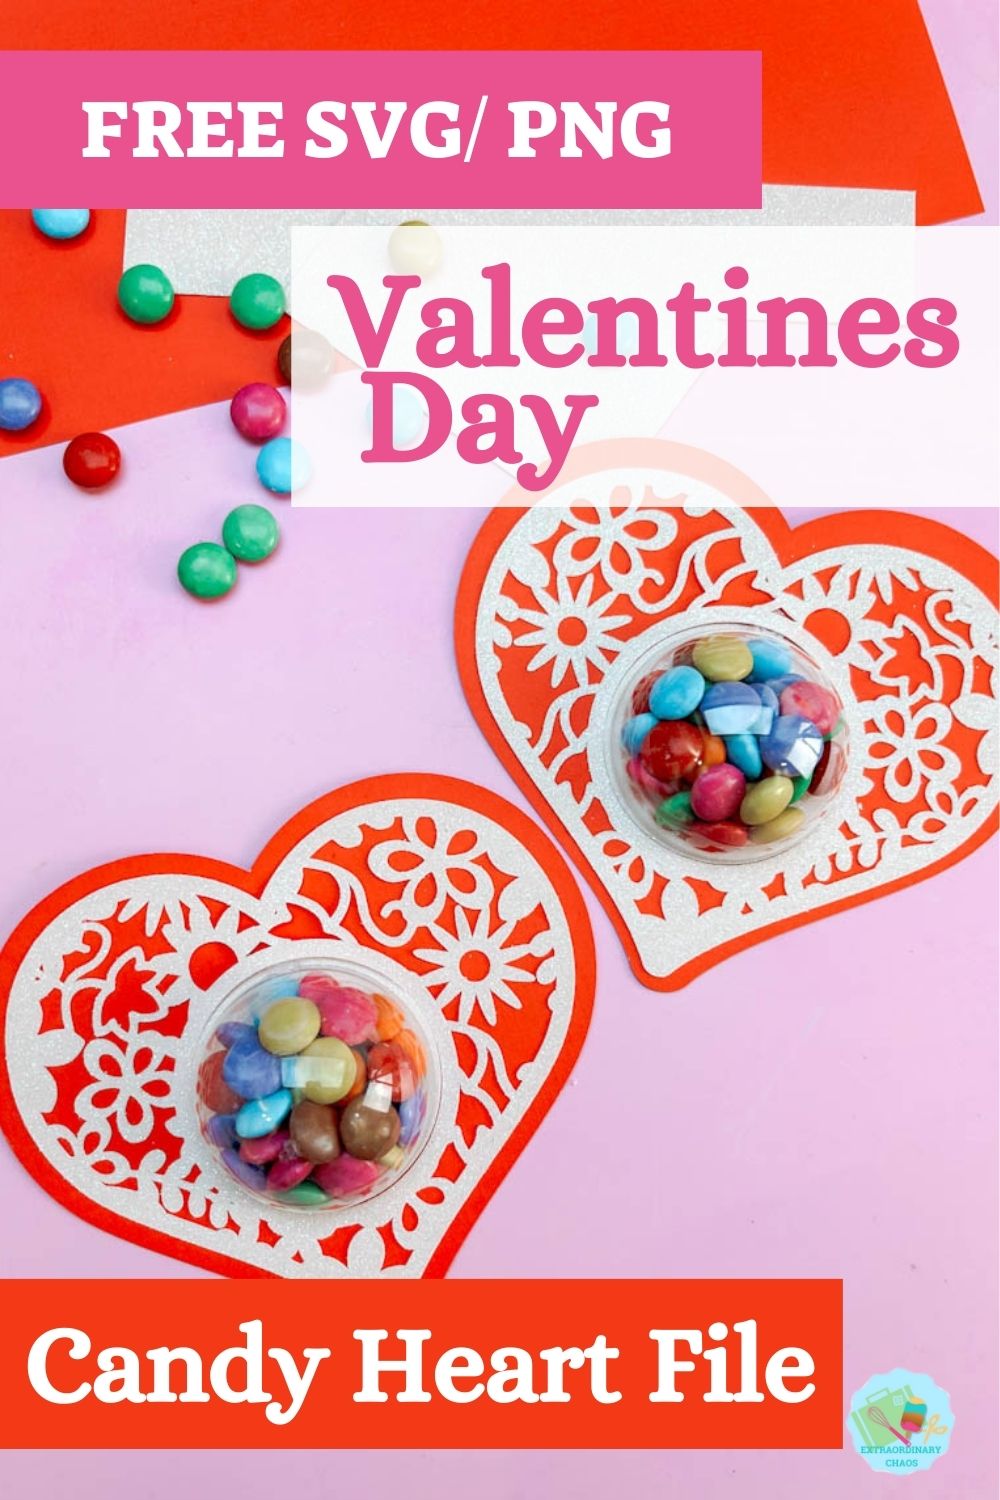
As Valentine’s Day approaches, this gorgeous free layered Candy Heart SVG For Cricut And Silhouette is perfect for creating Valentine’s treats and favours. However, this is also the perfect file for creating homemade wedding favours.
In this tutorial, we’ll guide you through the steps of creating this delightful layered candy heart SVG that you can use for various projects like cards, home decor, or personalized gifts.
This post may contain affiliate links. This means I may receive a small commission if you click a link and purchase something that I have recommended at no extra cost to yourself. As an amazon, Cricut and Glowforge associate, I earn from qualifying purchases.
What You Will Find Here
Valentine’s Candy Heart SVG Shopping List
- A Clear plastic bauble
- Card stock, pink glitter and red card stock
- Cricut Maker 3, Joy, Explore or Silhouette
- Super Glue
- Acrylic craft glue
- Sweets, I used smarties (You could use candy hearts for wedding favours)
How To Make A Layered Candy Heart
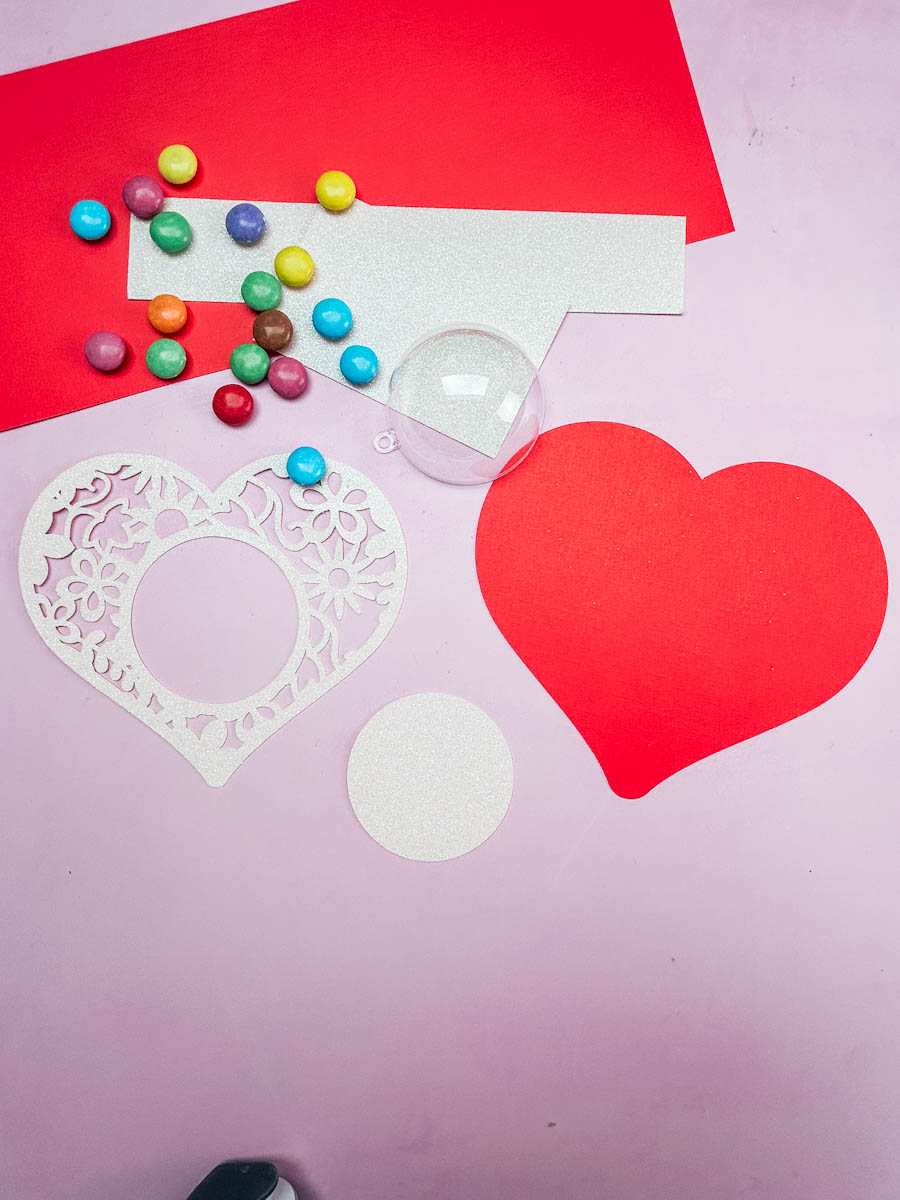
Start by uploading your Candy Heart SVG files to Cricut Design Space. You should have 2 layers.
- Top Floral Layer, you also need to keep the centre circle cut out. (I used pink glitter card)
- Back layer (I used red card)
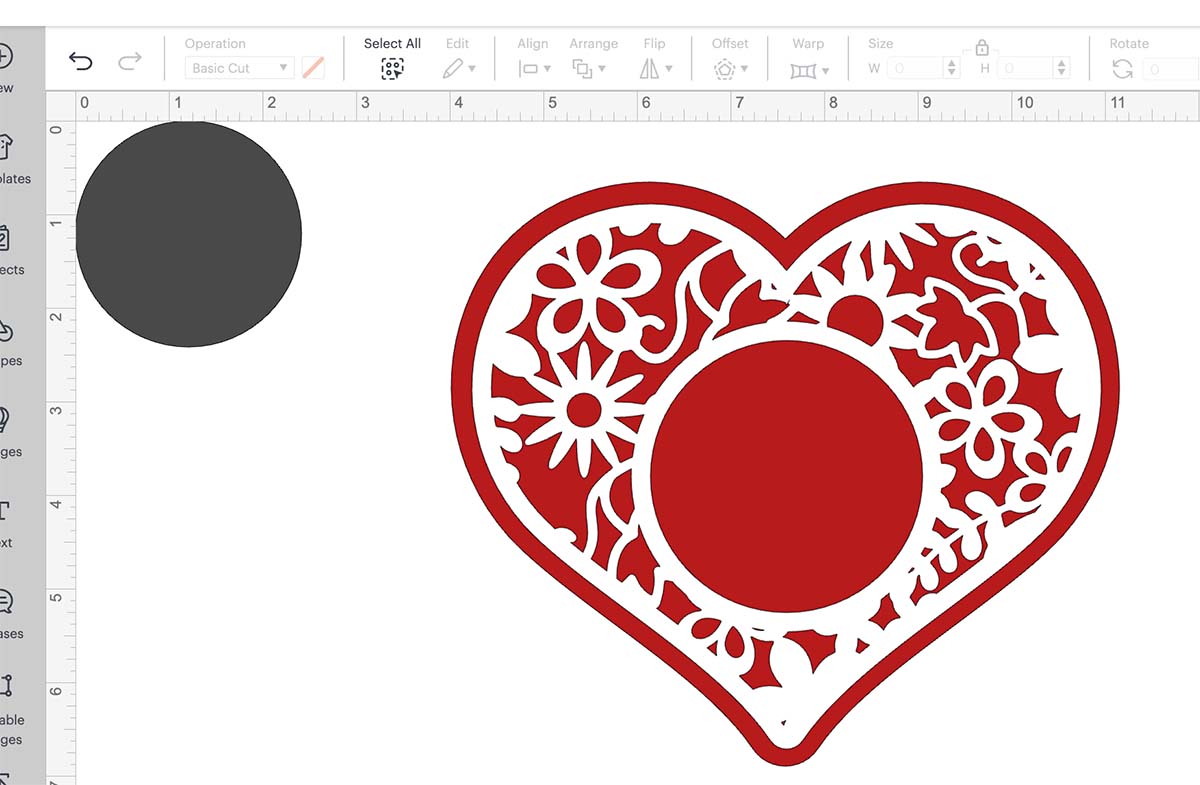
Measure your bauble and size a circle for the centre of the heart in Cricut Design Space as a guide the same size. Now, size your floral heart layer so your circle fits perfectly inside. The aim is that the candy bauble will go inside the heart, and you pop the candy in and glue the circle onto the back.
Size the back layer so it is slightly larger than the floral layer. When you are happy, discard the circle template and send the project to cut.
Building Your Layered SVG
When your project is cut, line up all layers to check they align correctly and start by filling the bauble with candy, then add superglue around the edge of the card circle cut out and pop on top of the bauble, keep to the edges so the glue doesn’t leak into the sweets and allow the glue to dry. I left it an hour before the next step.

Put this to one side and attach the floral layer to the back red layer using acrylic glue; however, don’t put glue on the top back or the circle; you need to leave this clear so the bauble tab slides in place.
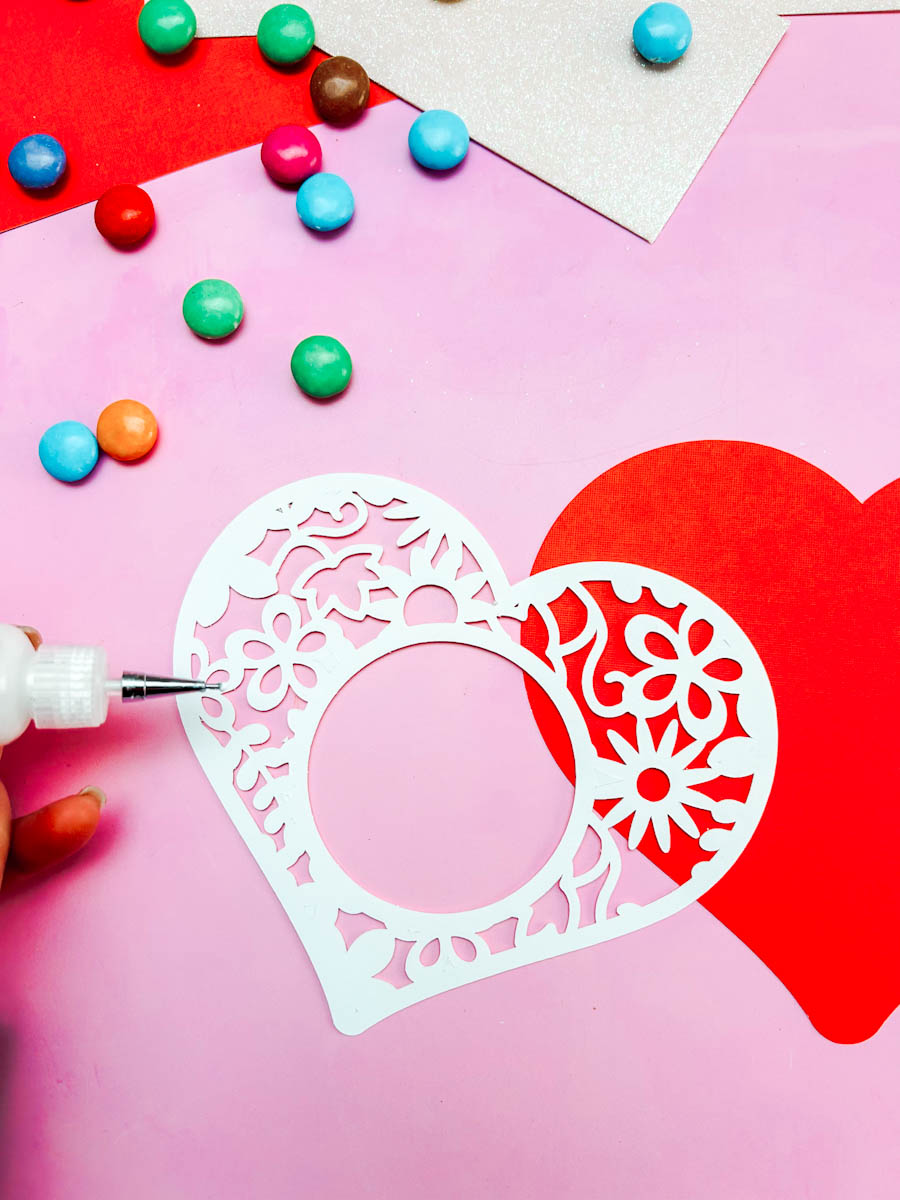
When the glue is dry, add acrylic glue to the back of your circle and fit inside the heart. Slide the bauble tab under the floral layer to hide it.

How to Get Our Layered SVG Candy Heart
Click here or image below to get the free layered Candy Heart SVG from our shop. Click here to find out how to upload to Cricut Design Space.

Tips And Advice For Using Cricut
- Cricut Design Space Guide
- How to upload to Cricut Design Space
- How To Make Print And Cut Stickers In Cricut Design Space
- Where Else To Get Free SVG Files
Also, please do pop over to Instagram, or TikTok and give me a follow and if you make a project, please do tag me! I love seeing everyone else’s makes and chatting crafting. I could do that all day! This is also where I share all my projects in progress.