
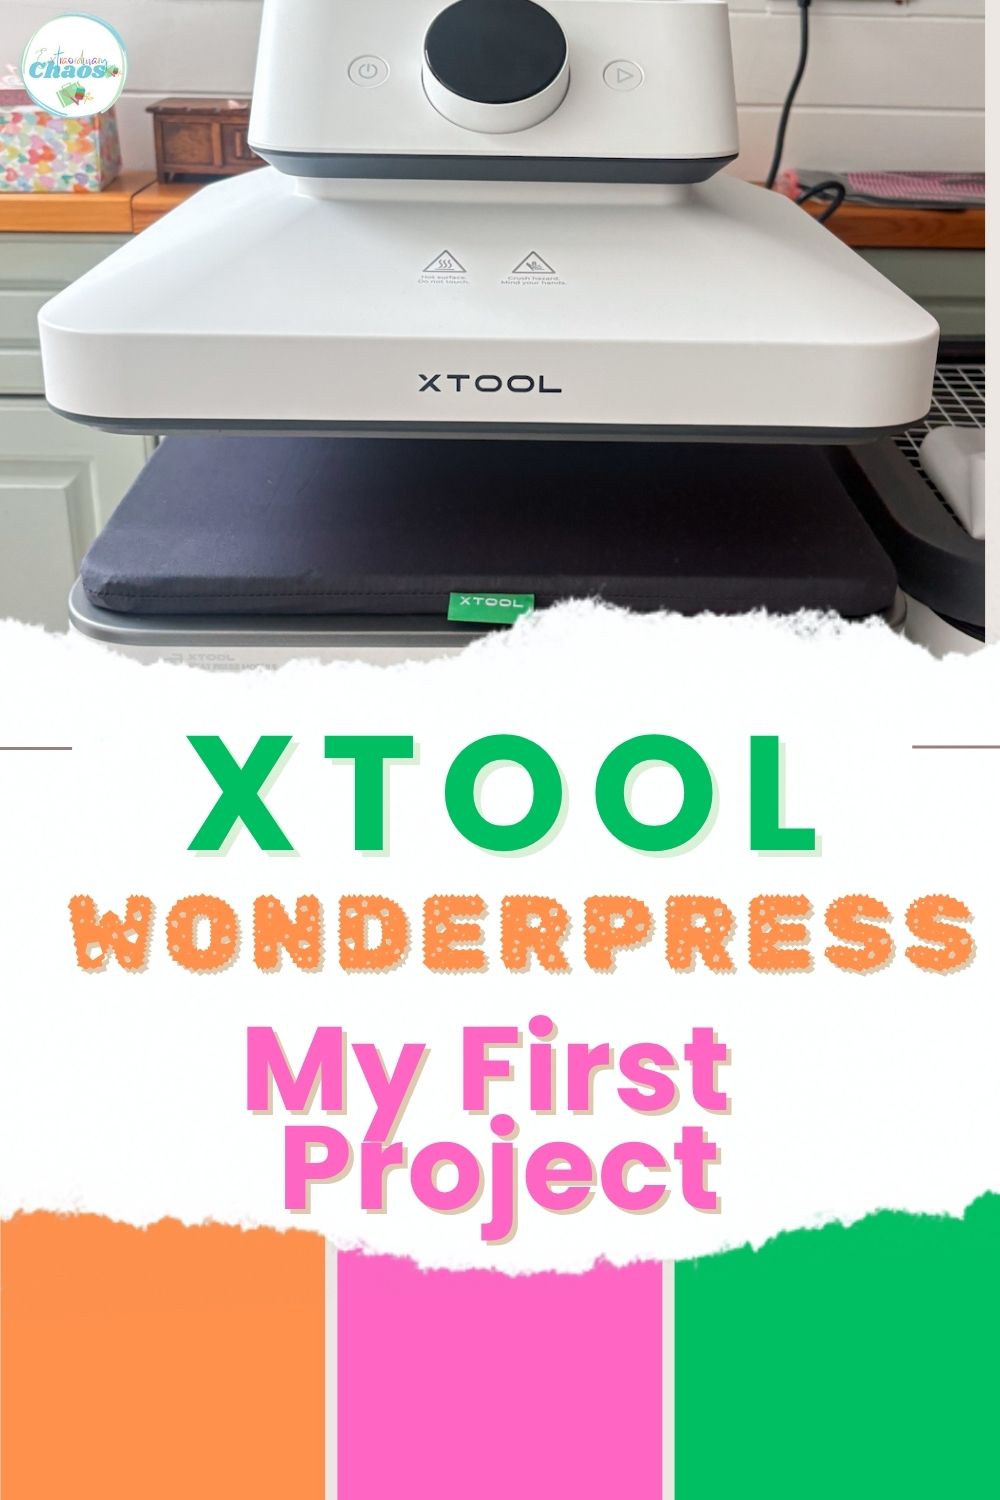
Right, confession time. The xTool WonderPress sat in its box on my craft table for two whole weeks before I plucked up the courage to turn it on. If you’ve ever stared at a new machine feeling a bit daunted by all the buttons and modules, you are absolutely my kind of person, and this post is for you. I decided my first project would be to make sublimation metal wall art for my bathroom using the xTool WonderPress Auto Heat Press Module.
I make things for the home; I’m a scrapbook crafter; I dabble in sublimation; and I’m a card maker, so I like to test machines through that lens rather than trying to show you everything they can do. More of a what can this machine do for me approach.
This post may contain affiliate links. Which means I may receive a small commission if you click a link and purchase something that I have recommended at no extra cost to yourself. As an Amazon, Cricut and Glowforge associate, I earn from qualifying purchases.
What You Will Find Here
xTool WonderPress Auto Heat Press Review: My First Time Using It
And today I’m sharing exactly what happened the very first time I switched the xToolWonder Press on, filmed live, mistakes and all, as I made a pair of glossy metal bathroom signs.
What Is the xToolWonder Press?
The xToolWonder Press is a modular heat press, which basically means that instead of buying one machine that does one job, you get a base unit plus swappable modules that each unlock a different type of crafting. No tools or screws needed; you just pull one module out and pop the next one in, and the machine recognises which one you’ve fitted.
Mine came with all three modules. When I first opened the box and saw all three side by side, it felt like a lot to take in at once. So here’s a proper breakdown of what each one actually does.
1. The Heat Press Module, your standard flat press, the one I used for my bathroom signs. It handles iron-on vinyl, DTF and flat sublimation, with up to 100kg of automatic pressure and enough clearance for thicker items like hoodies and tote bags, not just flat, thin pieces.
2. The Craft Oven Module, a proper crafting oven built in, used for curing DTF film, heat-bending acrylic, baking polymer clay, shrink plastic, and drying flowers. It’s got a built-in filtration system, so fumes and odours get filtered rather than filling your craft room. Haven’t tested this one yet myself; that’s coming later in the series.
3. The 3D Form Module does two jobs: 3D sublimation, which wraps sublimation designs around curved objects like phone cases and keycaps for full edge-to-edge coverage, and vacuum forming, which moulds plastic around an object to create a custom mould. Also on my list to properly test in a future video.

Is the xTool WonderPress Auto Heat Press Easy for Beginners?
This is the bit I really wanted to test, because I’d never turned this machine on before I hit record. No practice run, no rehearsal, just me, the machine, and a design I’d already prepped. Here’s what actually happened:
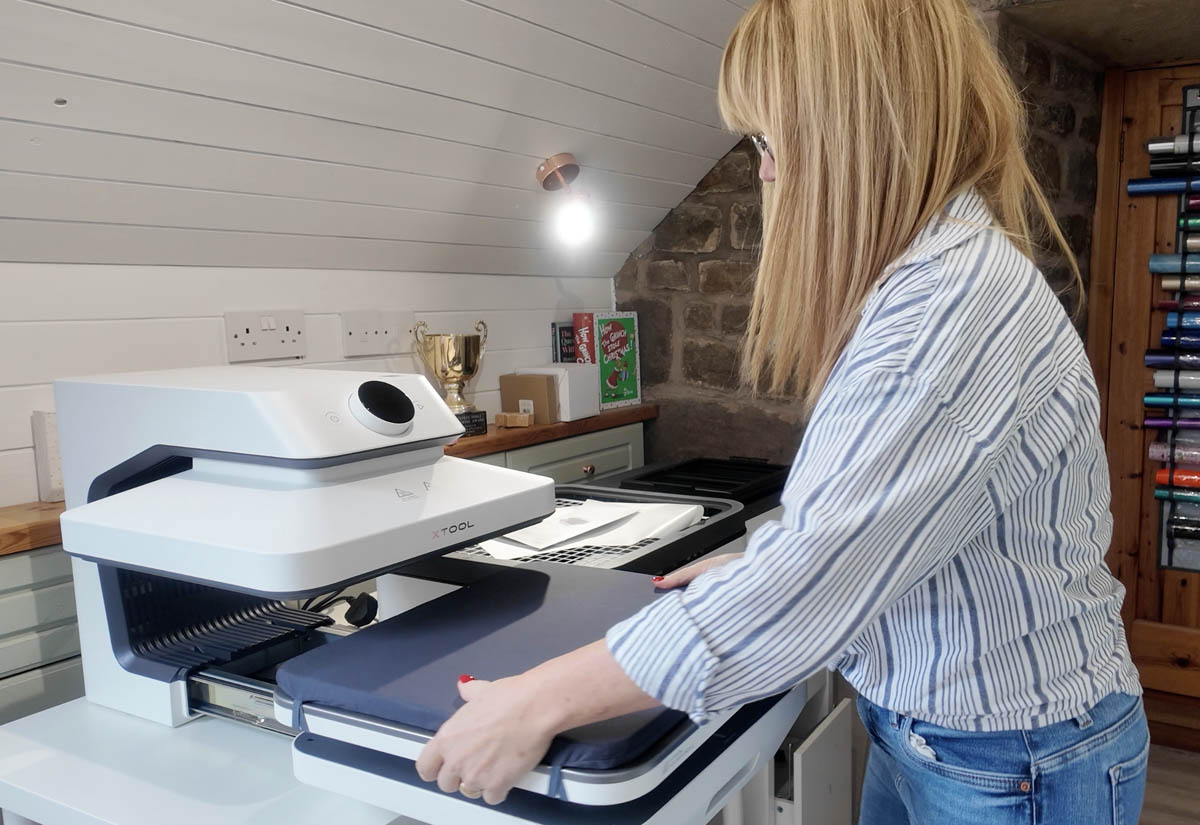
And getting the heat press module in was genuinely simple. It pulls out, you pop the module in, and it slots back into place. No tools, no faff.
Scanning the QR Code
I turned the module on and scanned the QR code for a quick tutorial, since there wasn’t a printed instruction booklet to hand. Within a couple of minutes I’d watched it and felt ready to go.
Letting the Machine Choose the Settings
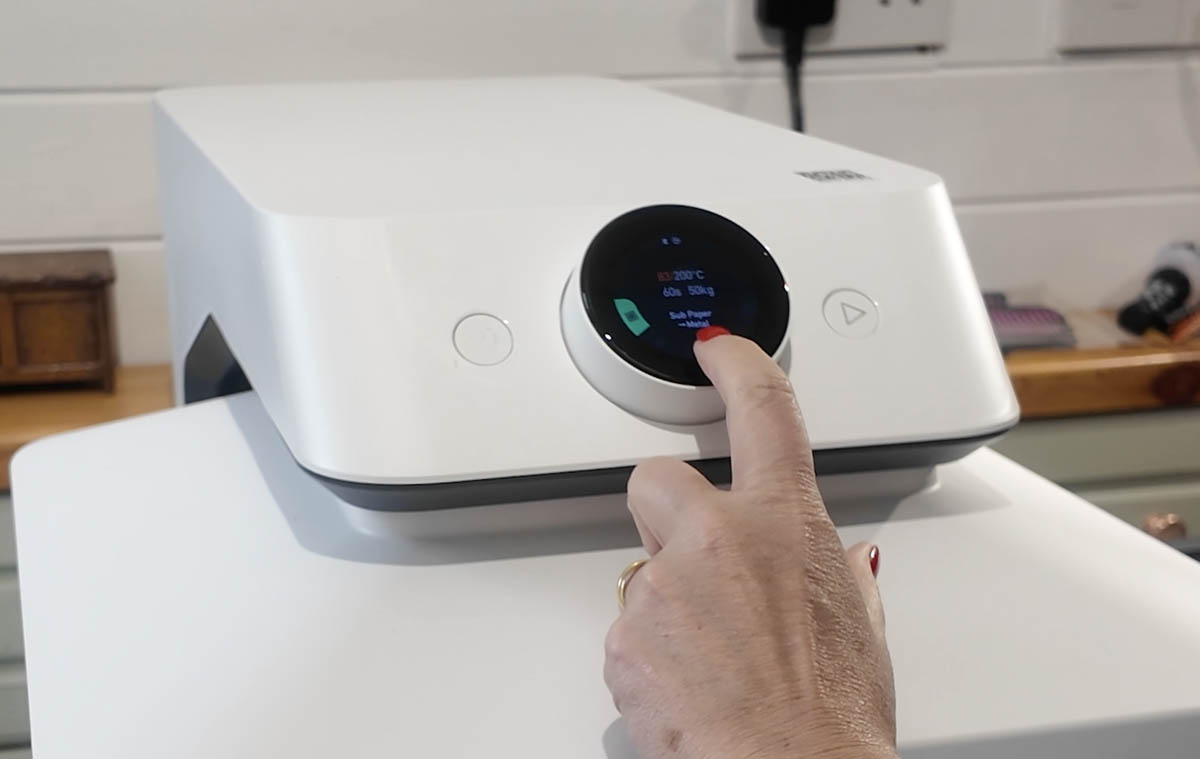
This is the part that really impressed me. I selected “sublimation paper and metal” on the display, and the xToolWonder Press automatically set the temperature, heat and pressure for me. I double-checked those numbers against what I’d found online just to be safe, and they matched exactly what’s recommended for metal sublimation.
Using Automatic Mode
I switched it to automatic mode rather than manual, purely because I wanted to see how the machine handled it on its own first time round. Once it reached temperature, it pressed the sign itself for 60 seconds without me needing to do anything. You can hear the fan running throughout, which is a nice touch as it’s the first heat press I’ve used with one built in. It does eliminate some of the strong sublimation odour.
Is the xTool WonderPress beginner-friendly? For a first-time sublimation project, on a machine I had never so much as switched on before, yes, genuinely. I’ll be doing a full deep dive into every module in this series, but as a first impression, that’s a big tick.

How I Designed My Bathroom Signs (Quick Tutorial)
Here’s roughly how I got from idea to finished sign:
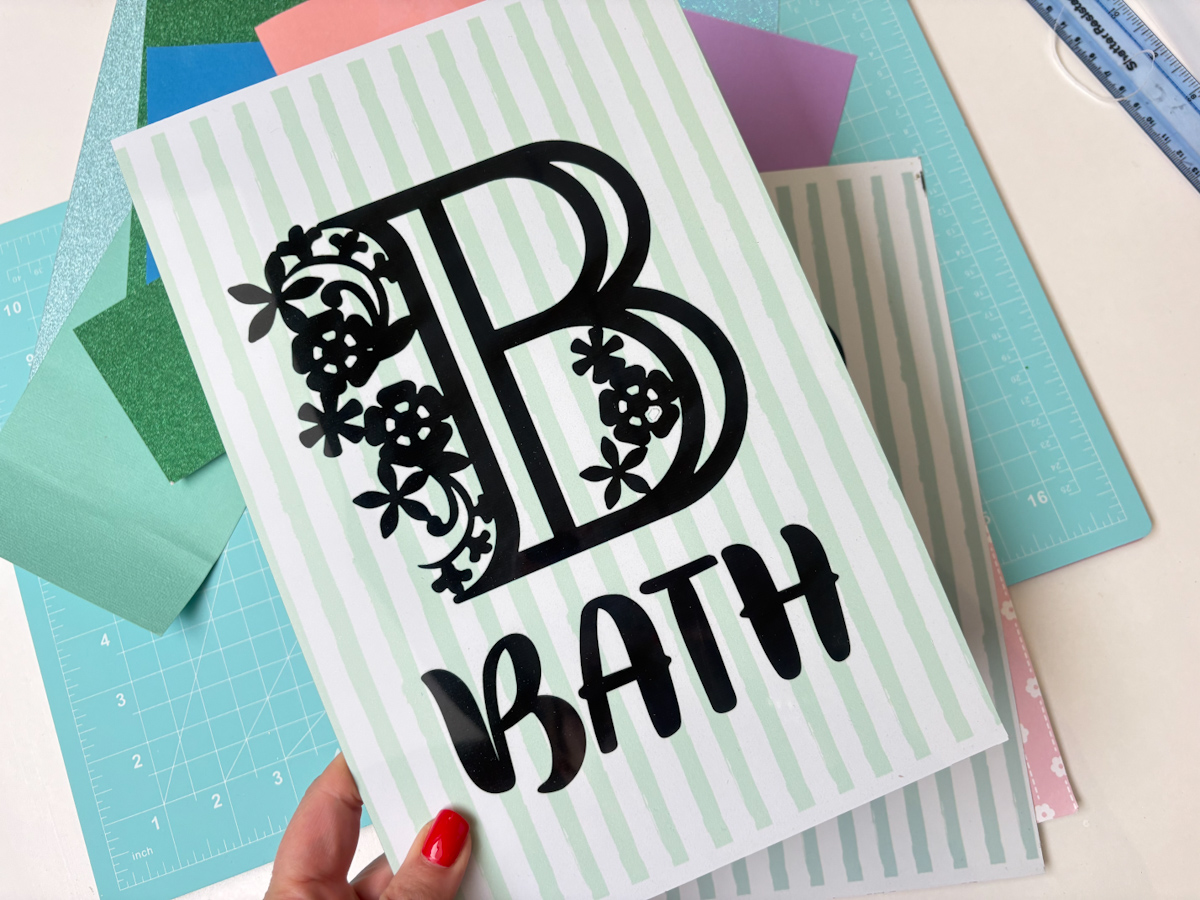
- Start with a free alphabet. I used my Floral Alphabet and uploaded it to Canva as a PNG, so it came through solid black.
- Build the background in Canva. I searched “striped background” in the side panel and adjusted the colours to match my bathroom’s muted blue and grey palette.
- Add your text and download. I typed “bath” and picked a font that suited a simple, slightly retro look. Then download the image and open it in Preview (I work on a MacBook)
- Flip the image. This step matters for sublimation. Go to Tools and flip the design horizontally before you print, otherwise it will transfer the wrong way round.
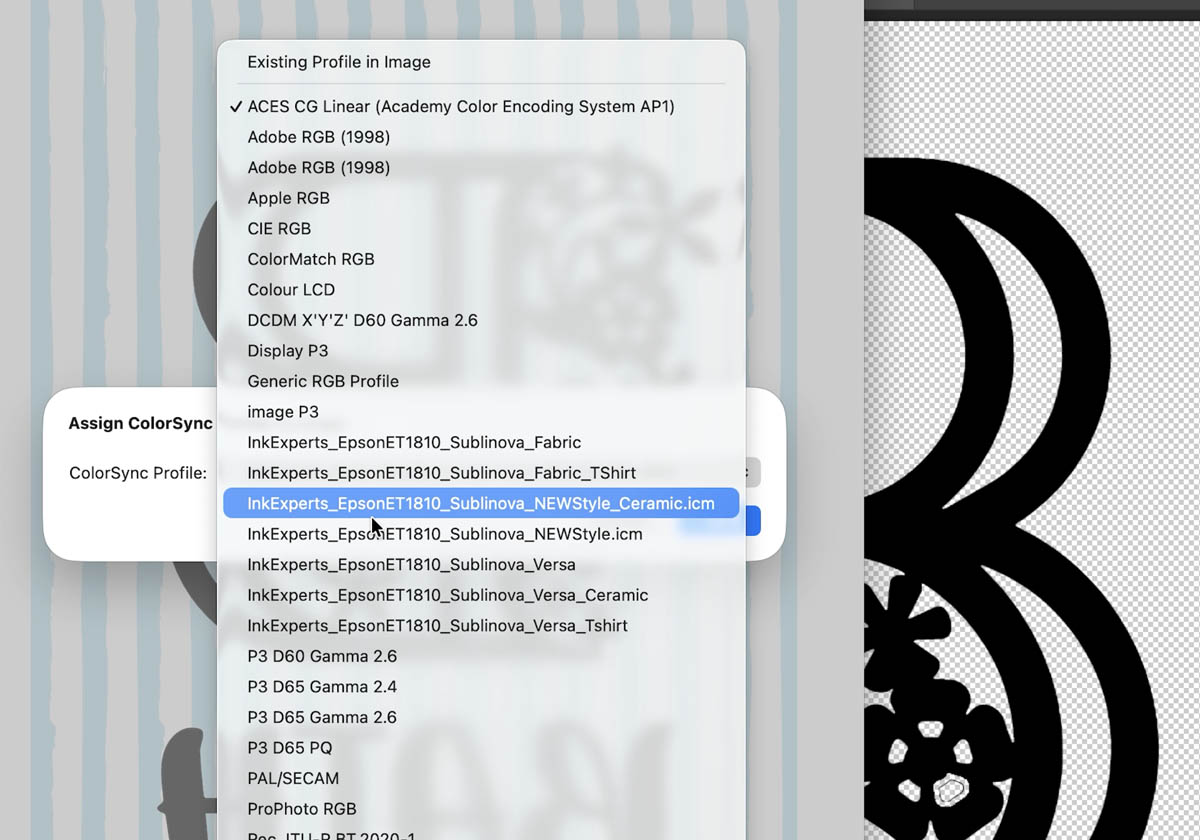
- Choose the right colour profile. I tested two colour profiles side by side: one set through my Mac and one set through my printer directly. The printer profile came out noticeably brighter and glossier for me, so that’s worth experimenting with on your own setup. I used my Ink Experts Colour Profile for Ceramics.
- Print at the highest quality setting, then tape your printed design onto your sublimation blank, ready to press. Line your printed design up on your metal sublimation blank. Tape one edge down first (I start at the bottom), get it straight, then work your way round taping the remaining edges so nothing can shift during pressing.


Set Up the xTool Wonder Press
Fit the sublimation module if it isn’t already in place. Turn the machine on and select “sublimation paper with metal” from the display. This automatically sets the recommended temperature, heat and pressure for you; no guesswork needed. Switch to automatic mode if you’d like the machine to press and release on its own once it reaches temperature.
Press Your Sign
Place your taped design onto the press, cover it with the protective sheet provided, and close the lid. On automatic mode, the Wonder Press will wait until it hits temperature and then press for you, mine ran for 60 seconds. You’ll hear the fan running throughout, which helps keep things consistent.
Cool, Then Peel
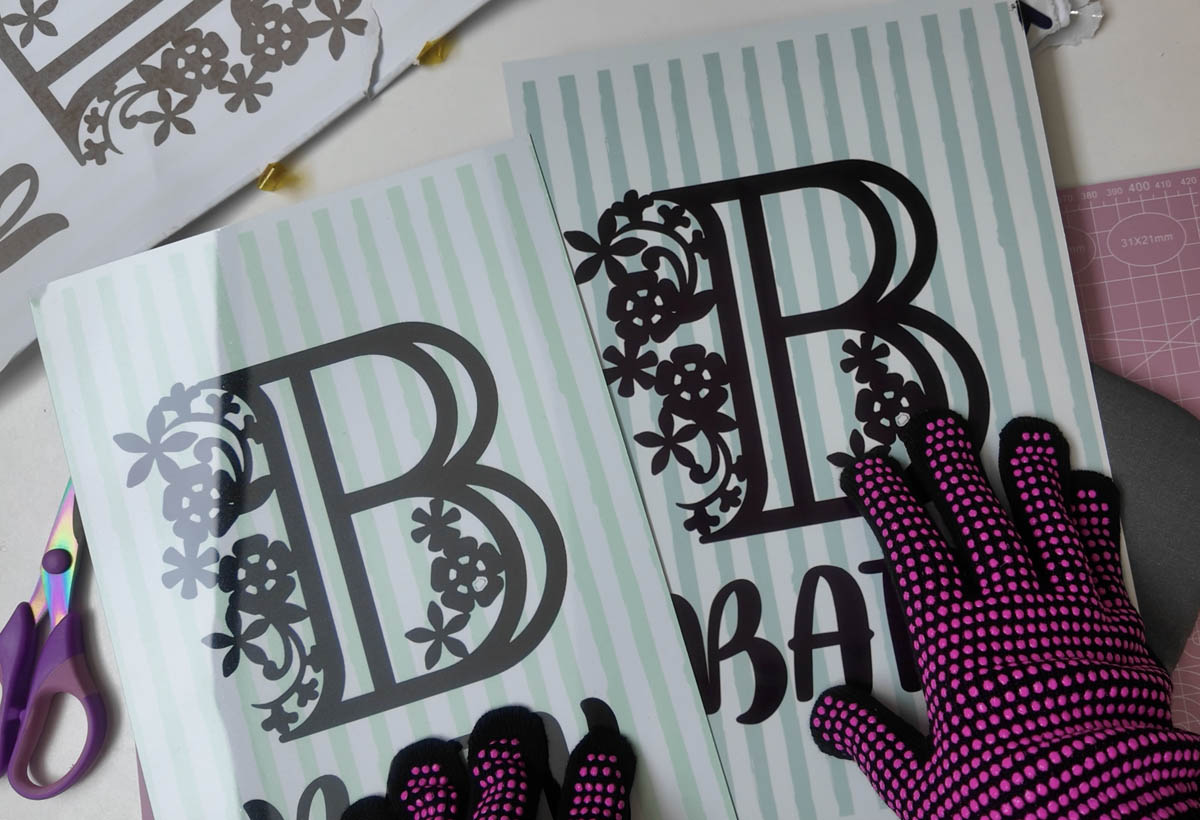
Pop your heat resistant gloves on to remove your sign, then let it cool slightly before peeling off the tape and paper backing. Peel slowly and evenly. If your sublimation paper has a thin plastic film on it, remove that before pressing rather than after, that’s the mistake I made, so learn from me.
I’ll am covering the full step-by-step version of this, along with sublimation coasters and other projects, later in my xTool Wonder Press series over on YouTube. Click the image below for a detailed walkthrough of this project.
Make This Sublimation Sign
Wonder Press vs a Standard Heat Press
If you’re weighing up whether the extra cost of a multi-module machine like this is worth it over a standard flat heat press, the automatic temperature and pressure detection is the standout difference for me so far. A lot of basic heat presses leave you to guess or Google the right settings for your material. Here, selecting the material type did that job for me, which takes a fair bit of the beginner anxiety out of the process. I have lots more to review, but so far so good.
Did The xTool WonderPress Auto Heat Press Stand Up?
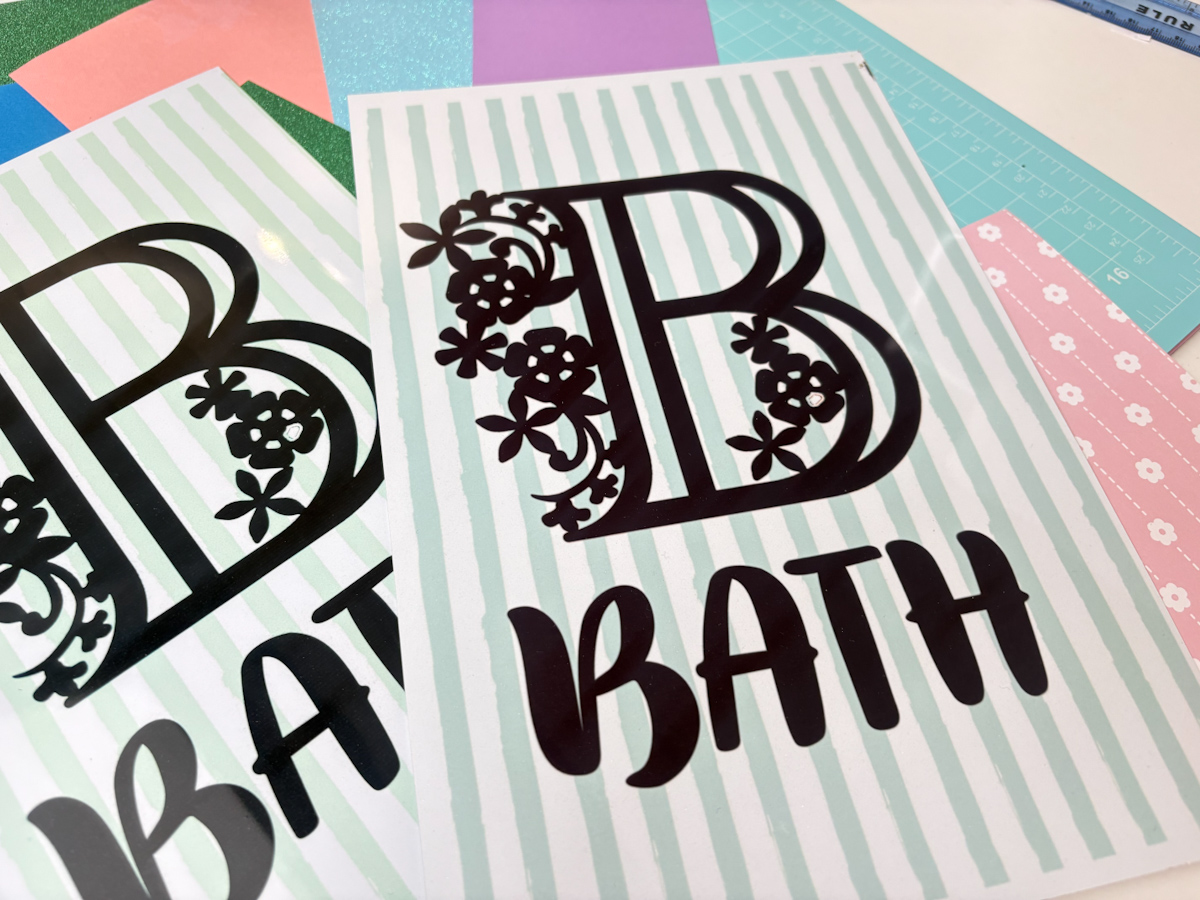
So there you have it, my first time using the xTool WonderPress, wobbles, mistakes and all. Two signs, one small plastic film disaster, and honestly, both came out gorgeous enough to go straight on my bathroom wall.
I’m working through this machine one project at a time, because that’s how I actually use my machine, and I’d rather show you real projects than a features list. Next up in the series will be sublimation coasters.
Please note xTool gifted me the WonderPress, but I am reviewing it my way, and all thoughts are my own.
