
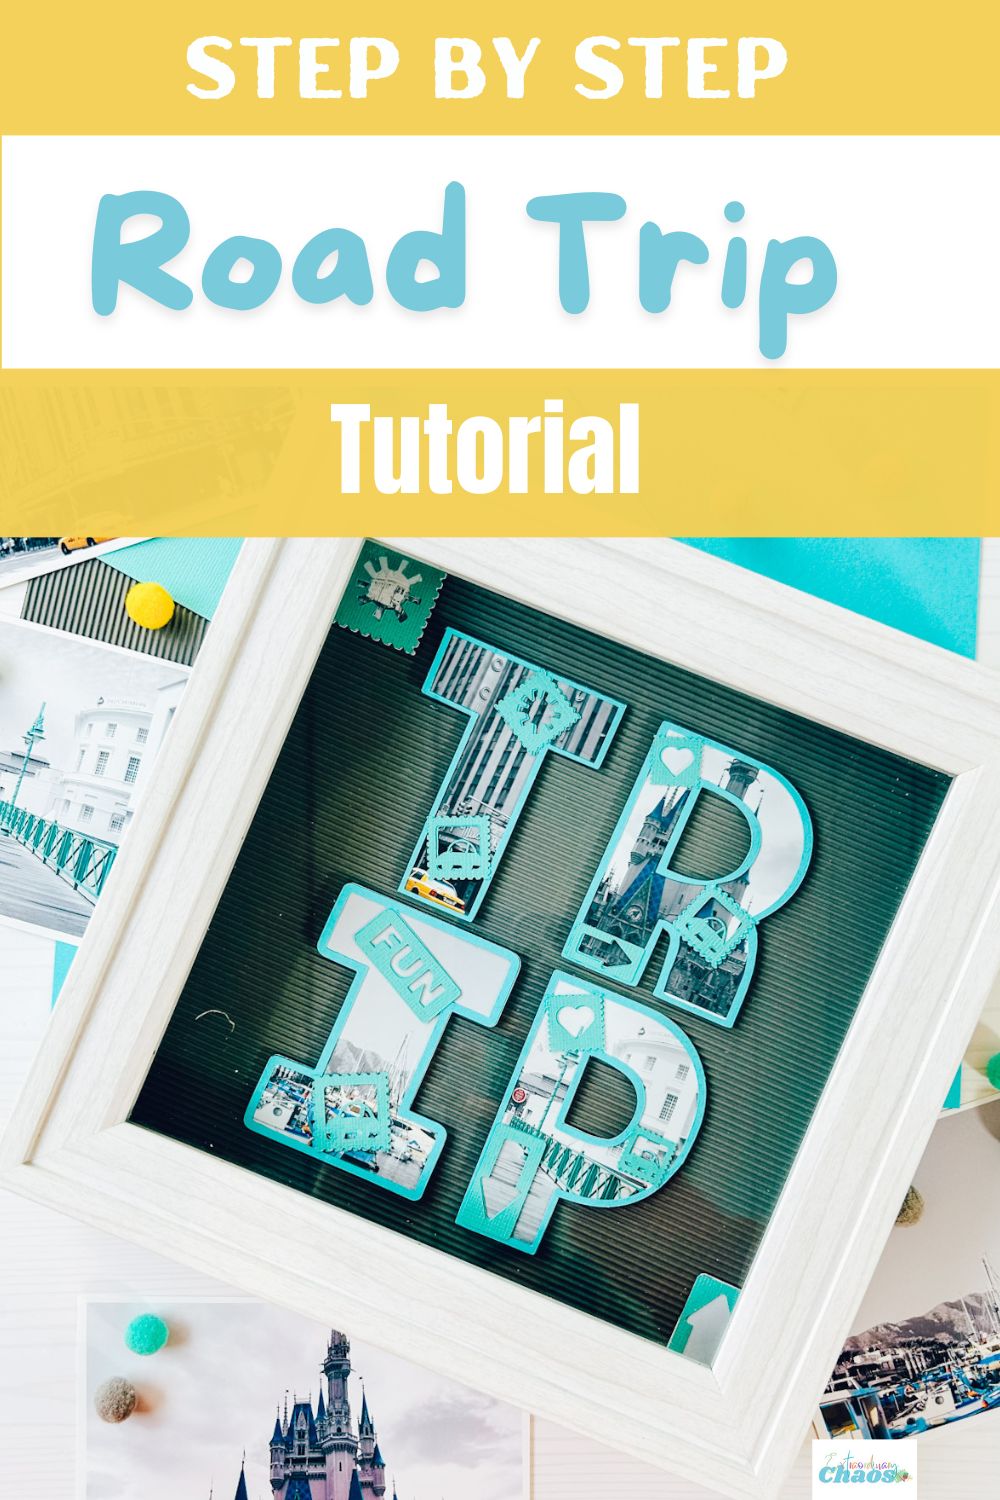
Today, we’re diving into an exciting creative project, making a multi-layered road trip scrapbook file. Whether you want to showcase your travel memories or use this for general scrapbooking, this tutorial will guide you step by step. Let’s get started!

What You Will Find Here
Step-by-Step Tutorial: Creating a Multi-Layered Road Trip Scrapbook Art
What You’ll Need
Before we begin, gather the following materials:
- Four photographs (edited as you prefer)
- Cardstock (two colours – one for the background and one for the letters)
- Photo paper (if printing your own photos)
- Cutting machine (Cricut or Silhouette)
- Weeding tool, scraper, and brayer
- Cricut cutting mat (green mat recommended for intricate cuts)
- Cosmic Shimmer Acrylic Glue
- Fine-tipped applicator bottle with a pin
- Box frame or flat frame (optional for display)
- Sticky pads (for a layered effect)

See Our Step By Step Video Tutorial
If You Want To Use Our Road Trip SVG, PNG Free Files For Crafting?
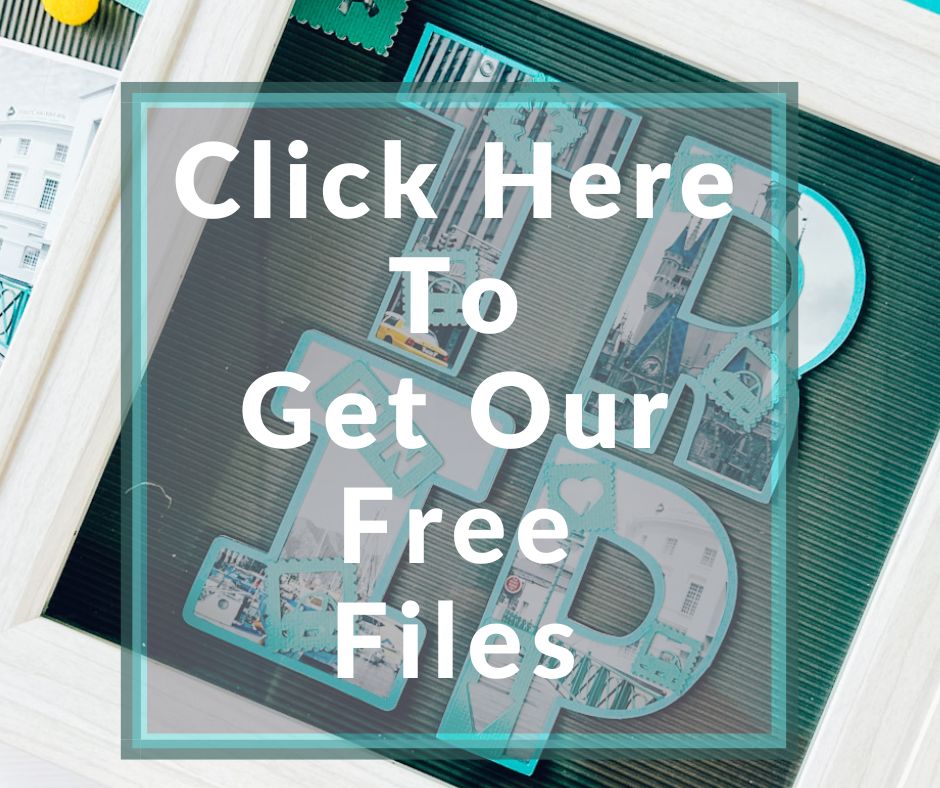
Click here or the image below to get your free downloadable Road Trip SVG files from our shop, and follow these instructions to add to Cricut Design Space if you are using a Cricut Machine. Note if you are using Glowforge or xTool you need SVG files to cut the image out of wood or acrylic. Or PNG or SVG to engrave. The full alphabet is available for £7.00. And the numbers are free here.
How To Make Multi-Layered Road Trip Scrapbook Letters
1: Uploading Files to Cricut Design Space
Open Cricut Design Space and click New Project in the top right corner. Click Upload in the bottom left and select Browse to locate your design files. Choose the SVG format for your letters and stamps and upload them. Once uploaded, select all elements and insert them into your project. Resize as needed by selecting all and dragging them to fit your layout.
2: Creating the Letter Layers
Select the first letter and duplicate it by right-clicking and selecting Duplicate. Use the Contour Tool in the bottom right corner to remove the inner cut-outs, creating a solid base layer. Change the base layer’s colour to differentiate it from the top layer. Then, right-click and select Send to Back so the base layer sits behind the letter. Repeat this process for each letter in your word (e.g., ‘TRIP’).
3: Arranging the Stamps & Decorations
Select the stamps and arrange them around your letters. Resize and tilt stamps using the corner handles on the image. Change their colours using Colour Sync in the right-side panel for consistency. To keep everything aligned, group elements together by right-clicking and selecting group.
4: Preparing the Background
Measure your frame or scrapbook layout using a ruler. In Cricut Design Space, create a square or rectangle that matches your background size. Change the colour to match your design theme. Arrange your letters and stamps on top, ensuring proper spacing.
5: Cutting Your Design
Click Make It in the top right corner to send your design to the cutting machine. Choose the correct material settings based on your cardstock and photo paper. Place the materials on the cutting mat and load them into the machine. After cutting, reverse peel the mat to carefully remove your pieces.
6: Assembling the Layers
Begin with the background layer, securing it with adhesive or sticky pads. Attach the base letters first, ensuring even spacing. Then, add the top-layer letters using sticky pads for a dimensional effect. Position the stamps and decorations, adjusting their placement as needed. Apply Cosmic Shimmer Acrylic Glue for fine details and let it dry.
7: Final Touches & Display
Ensure all elements are securely attached. If using a box frame, insert your artwork carefully. For scrapbook pages, mount the piece securely within your layout. Finally, stand back and admire your personalised road trip artwork!
And There You Have It—A Beautiful, Multi-Layered Road Trip Scrapbook Piece!
This project is a great way to preserve your favourite travel memories while experimenting with different paper crafting techniques. Feel free to customise it with different colours, themes, or locations. Happy crafting!

I like this a lot but would be useful if it was described how to do it in silhouette machines as well. Not everyone owns a cricut machine!
Hi, thank you, and likewise, not everyone owns a Silhouette, including me, sorry Sarah