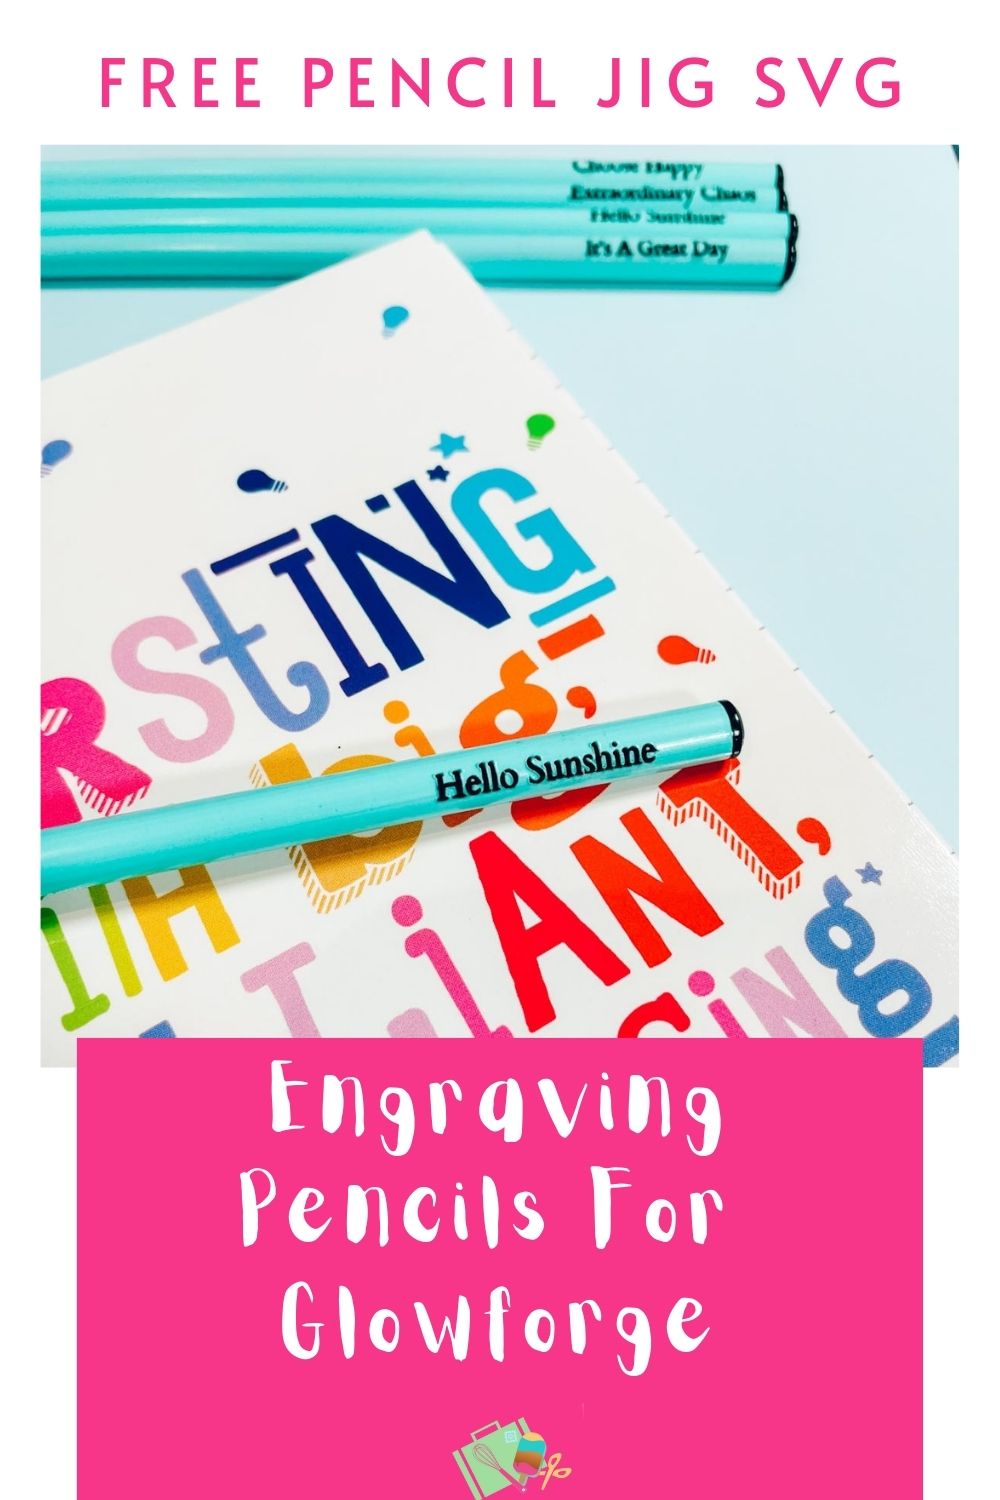
Was it just me the was obsessed with personalised pencils when I was younger? Ok, I admit it, I still am. So when I placed the order for my Glowforge I knew this was one of the first things I was going to make. Thus after a few pencil projects and lots of playing about I want to share “How To Laser Engrave Pencils With Glowforge And my free SVG Pencil Jig for you to download and make your own pencils.
I know it’s a little thing, but being able to make someone you love their very own pencils feels like such a wonderful thing to do. Creating with love is my favourite way to craft, home made is always better right?
And for all you sellers out there, I can’t tell you how many messages I got to buy pencils when I posted my tutorial on Instagram. People love personalised, a it’s a great way to gift and make someone smile. This post will take you through my trials and errors. What worked for me and what didn’t.
This post may contain affiliate links. This means I may receive a small commission if you click a link and purchase something that I have recommended at no extra cost to yourself. As an amazon, Cricut and Glowforge associate, I earn from qualifying purchases.
What You Will Find Here
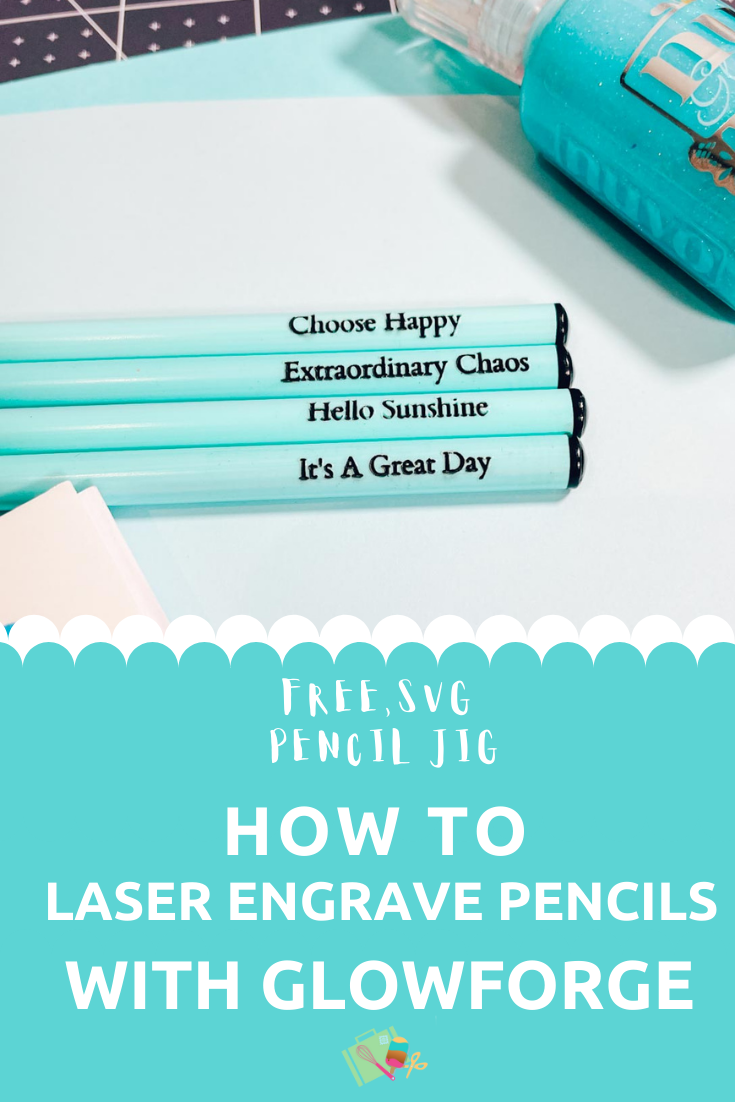
How To Laser Engrave Pencils With Glowforge And Free Pencil Jig
What Do I Need To Engrave Pencils With Glowforge
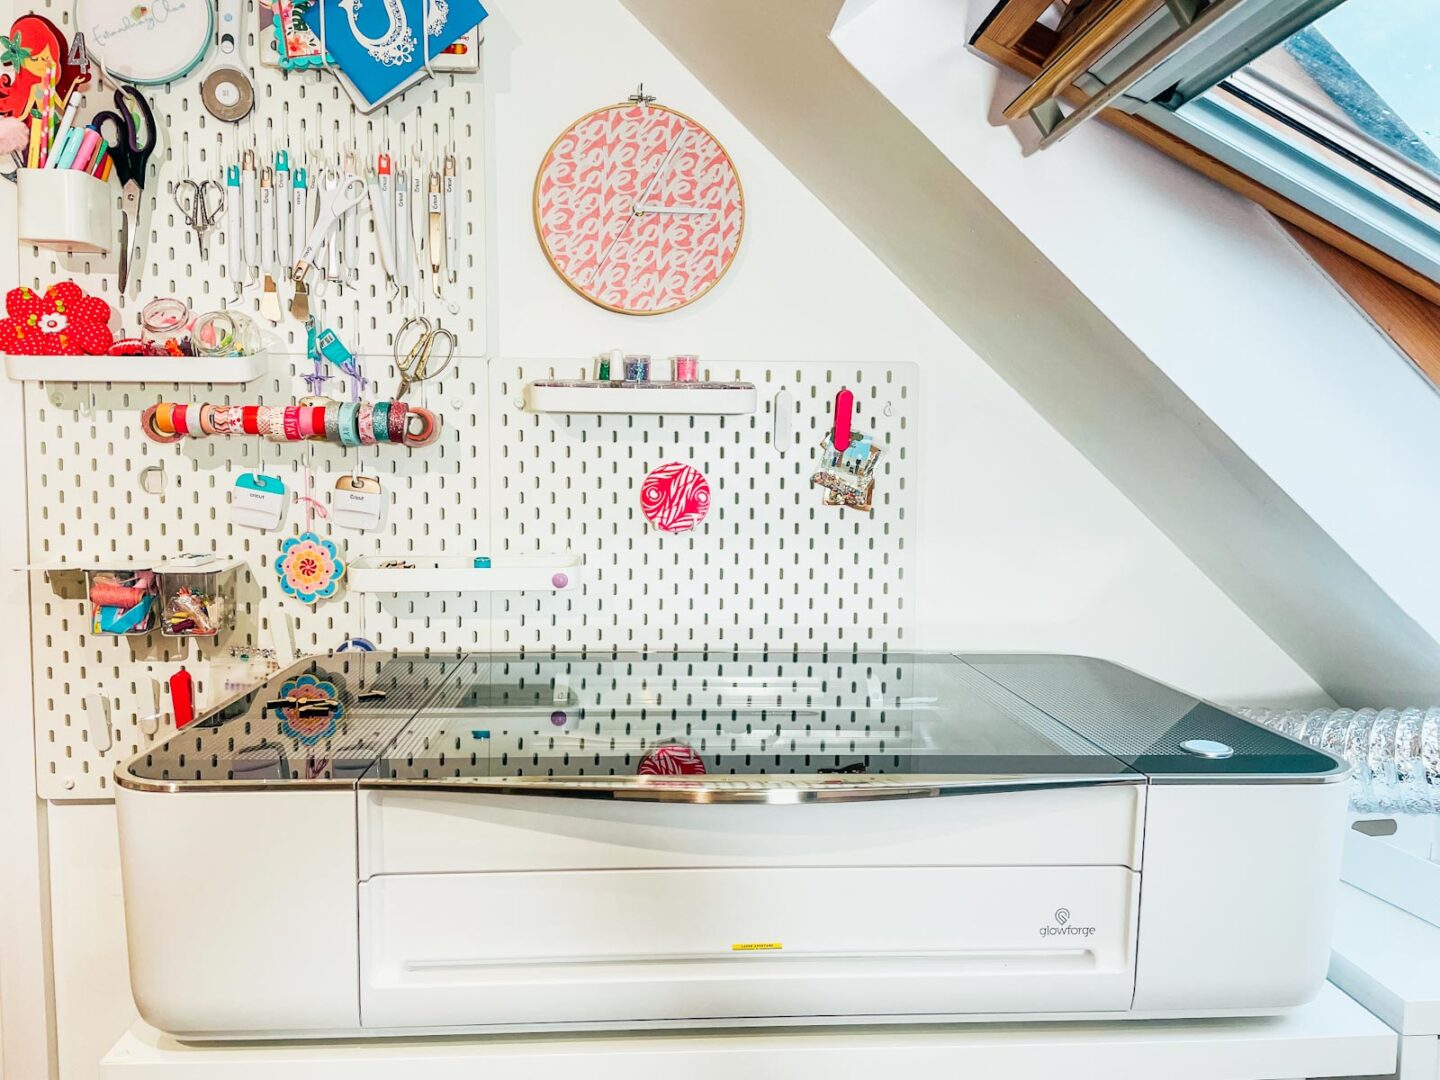
- A Glowforge Printer
- Glowforge Medium Draftboard or I used this plywood from Amazon ( this is great for projects you want to paint over)
- Pastel Pencils UK (The Christmas Pencils are from B&M Bargains)
- Pastel Pencils US

Also Use My Glowforge Discount Code To Get The Following Discounts If you Are Thinking Of Investing.
- Glowforge Pr, $500 USD.
- The Glowforge Plus, $250 USD
- Glowforge Basic, $125 USD
If you are UK based your Glowforge will ship from the UK.
Uploading And Cutting Your Free Glowforge Pencil Jig
To do this click the + sign in the top centre bar, click upload and add the Pencil Engraving Jig file, you can find the link to download at the bottom of my post. Once uploaded simply click on the file and drag the corner and size, I sized mine at just over 6 inches by 9.6 inches. This Glowforge Pencil Jig fits 10 pencils, however if you want to engrave more, simple cut 2 jigs.
Alternatively open the file in Cricut Design Space or Canva, duplicate and weld the 2 files together, you will now have a Glowforge jig to engrave 20 pencils.

When you have decided on your size, pop in the draftwood or plywood and print your pencil jig. You will be able to drag the jig file over the plywood to get the cut out perfect.
I cut the plywood in medium draftwood settings and it cut perfectly well, because its not a proofgrade material, thus not protected with a masking layer, you do get some charing on the wood, however for a jig this doesn’t matter. This is also a great affordable product to use for items you intend to paint.

Making Names Or Words To Engrave On Your Pencils In Canva
Decide what words or names you want to engrave onto your pencils. If you have the premium membership you can type in your names. If you don’t you can do this in the free version of Canva. Because you are only engraving, PNG files work fine.
Simply decide on a font, and type your name or word, do this one at a time as it will give you more flexibility to move them about. Now save as a PNG and download the file, when you have all your words and names you can upload them to Glowforge. As they are uploaded you will be able to see them on your screen.
Engraving Your Pencils With Glowforge
Now turn on your Glowforge and pop the jig in, try and keep it nice and square. Pop in your pencils, making sure they are all line up to the end of the jig. When you check out your desktop you will be able to see the pencils in place.
Note here if you are making for a left or right handed person. The image below is correct if your recipient is right handed, for a left handed person flip the pencils to the other end of the jig and the words will be the correct way round.

You can now upload your words or name png files one at a time. I find zooming in at the point helps. Grab each word and hover over your pencil, resizing until the word fits inside of the pencil. Don’t cover the whole visible pencil and because its round this will distort when engraving.

Settings For Laser Cutting Pencils With Glowforge
Once happy with placement I set my material to medium draft board, press print and the camera readjusts slightly and your words will move slightly. I then cancel the print and re adjust my words before hitting print. This works for me with all laser cutting and engraving.
Yes, I know this seems a bit faffy, however I found that it was more precise that measuring the pencils and manually adding settings. I trust the camera more than my measurements.
I also found it better to use the 3d engrave setting, there are 6 to choose from this worked better for me. (If you are using Glowforge premium fonts 3D Engrave is not an option, however I have found the SD graphic setting worked.
Once you are happy press print and watch the magic. If this is your first attempt, its worth trying with a sample pencil first to check placement. However, this method has worked consistently well for me.
What Didn’t Work
I found measuring my pencils was a bit hit and miss. Also avoid the draft photo setting in the engrave settings, for me it wasn’t deep enough. I found the 3d engrave setting was a little deeper and took the first layer of nicely.
Using paint to stain the engraved area is hit and miss. This worked on the coloured pencils I made as the finish of the pencils was glossy. However I made a pink set of pencils, much like the green set below and as the finish is mat, the paint stained the pencil.
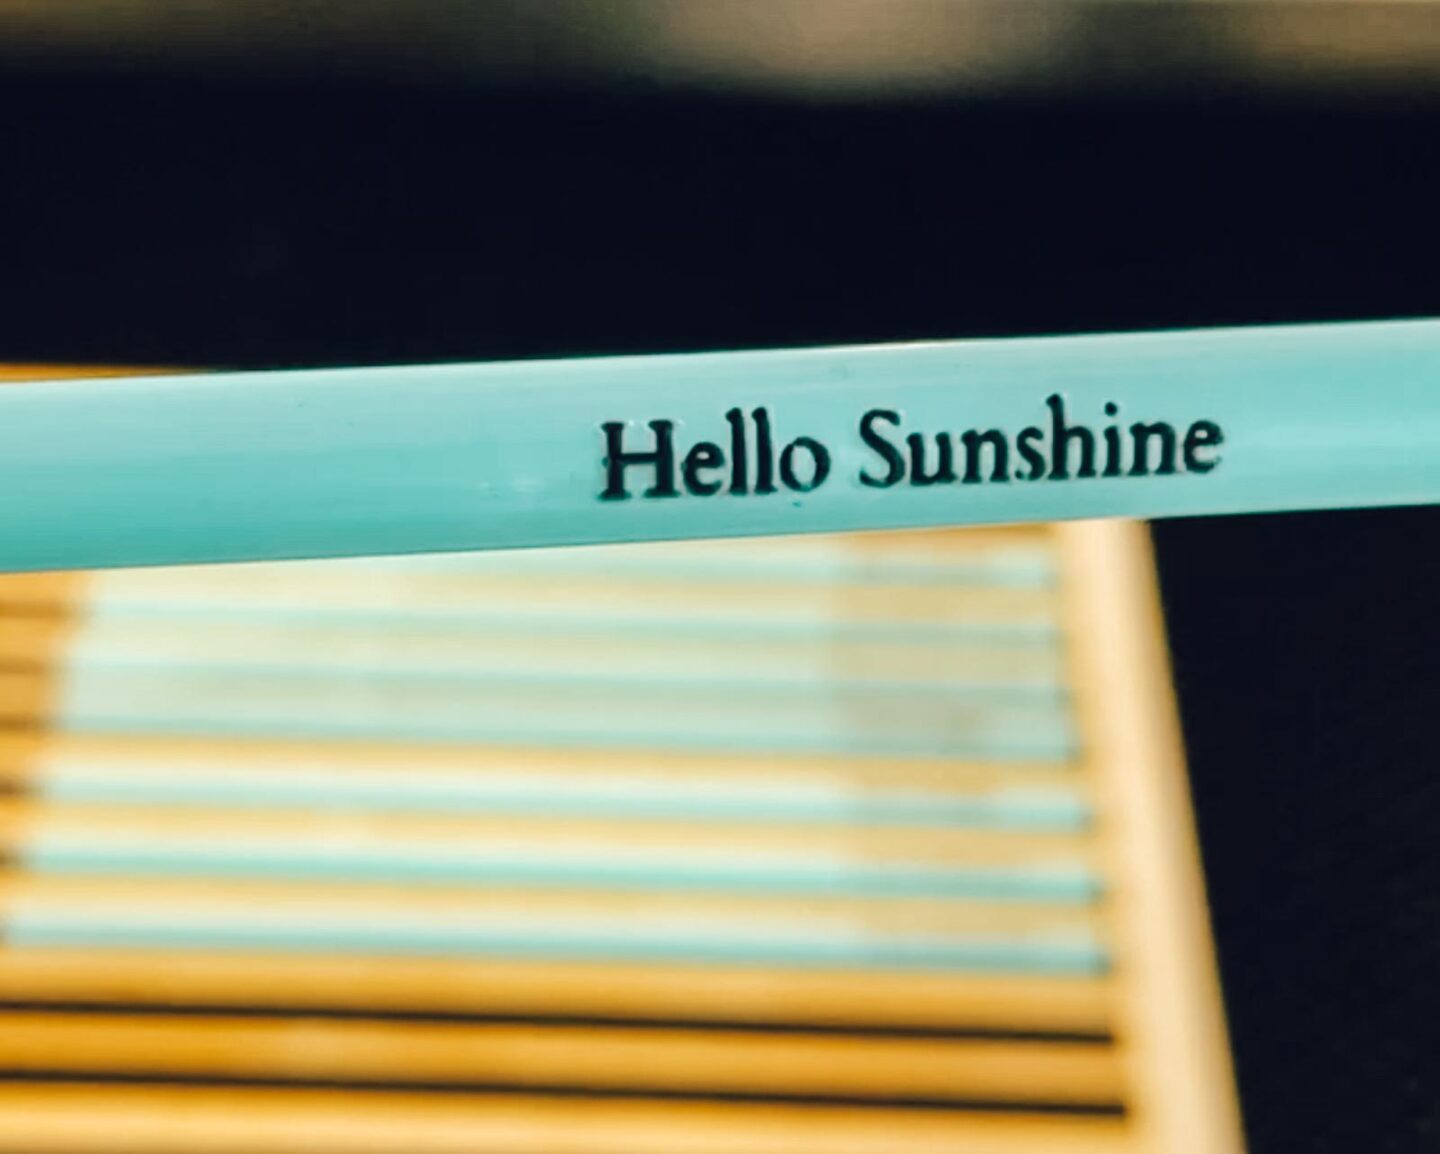
Be aware of the finish before you use any ink or paint. However, the pencils I Have linked from the UK have a lovely black inside which if cut with the 3d engrave setting doesn’t need finishing.

How To Get Your Free Glowforge Pencil Jig SVG File
Click here or on the image below to get your free downloadable Pencil Jig SVG file from our shop. I have also included PNG files of the words I used.

If You’re Having Problems?
Check out my trouble shooting page, hopefully it will answer any questions you may have.
Also please do pop over to Instagram, and give me a follow and if you make a project tag me! I love seeing everyone else’s makes and chatting crafting. I could do that all day!

How to Engrave Pencils With Glowforge
How To Laser Engrave Pencils With Glowforge And Free Pencil Jig for creating your own custom made pencils as gifts or to sell
Materials
- Pastel Pencils (The Christmas Pencils are from B&M Bargains)
- Pastel Pencils
- Glowforge Medium Draftboard or plywood from Amazon
Tools
- A Glowforge Printer
- Glowforge Medium Draftboard or plywood from Amazon
Instructions
- Uploading And Cutting Your Glowforge Pencil Jig
To do this click the + sign in the top centre bar, click upload and add the Pencil Engraving Jig file, you can find the link to download at the bottom of my post. Once uploaded simply click on the file and drag the corner and size, I sized mine at just over 6 inches by 9.6 inches. This Glowforge Pencil Jig fits 10 pencils, however if you want to engrave more, simple cut 2 jigs. Alternatively open the file in Cricut Design Space or Canva, duplicate and weld the 2 files together, you will now have a Glowforge jig to engrave 20 pencils. When you have decided on your size, pop in the draftwood or plywood and print your pencil jig. You will be able to drag the jig file over the plywood to get the cut out perfect.
 - I cut the plywood in medium draftwood settings and it cut perfectly well, because its not a proofgrade material, thus not protected with a masking layer, you do get some charing on the wood, however for a jig this doesn’t matter. This is also a great affordable product to use for items you intend to paint.
- Making Names Or Words To Engrave On Your Pencils In Canva
Decide what words or names you want to engrave onto your pencils. If you have the premium membership you can type in your names. If you don’t you can do this in the free version of Canva. Because you are only engraving, PNG files work fine.
Simply decide on a font, and type your name or word, do this one at a time as it will give you more flexibility to move them about. Now save as a PNG and download the file, when you have all your words and names you can upload them to Glowforge. As they are uploaded you will be able to see them on your screen. - Engraving Your Pencils With Glowforge
Now turn on your Glowforge and pop the jig in, try and keep it nice and square. Pop in your pencils, making sure they are all line up to the end of the jig. When you check out your desktop you will be able to see the pencils in place.
Note here if you are making for a left or right handed person. The image below is correct if your recipient is right handed, for a left handed person flip the pencils to the other end of the jig and the words will be the correct way round.
- You can now upload your words or name png files one at a time. I find zooming in at the point helps. Grab each word and hover over your pencil, resizing until the word fits inside of the pencil. Dont cover the whole visible pencil and because its round this will distort when engraving.

Once happy with placement I set my material to medium draft board, press print and the camera readjusts slightly and your words will move slightly. I then cancel the print and re adjust my words before hitting print.
 When you have decided on your size, pop in the draftwood or plywood and print your pencil jig. You will be able to drag the jig file over the plywood to get the cut out perfect.
 Yes, I know this seems a bit faffy, however I found that it was more precise that measuring the pencils and manually adding settings. I trust the camera more than my measurements.
I also found it better to use the 3d engrave setting, there are 6 to choose from this worked better for me. Once you are happy press print and watch the magic. If this is your first attempt, its worth trying with a sample pencil first to check placement. However, this method has worked consistently well for me.
Notes
What Didn’t Work
I found measuring my pencils was a bit hit and miss. Also avoid the draft photo setting in the engrave settings, for me it wasn’t deep enough. I found the 3d engrave setting was a little deeper and took the first layer of nicely.
Using paint to stain the engraved area is hit and miss. This worked on the coloured pencils I made as the finish of the pencils was glossy. However I made a pink set of pencils, much like the green set below and as the finish is mat, the paint stained the pencil. Be aware of the finish before you use any ink or paint. However, the pencils I Have linked from the UK have a lovely black inside which if cut with the 3d engrave setting doesn’t need finishing.
Use My Glowforge Discount Code To Get The Following Discounts If you Are Thinking Of Investing. (Affilaite)
Glowforge Pr, $500 USD.
The Glowforge Plus, $250 USD
Glowforge Basic, $125 USD
Hi Sarah, thanks so much for this tutorial, I’ve been having lots of fun trying it out this morning. But I can’t seem to find a 3D engrave option when I select medium draft board. Is there something else I need to do to the text (I used the glowforge text option)? Thanks! Denise
Hi Denise, omg the setting isn’t there if you use the Glowforge text option only if you upload text, However I just did a test pencil with SD Graphic and that worked well.Hope that helps Sarah x
@SarahJChristie, no problem and thanks for letting me know. I tried the HD graphic and that didn’t work very well, so I’ll have a go with the SD graphic option. Thank you!
Hi! Could you repair the text so it’s Pencils without the apostrophe? The apostrophe is grammatically incorrect and I’m using it at school. Thank you!
Hi, Gabrielle so glad you like my free files. I have corrected it; being a teacher, you surprise me; I am dyslexic and make mistakes; many people are so kind and send me a discreet email rather than the public humiliation route. I really hope you don’t do this with your kids; I ask that as teachers did that to me and it shot my confidence. It feels rubbish still today when I try so hard. Thanks, Sarah