
If you are looking for an easy way to make sublimation tumblers at home, this might just be the push you need to get started. Check out my HTVRont Auto Tumbler Press Review, and I will share why the sublimation press is just brilliant.
I am always looking for ways to make crafting feel achievable without overcomplicating things. Not everyone has hours to design from scratch, so I love projects where you can take something simple, whether that is a repeat pattern, your own design, or even one of my free printables, and turn it into something you will actually use.
That is exactly why sublimation tumblers are such a good option. You can keep things really simple or go all in with personalised designs. They are perfect for using with my free printable alphabets, if you want to add monograms, or for designing your own projects in Canva. They also sit really nicely between hobby crafting and something you could easily sell at craft fairs or on Etsy.

This post may contain affiliate links or gifted products. Which means I may receive a small commission if you click a link and purchase something that I have recommended at no extra cost to yourself. As an Amazon, HTVRont and Cricut associate, I earn from qualifying purchases.
What You Will Find Here
HTVRont Auto Tumbler Press Review: Easy Sublimation Tumblers for Beginners
I have done sublimation before, but this was my first project using the HTVRont Auto Tumbler Press, so I wanted to share how I got on, what worked, and what I would do differently next time.
What Is a Sublimation Tumbler?
A sublimation tumbler is a specially coated cup that allows you to transfer a printed design onto it using heat. You print your design with sublimation ink, wrap it around the tumbler, and apply heat using a tumbler press. The heat turns the ink directly from a solid into a gas, which then bonds with the polymer coating on the tumbler to create a smooth, permanent finish.
That means:
- No peeling
- No cracking
- A really professional result
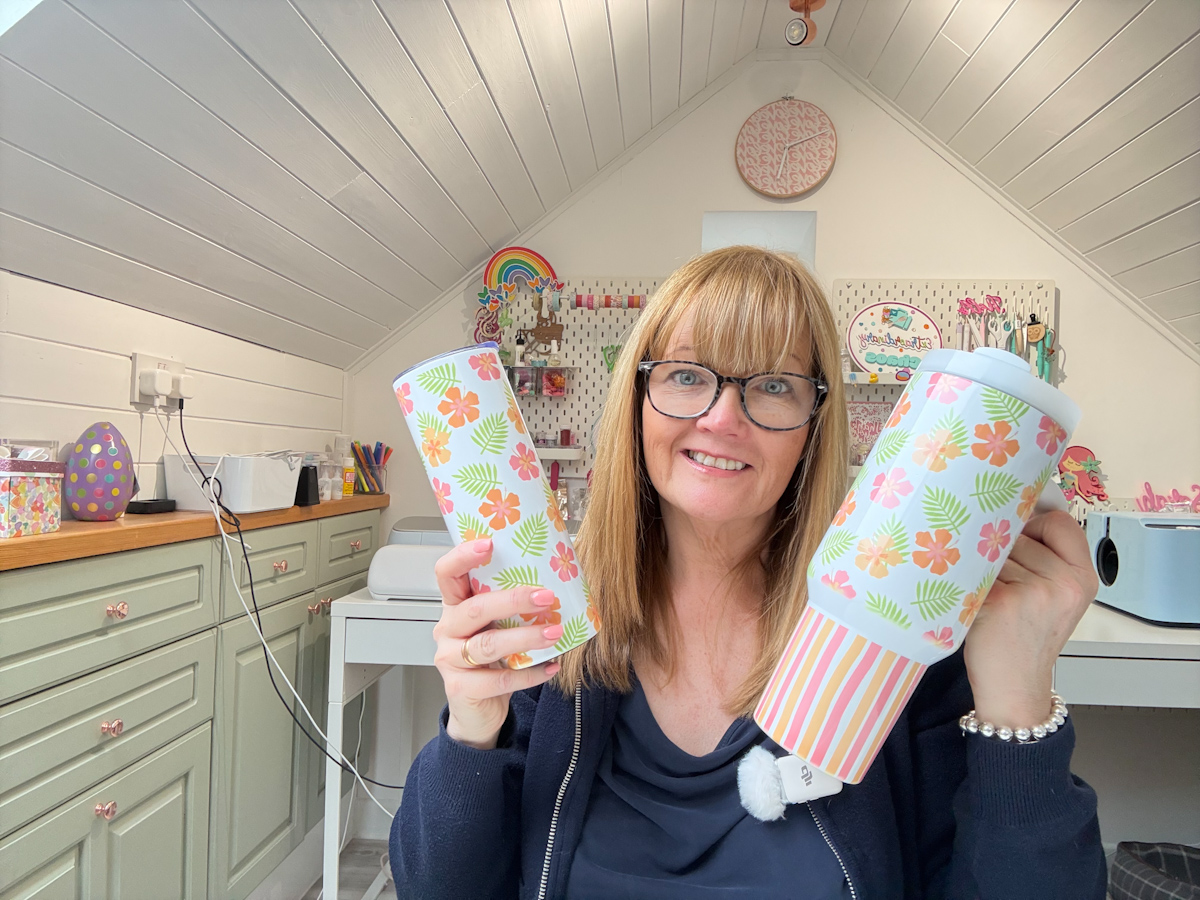
My First Tumblers Using This Machine
I went straight in and made two designs. One was a floral tumbler, and the other was a two-tone design with floral and striped patterns. It’s so easy to create these patterns in Canva. I have a step-by-step tutorial here to explain how to make your own.
I did make mistakes; they are not perfect, and I have left them exactly as they are because I think it is much more helpful to see what actually happens when you are using a new machine.
On the larger tumbler, the design slipped slightly when I pressed it. Even with that, I was really pleased with how they turned out. The colours are vibrant, and the finish looks really professional. But the error was all mine; I should have taped the top as well as the bottom.
What You Need for Sublimation Tumblers
If you want to get started, this is everything I used.
- Sublimation printer, ink and paper bundle
- Blank sublimation tumblers
- Heat-resistant tape
- HTVRont Auto Tumbler Press
- Canva for designing wraps
Discount codes for the HTVRont Auto Tumbler Press:

Designing Your Tumbler Wrap in Canva
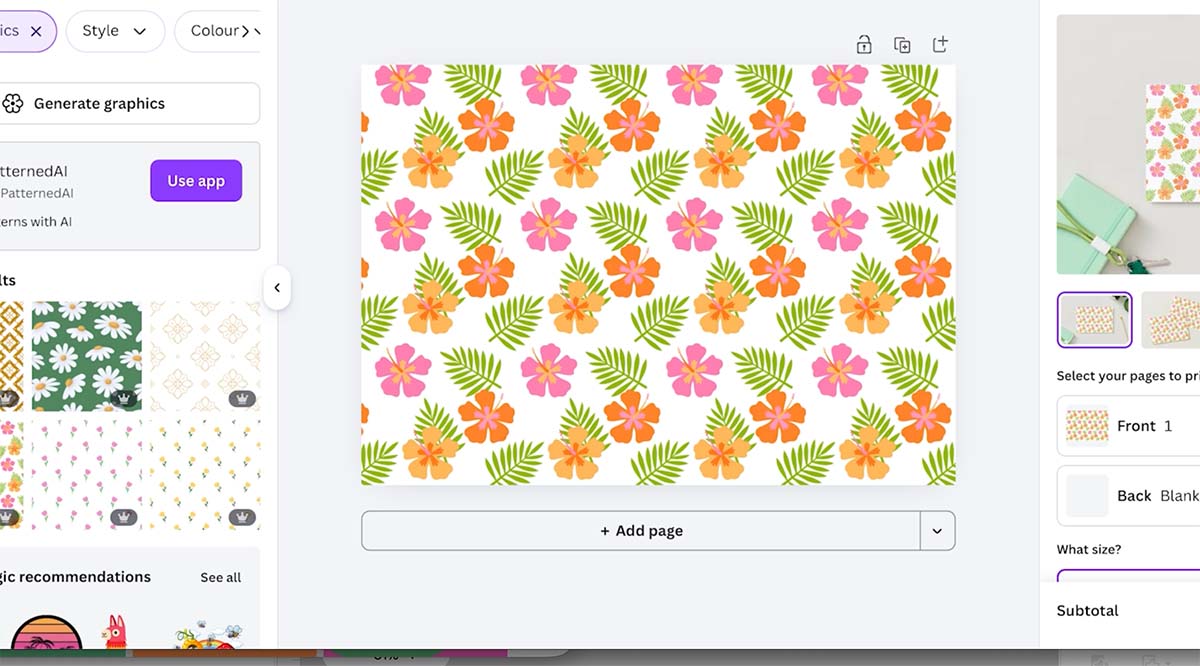
I designed both of my wraps in Canva and kept things simple. Repeat patterns are the easiest way to get started because they let you cover your whole page and wrap around the tumbler without worrying too much about alignment.
For my second tumbler, I combined a floral pattern on the top and a stripe pattern on the bottom. I love that contrast and it gives you loads of options to play around with.
You can also:
- Add names for personalised gifts
- Use monograms with my free printable alphabets
- Create designs to sell
Using the HTV Ront Auto Tumbler Press
This was the part I thought might be a bit fiddly, but it turned out to be really easy and straightforward. You wrap your printed design tightly around the tumbler, secure it with heat-resistant tape, and place it into the press.
What I like about this machine is that:
- You can purchase a bundle with attachments for two different tumbler sizes
- It wraps all the way around for even heat
- It is very easy to set up and use
Once everything is in place, it is just a case of letting it run.

Results and First Impressions
After using this machine, I have to say it feels really manageable, even if you are still figuring things out.
There were a few little issues, but they were all down to me rather than the machine. Things like getting the taping tight enough, positioning the wrap properly, and lining up the seam take a bit of practice. Once you get those right, it is actually a really straightforward process.

Even with those small mistakes, the finished tumblers came out so well. The colours are bright and really pop once they are pressed, the finish is smooth, and they genuinely look like something you would buy rather than something made at home.
They feel sturdy, usable, and definitely not just a practice piece, which I think says a lot when you are trying a new machine.

Sublimation Tumbler Heat Press Settings Guide
Before you start pressing, it really helps to have a quick reference for time, temperature, and pressure. This can make a huge difference to your results.
Quick Reference Heat & Time Chart
| Tumbler Type | Diameter | Time | Temperature | Pressure | Heat Press Mat |
|---|---|---|---|---|---|
| 20 oz stainless steel tumbler | 7.5 cm / 2.95 in | 190–220 seconds | 200°C / 390°F | 40–60 kg / 90–135 lb | 4.0 mm |
| 30 oz stainless steel tumbler | 8 cm / 3.15 in | 180–210 seconds | 200°C / 390°F | 40–60 kg / 90–135 lb | 2.0 mm |
| 16 oz glass tumbler | 7.5 cm / 2.95 in | 290–320 seconds | 200°C / 390°F | 40–60 kg / 90–135 lb | 4.0 mm |
| 15 oz stainless steel tumbler | 7.5 cm / 2.95 in | 190–220 seconds | 200°C / 390°F | 40–60 kg / 90–135 lb | 4.0 mm |

How to Use This Guide
I used these settings as my starting point and they worked really well.
That said, sublimation can vary slightly depending on your machine, your blanks, and even your environment.
If you need to tweak:
- Dull colours usually need a bit more time
- Ghosting is often down to movement or taping, so make sure it’s secure
Once you find what works, it is worth writing it down so you can reuse it.
See My Video Tutorial

Top Beginner Tip
If you have a sublimation printer, make sure you use it regularly. I left mine for a while, and the ink dried out, which took quite a while to fix. Printing something once a week keeps everything running smoothly.
Who This Is Perfect For
This setup is ideal if you are:
- A crafter wanting to try sublimation
- A beginner starting a craft business
- Selling on Etsy or at markets
- Making personalised gifts
- Looking for products you can batch make
Why I Like This Machine
The HTV Ront Auto Tumbler Press makes the whole process feel simple and accessible. You can create professional-looking tumblers quite quickly, and once you get into it, it is easy to make multiple designs in one go.
It is a great option if you are thinking about making products to sell as well.
Helpful Links

Final Thoughts on the HTVRont Auto Tumbler Press
If you have been thinking about trying sublimation tumblers, this is a really easy way to get started.
The machine is simple to use, works across different tumbler styles, and gives great results even while you are still learning.
And once you start, it is very easy to get hooked and start planning your next project.
