
If you love creating beautiful handmade cards but want something extra special for the festive season, foil Christmas cards are an absolute game-changer. They have that gorgeous, shiny finish that looks professional but is actually super fun and easy to make at home!
Today, I’m showing you exactly how to make these beautiful foil designs using a LaserJet printer, hot transfer foil, and a heat press (or laminator). No fancy Cricut foil tool needed, just simple materials and a little bit of magic. Let’s get started!

What You Will Find Here
How to Make Stunning Foil Christmas Cards Using a Heat Press
What You’ll Need
Before we dive in, let’s make sure you’ve got everything ready. I’ve included all my favourite tools and links so you can grab exactly what I use.
- Cricut machine (Joy, Explore, or Maker)– You’ll need this to upload your designs, cut shapes, and get everything perfectly sized.
- Free Canva – Perfect for tweaking your designs or adding little touches before you upload to Cricut.
- Cricut Design Space – This is where the magic happens! Upload your images, create your shapes, and get your layout just right.
- Standard Grip Mat (green) – You want a nice, sticky mat so your cardstock stays in place while cutting. I swear by this one.
- Cardstock in your chosen colours – I love adding some sparkle with Glitter Cardstock. Makes the final card pop!
- White Printable Card – This is for your card design.
- Weeding tool – Tiny pieces can be tricky, so this tool is a lifesaver for picking out small bits.
- Brayer (optional) – Helps smooth your cardstock onto the mat and prevent curling.
- Hot Transfer Foil – This is what gives your card that beautiful metallic finish. I’ve used lots of colours and it’s so fun to mix and match!
- Brother Laser Printer – Essential for foiling. Only LaserJet toner works for this technique.
- HTVRont Auto Heat Press – Or a laminator if you don’t have a press. This is what transfers your foil onto the card perfectly.
Upload Your Downloads to Cricut Design Space
First things first, let’s get your designs ready. Download my free Christmas card designs, see below:
- Jingle Bells
- Joy to the World
- O Christmas Tree
- The Holly and the Ivy
Now, open Cricut Design Space. Click Upload, select your downloaded images, and choose “Simple Image” if prompted. Then click Insert Images to add them to your canvas.

Create a Square for Your Card Layout
Next, we need a “base” to create our card. Click Shapes, then Square, and resize it to be slightly smaller than your card size. The size will depend on your card base, but it will need to be slightly smaller so you can decorate around the edge. Now create an offset, this needs to be black and your inside white.
Once your square is ready, you can start positioning your downloaded images inside it. Drag them onto your square and arrange them however you like, making sure everything is neat and centred. When you are happy, click flatten.
Now create an offset layer, this will be card on glitter card so needs to remain as a cut image and works as a glittery base to place your foiled image on. Bear this is mind when chosing the colour as it needs to match your foil.
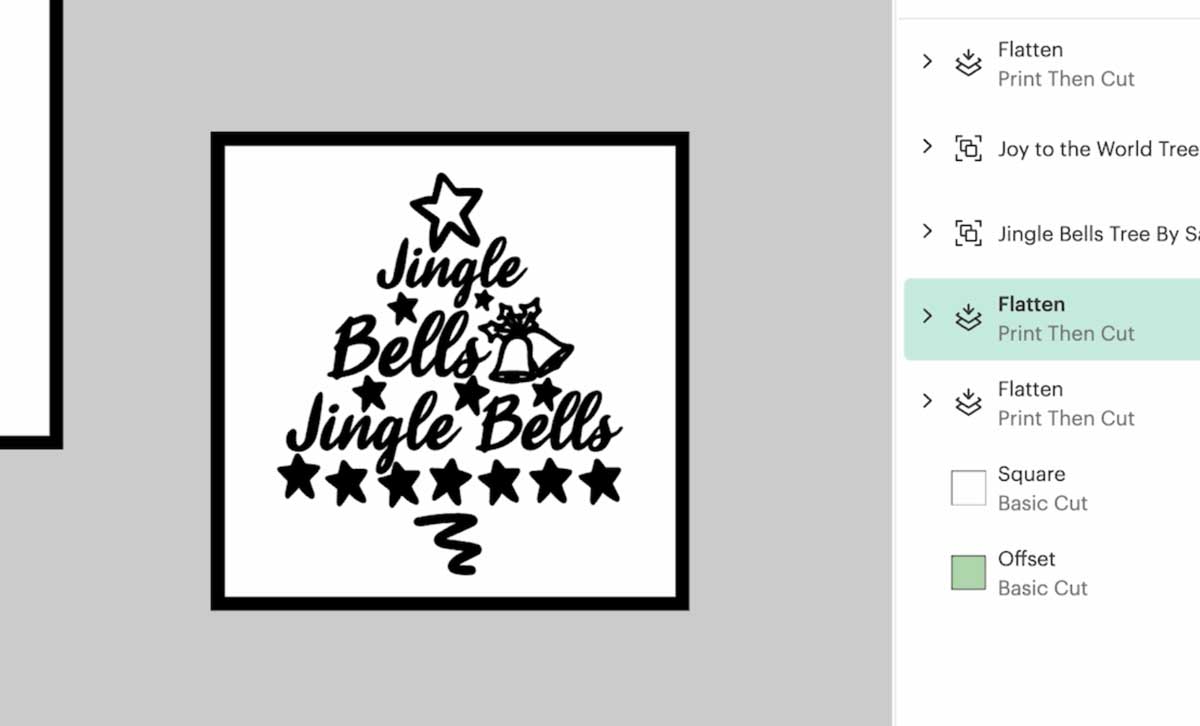
Print Your Designs
Time to get these designs on white printable card! Print and cut them in black and white on your Brother Laser Printer. Use the Cricut print-and-cut feature with your printer settings for better quality. The toner is what the foil sticks to; regular inkjet printers won’t work for this technique.
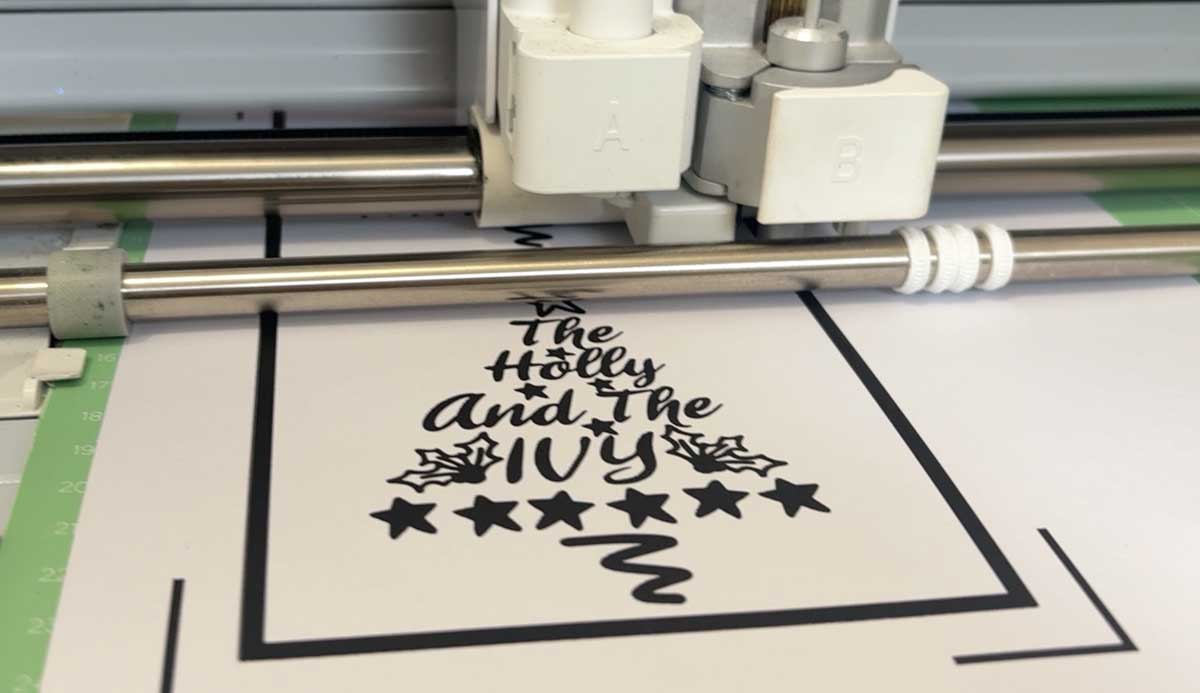
Cut The Designs And Card Backing
Send the design to cut on your Cricut, or use Canva to get four designs on a piece of card. Then, cut the back offset layer. I used glitter card stock for this.
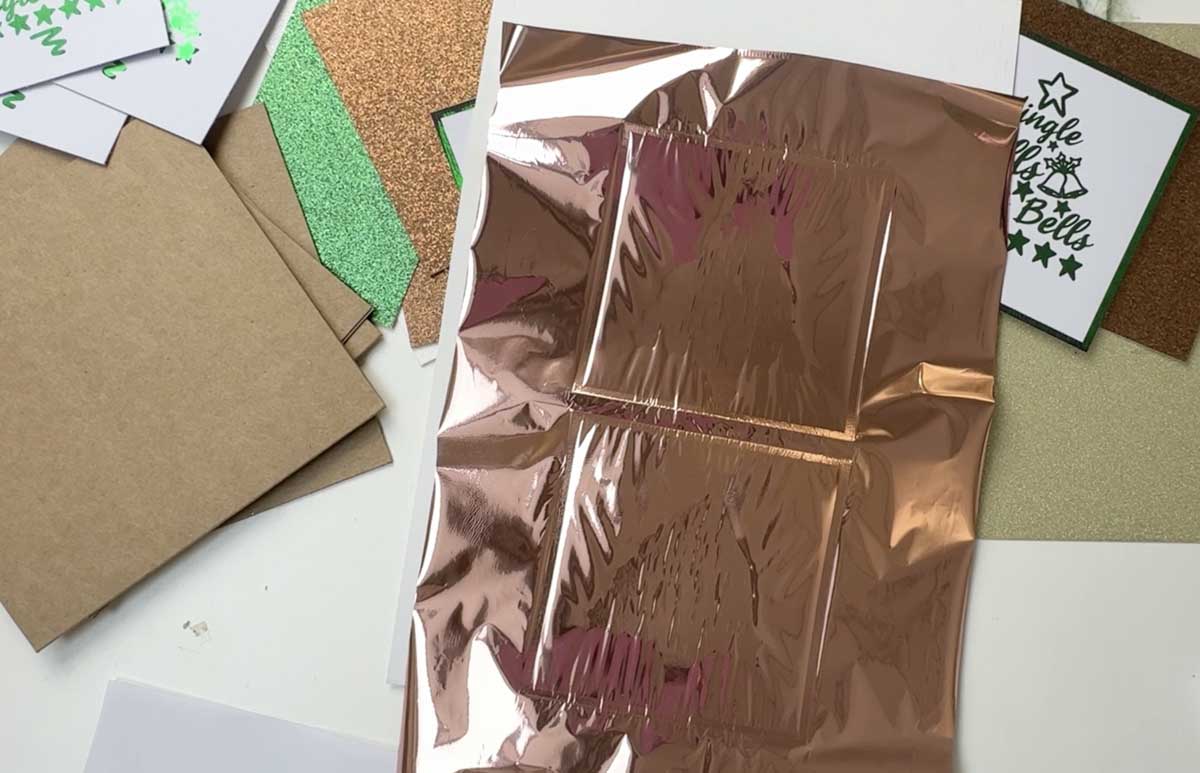
Prepare for Foiling
Grab a sheet of Hot Transfer Foil and place it over the printed design, coloured side up. Cover it with a piece of greaseproof paper to protect the foil from scorching.
Tip: Avoid thick butcher paper, it can create a mottled, uneven finish. The thinner the cover sheet, the better the foil transfers.
Heat Press Settings
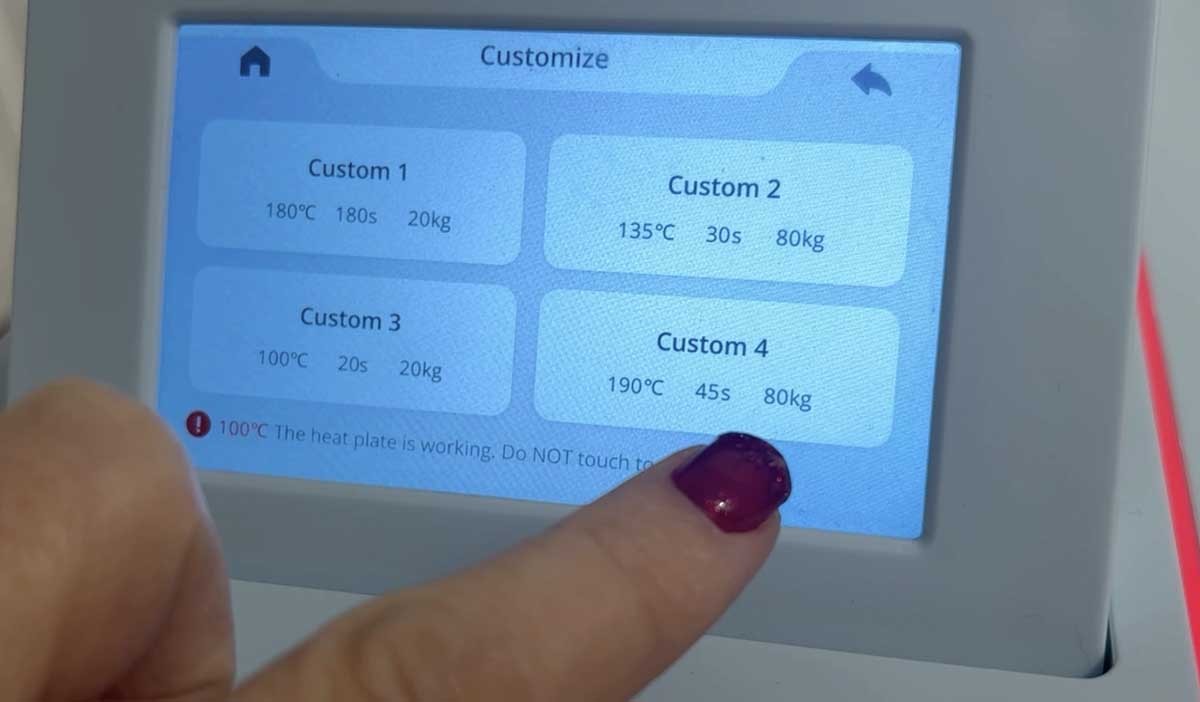
Place your card in the HTVRont Auto Heat Press and use these settings:
- Temperature: 190°C
- Time: 45 seconds
- Pressure: 80kg
Reveal Your Foil Magic
Carefully peel back the foil to reveal that shiny, metallic finish!
If you see patchy areas, check:
- The foil sheet is smooth and crease-free
- You used greaseproof paper
- Pressure and heat are set correctly
Once you get the hang of it, this method is so much more reliable than foil pens or special attachments!
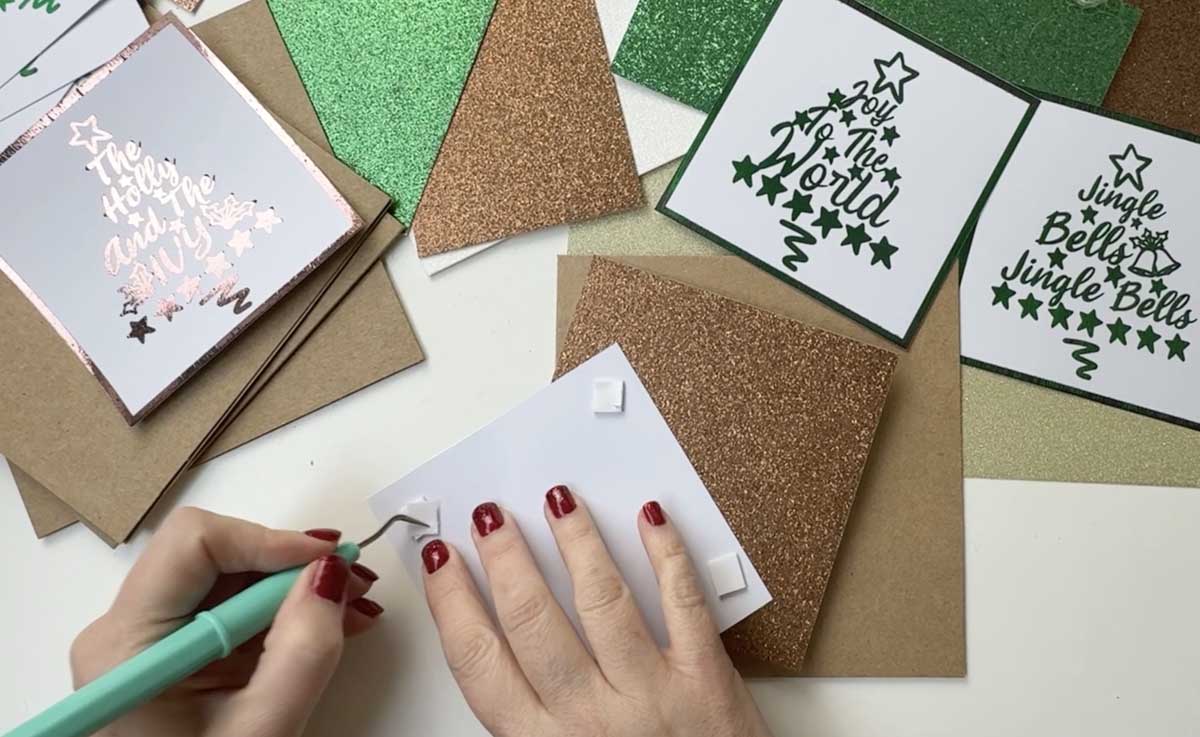
Assemble Your Cards
Back your foil design with glitter or coloured cardstock using sticky pads. Glue onto your folded card base and, if you like, add a few decorative flourishes around the edges. These little finishing touches make your cards really pop and feel extra special.
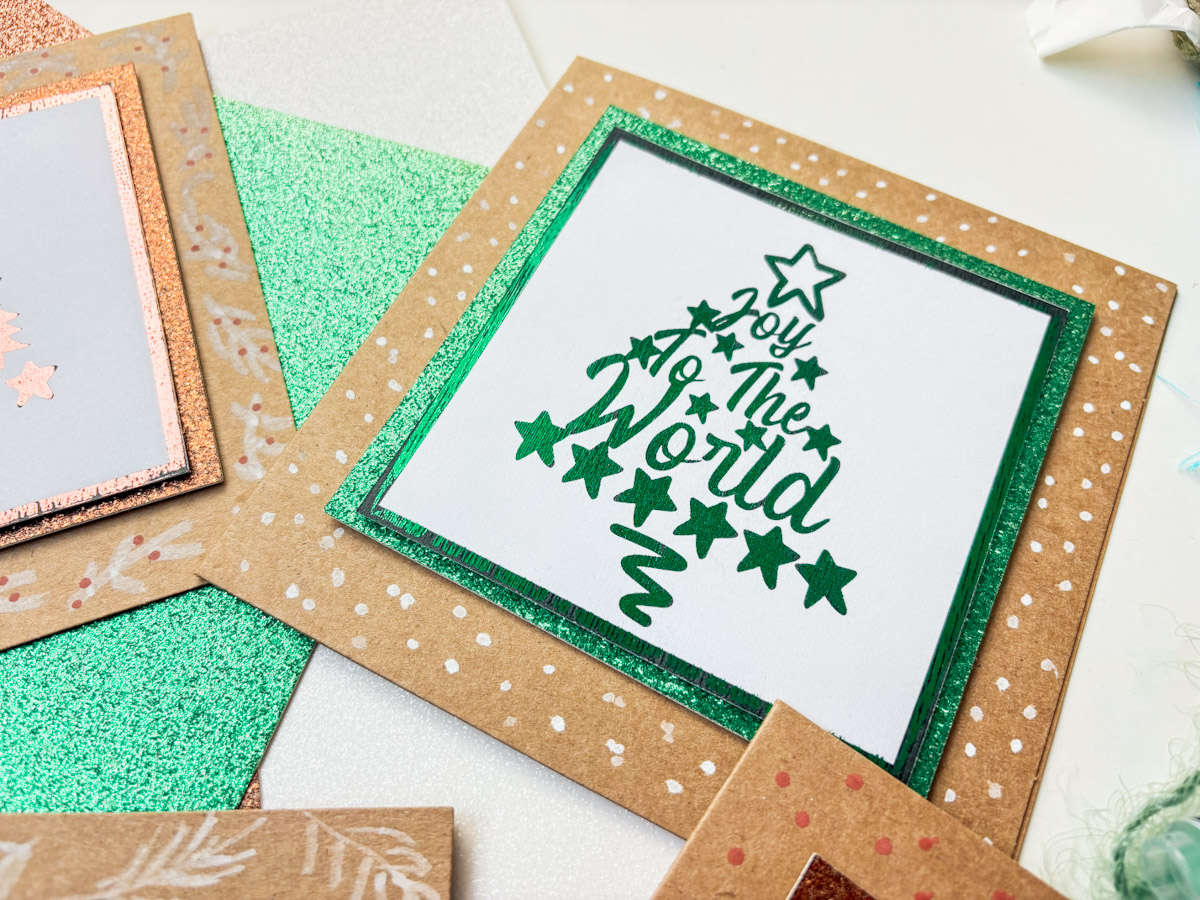
If You Want To Use These Free Christmas Tree Designs?
Simply click here or on the image below to get my free Cricut Christmas Tree Verse downloads from our shop. Here’s how you upload the files to Cricut Design Space.
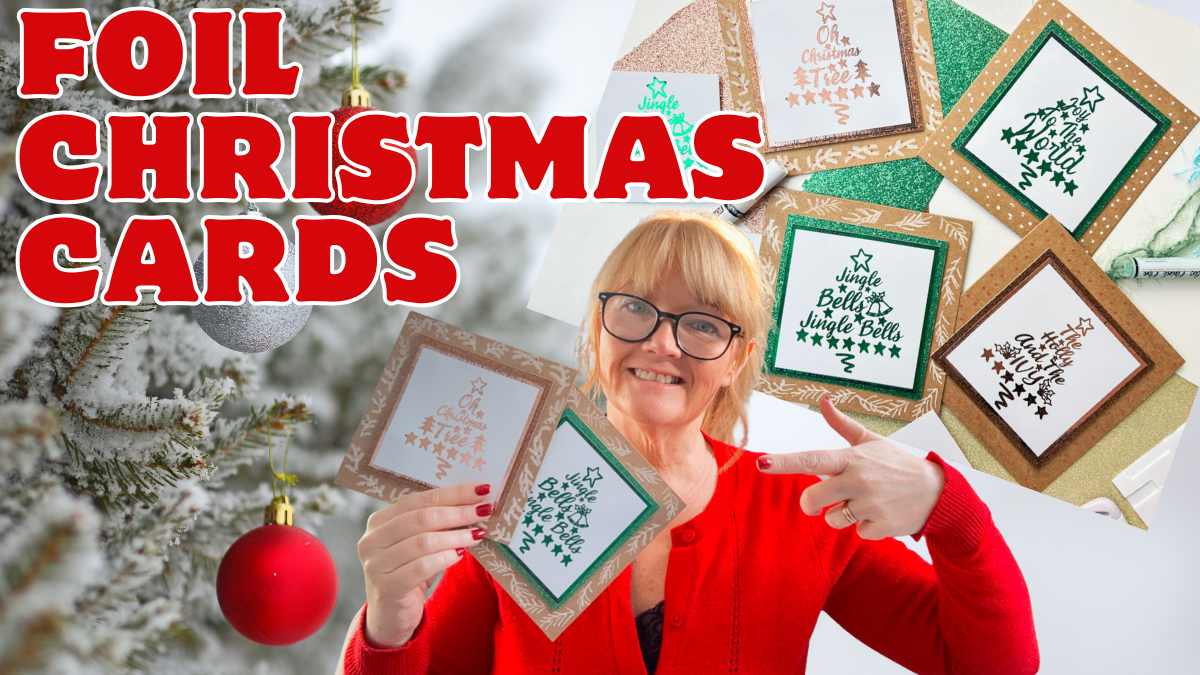
See Our Step-by-Step Video To Make Foil Cards With Your Cricut And A Heat Press
Enjoy Your Handmade Foil Christmas Cards
And there you have it! Gorgeous, shiny, professional-looking foil cards you made yourself. These are perfect for gifting, sending, or even framing as festive decorations.
You can use this same technique all year round for birthdays, weddings, invitations, thank-you cards, or any special occasion. Once you get your heat and pressure settings right, the results are super consistent.

