
It’s almost wedding season, and if you are looking for a free champagne wedding card SVG that’s easy to use and perfect for beginners, you have come to the right place. This layered champagne bride-and-groom card is a lovely place to start and gives you something you will actually want to gift.
This step-by-step Cricut tutorial shows you exactly how to upload, cut and assemble a Cricut wedding card using Cricut Design Space. Whether you are a wedding guest who loves crafting or planning your own wedding, this elegant champagne design is a simple way to create a personalised handmade card. Also see our SVG Wedding Alphabet and Number Set and colouring pages for little guests.

This post may contain affiliate links. Which means I may receive a small commission if you click a link and purchase something that I have recommended at no extra cost to you. As an Amazon Associate in the Amazon Services LLC Associates Program , Cricut and Glowforge associate, I earn from qualifying purchases.
What You Will Find Here
Free Champagne Wedding Card SVG (Beginner Card Tutorial Using Cricut Design Space)
This card is so effective, simple to upload and cut. Designed to work as a layered Cricut card and easy to customise with your own colours. Plus its quick to assemble with minimal tools. Giving you a professional finish without needing to design anything yourself. However if you do like the idea of learning how to design this card, scroll down for the link to my YouTube tutorial.
This Cricut wedding card SVG is ideal for:
- DIY wedding cards
- Gift Vouches
- Handmade wedding invitations
- Personalised wedding stationery
What You Need to Make This Cricut Wedding Card
To make this DIY Cricut wedding card, you will need:
- Cricut Maker, Cricut Explore Air, or Cricut Joy Extra
- Weeding Tools
- Brayer
- Green Cutting Mat
- Fine Point Blade
- Cardstock, White and Gold Glitter Card and a Red Glitter Scrap Sqaure
- Sticky Pads
- Glue, I use Cosmic Shimmer Acrylic Glue
- Card Blanks

How to Make Your Wedding Card In Cricut Design Space
1. Start by Uploading Your Files to Cricut Design Space
This is the easiest part and takes just a couple of minutes once you know where to click.
Open Cricut Design Space and follow these steps:
- Click Upload on the left-hand side
- Select Upload Image
- Locate your downloaded Cricut wedding card SVG file
- Click Upload, then Add to Canvas
Your Cricut wedding card design will appear ready to use, with all elements prepared for cutting.
2. How to Resize Your Cricut Wedding Card Design
Getting the size right at this stage will make everything else fall into place much more easily.
Before cutting your Cricut wedding card, measure your card blank.
- Select the full design
- Resize it so it is slightly smaller than your card front
For example, if your card is 6 inches wide, resize your Cricut wedding card SVG to around 5.7 inches. This creates a clean border and ensures a perfect fit.

3. Cut Your Wedding Card with Glitter Cardstock
Once everything is sized correctly, you are ready for the satisfying part where the machine does the work.
Once your design is ready:
- Click Make It in Cricut Design Space
- Check your mat layout
- Place your cardstock onto a green cutting mat (This is my mat of choice, you can use blue)
- Select Glitter Cardstock or Cardstock setting
- Increase pressure to more
Load your mat and let your Cricut machine cut your wedding card design.
For best results:
- Press your cardstock firmly onto the mat, use a brayer if needed
- Ensure your mat has enough grip to prevent movement (This is why green cutting mats work well)
4. Assemble Your Cricut Wedding Card
This is where your card really starts to come together and look like something special. Once your Cricut wedding card SVG has been cut, you can assemble your design.
Carefully peel your cardstock away from the mat using reverse weeding to keep the design flat. Place the coloured cardstock behind the heart to create contrast and highlight details. Now, apply glue around the edges and attach your main layer to the backing.

Next, place the foam pads behind your top layer to add it to the card base. This will lift the design, add depth and create a more professional finish.
Top Tip Cut foam pads into smaller pieces so they remain hidden behind the design.

Tips for the Best Cricut Wedding Card Results
These little tips make a big difference and help avoid the common frustrations.
- Make sure your design size matches your card blank
- Use good quality cardstock for cleaner cuts
- Take your time when removing intricate designs
- Use foam pads for a polished, layered look
These small details will make your Cricut wedding card look professionally made.
See How I Designed This Card
See how I create this card from shapes in Cricut Design Space. If you fancy learning how to design, check it out.

If You Want to use This Free Wedding Card Template
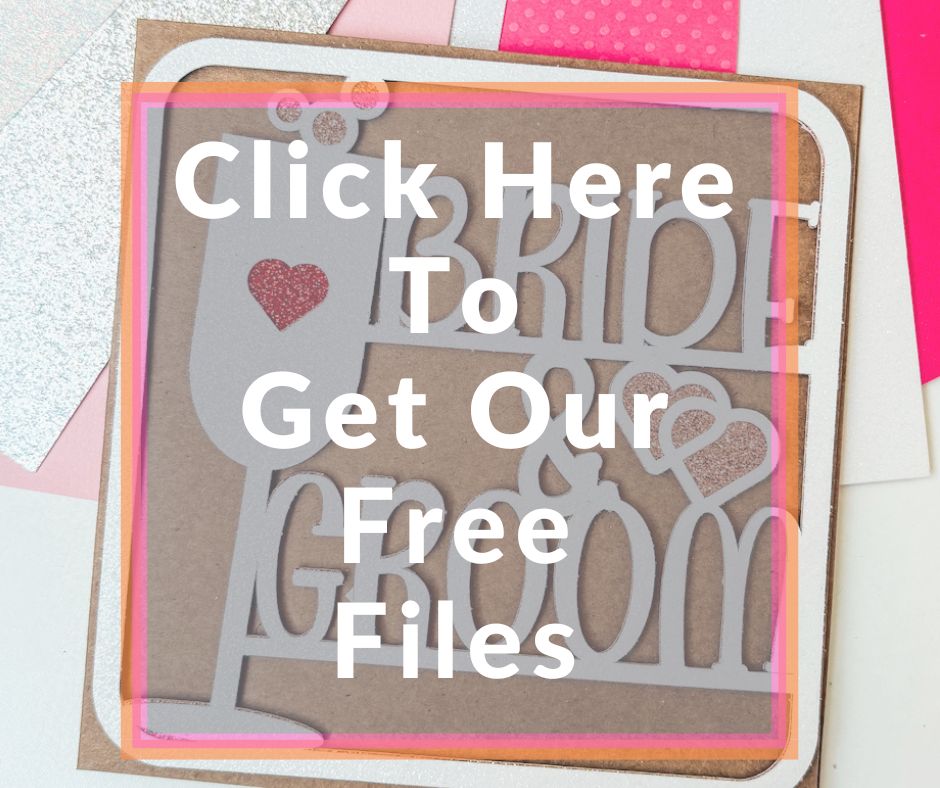
Click here or on the image below to download our Champagne Wedding Card SVG and PNG cut files for free.
If You’re Having Problems?
Check out my troubleshooting page; hopefully, it will answer any questions you may have.
And You Have A Unique Wedding Card SVG
This is one of those projects that looks far more complicated than it actually is once you try it. This free wedding card SVG is a simple but effective way to create a beautiful handmade wedding card. Ideal for beginners, quick to make, and easy to customise for any wedding style. Whether you are making a card as a guest or creating your own wedding stationery, this Cricut project delivers a professional result with minimal effort.
If you are looking for more Cricut projects for beginners or DIY wedding ideas, this is a great design to start with.
