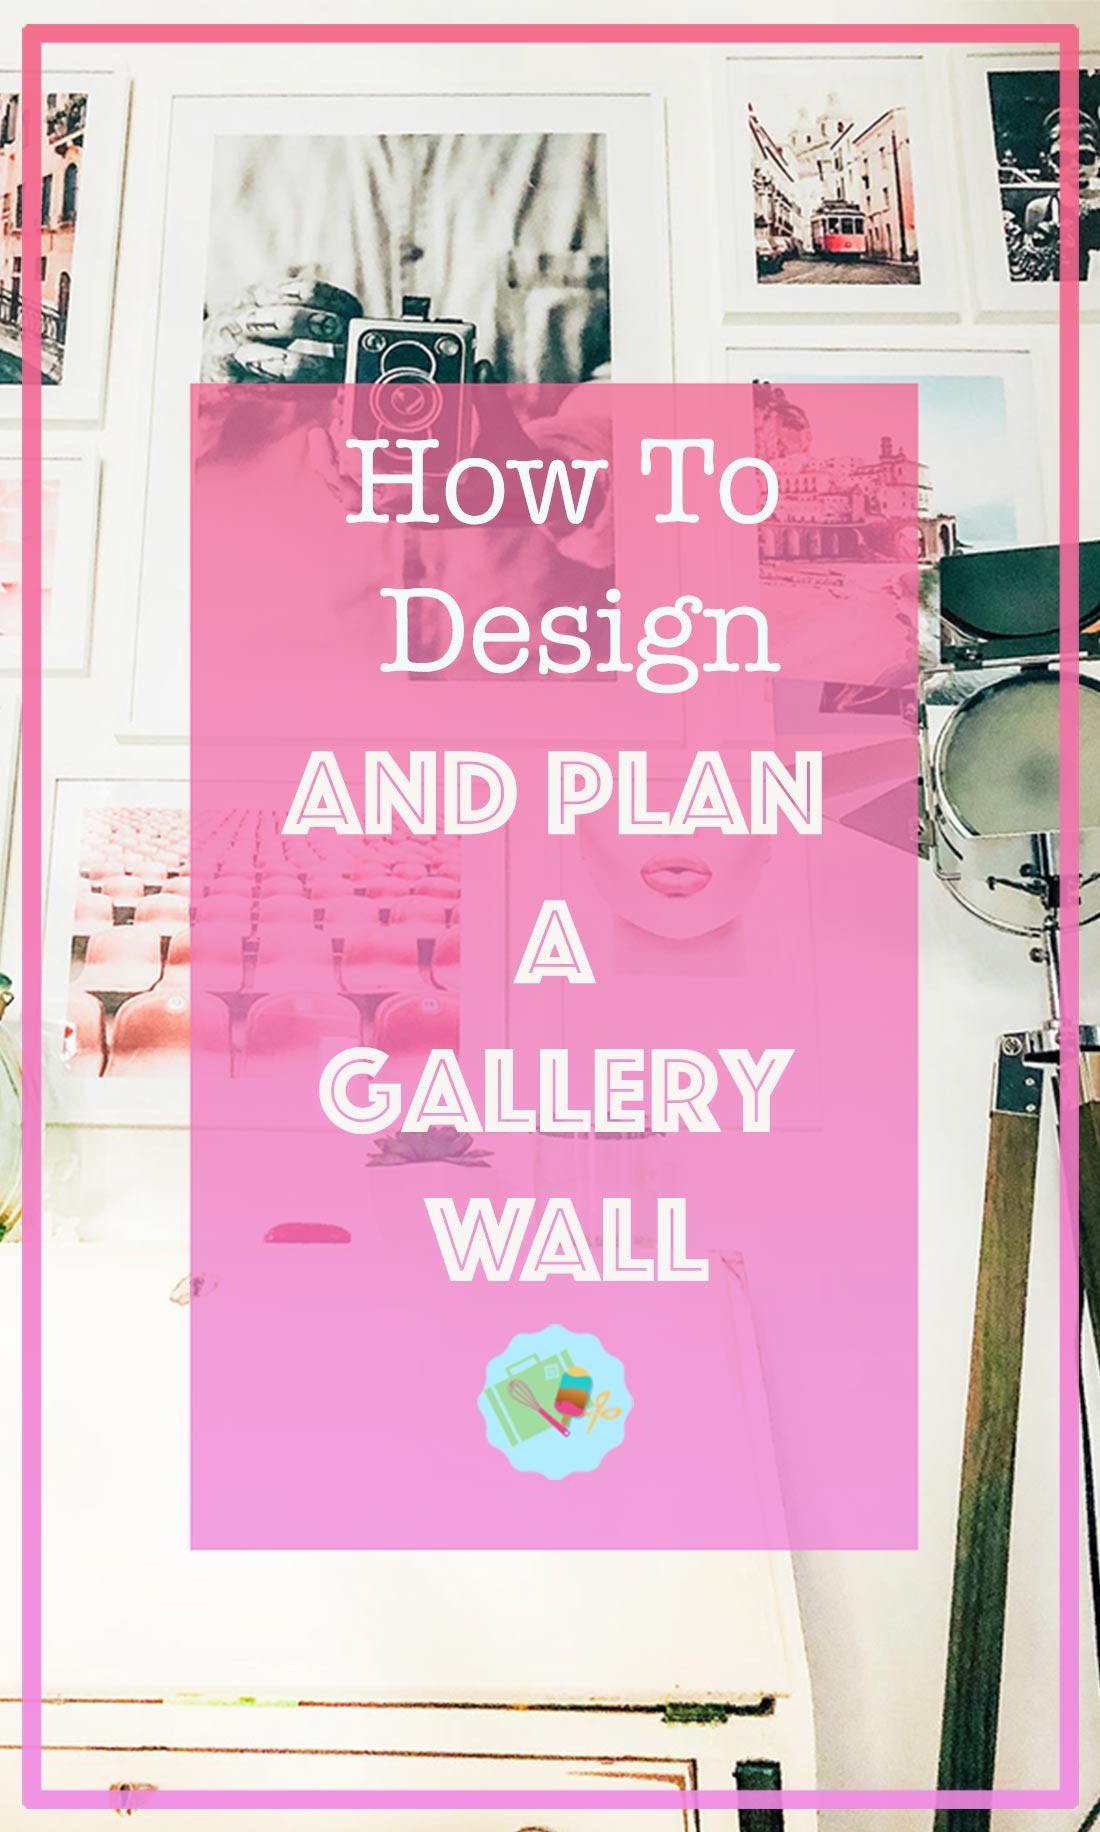
If this isn’t the perfect time to spend working on home projects, then I don’t know if there will ever be a right time! The extended periods of staying at home make you critically analyse your surroundings, or is that just me? I want everything to be lighter, brighter and more us. So when I decided to add a Gallery Wall in collaboration with Desenio, it was important that I got the layout and art just right to represent the heart of our home and family. Read on to see how easy it was choosing a gallery wall layout with an interactive layout builder tool.
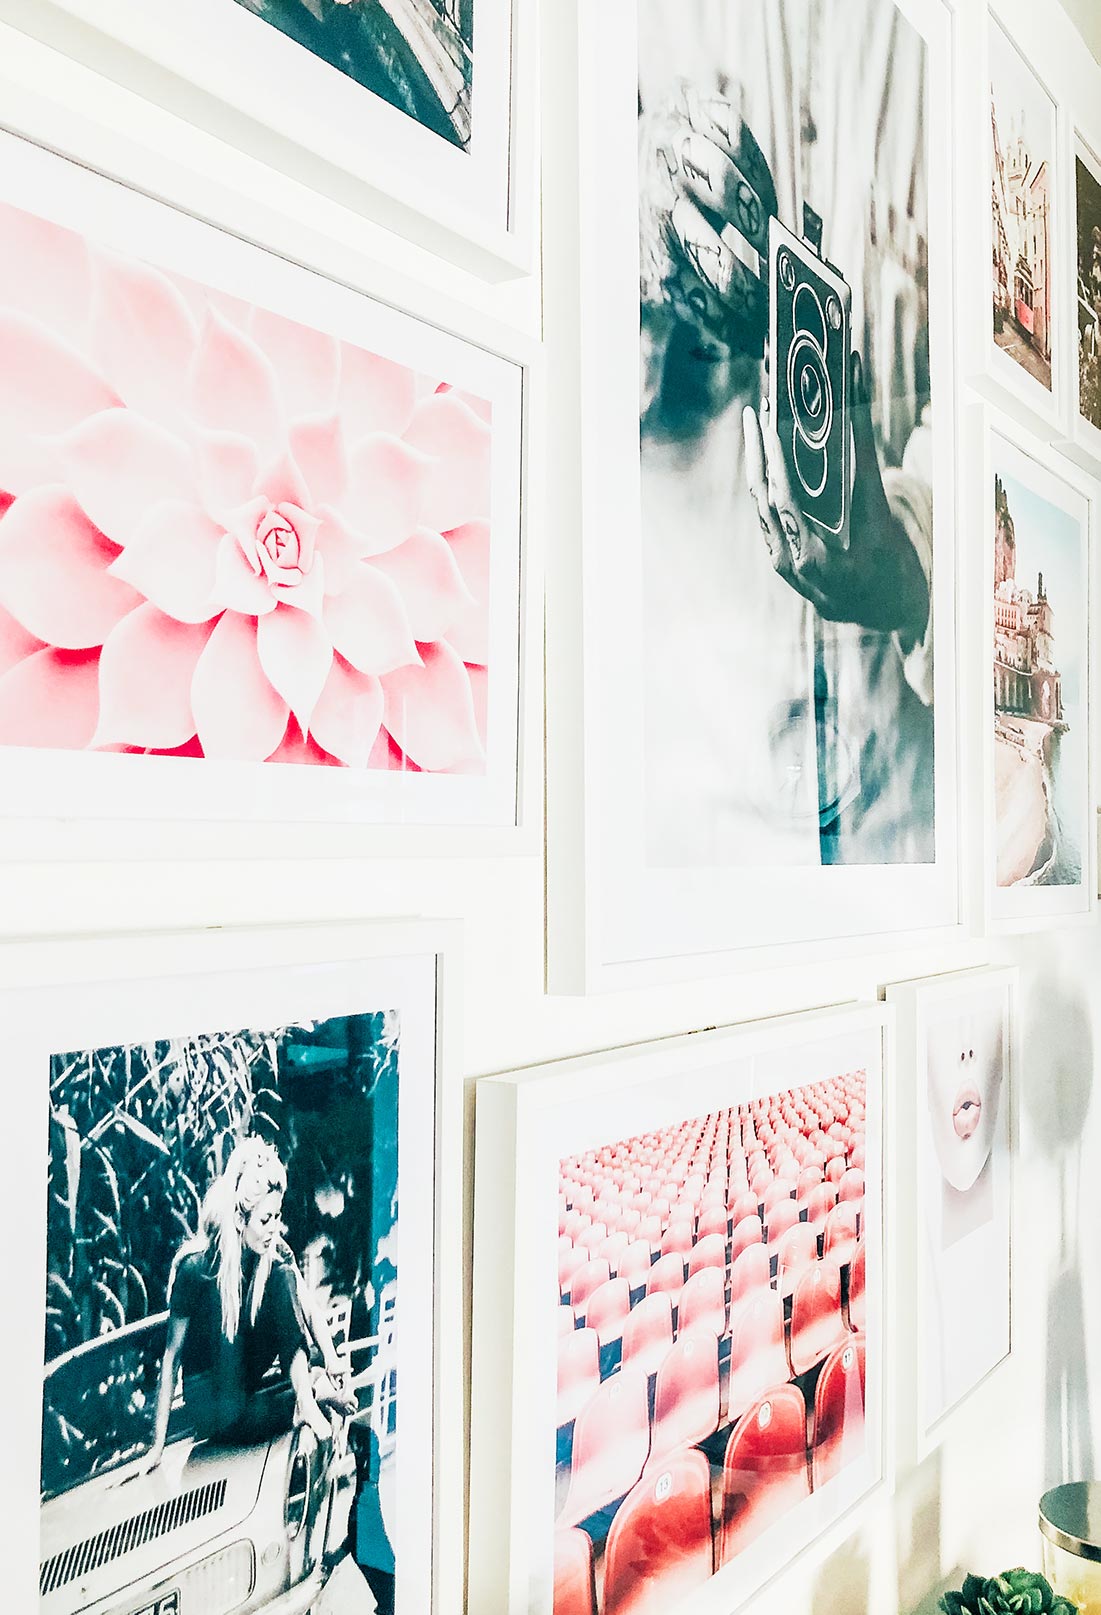
I tried to consider all of our likes and loves and fit it all into one wall. Thus its a random collection, yet it all works gloriously well together, and that’s because it is us. A Culmination of the whole family, things that make us smile and the odd image thrown in just because it screamed buy me.
If you want to see me create my projects, follow me on Tik Tok and Instagram.
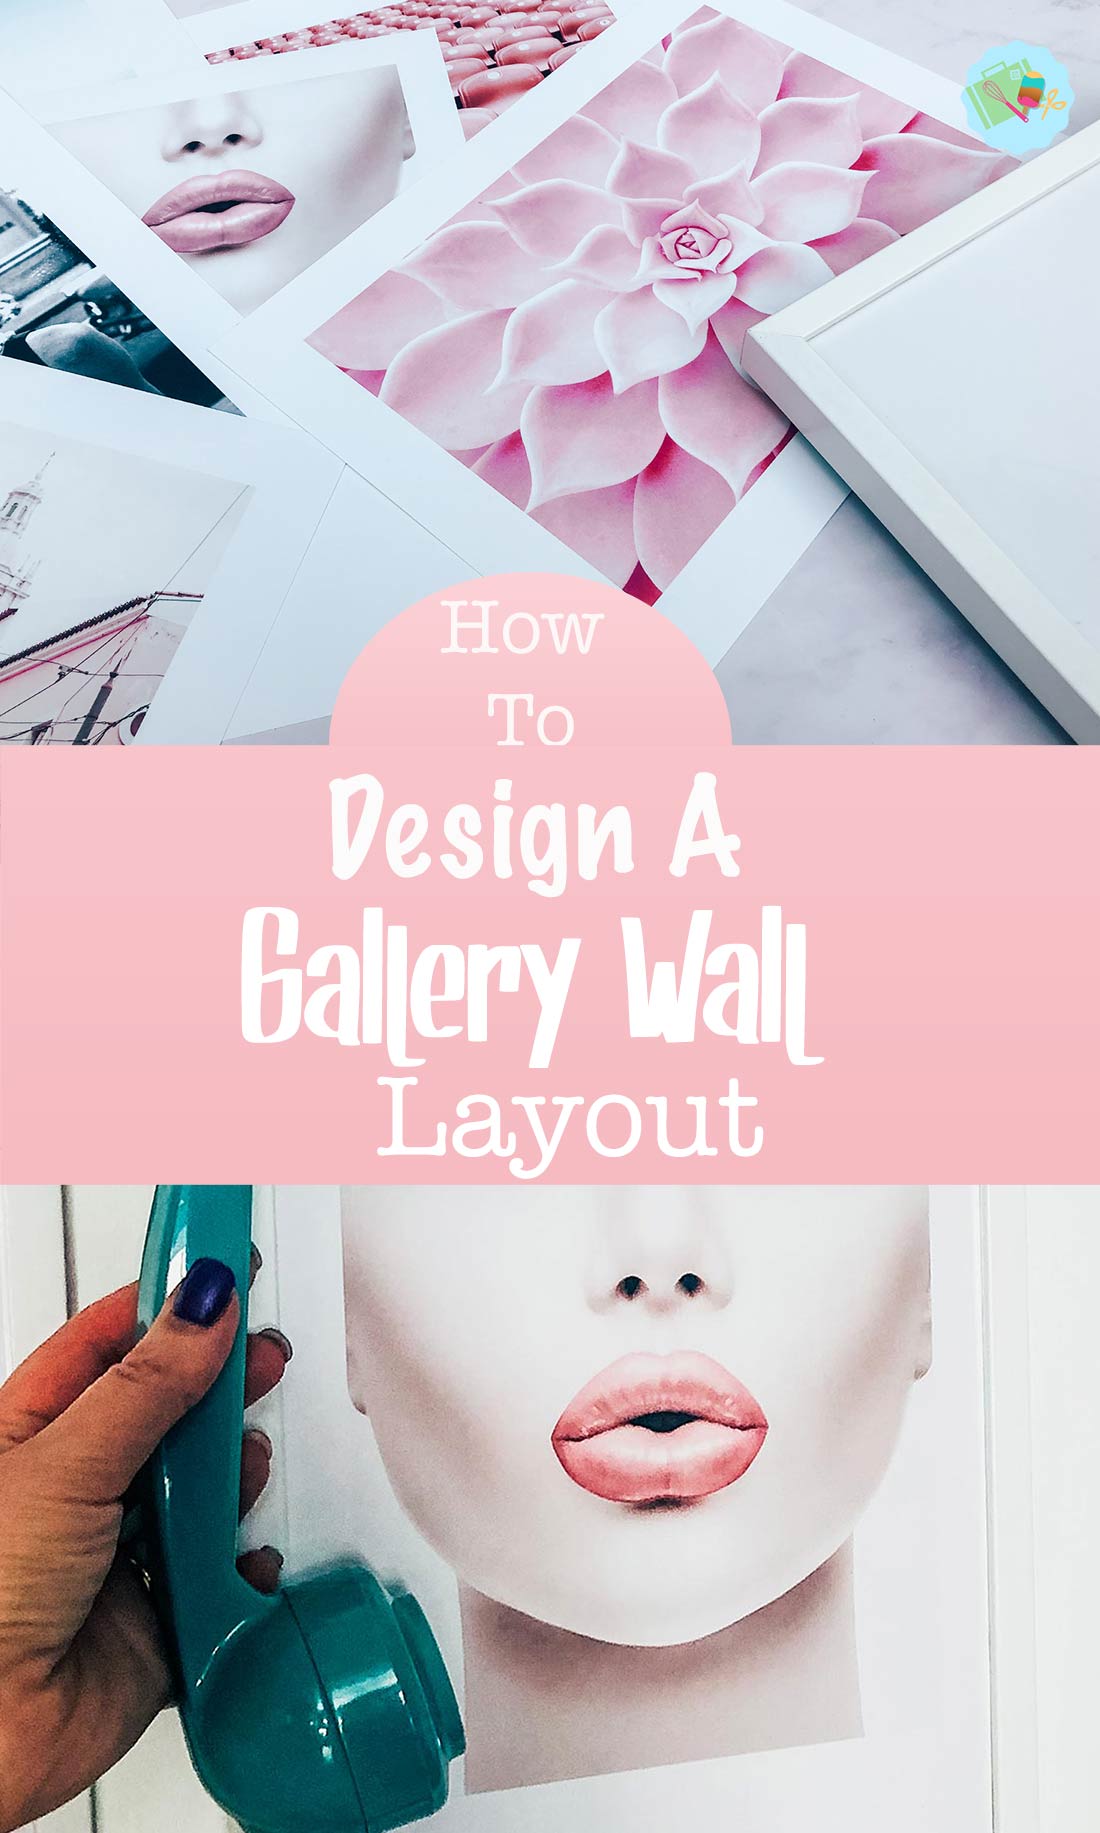
How Do You Build And Visualise The layout Of A Gallery Wall?
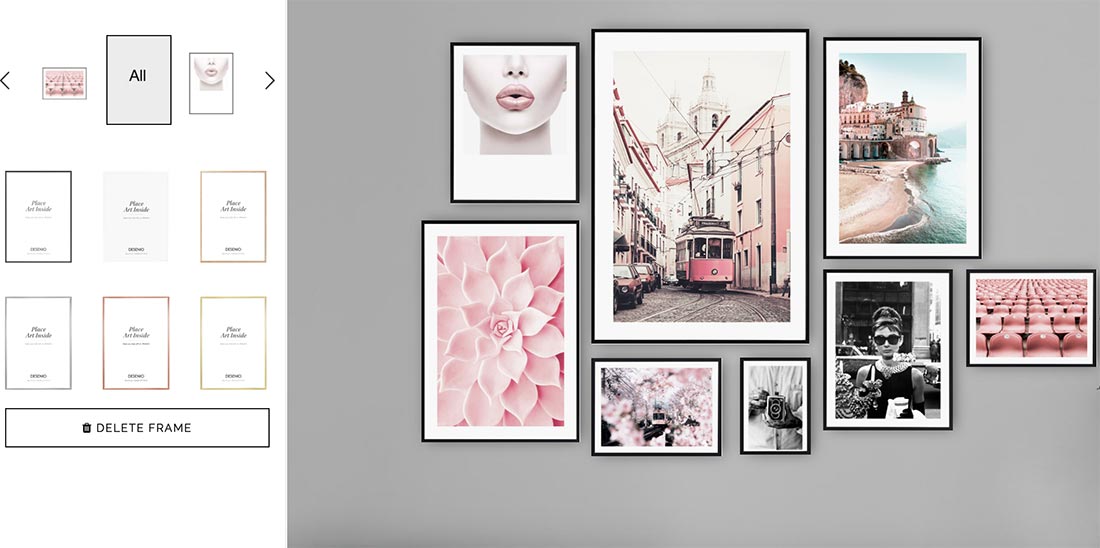
Desenio have this amazing feature called the Gallery Wall Builder. This allows you to create you Gallery wall layout live. Now this is pretty amazing if you’re trying to work out how your layout will look together. Especially when you have a bit of an eclectic mix as we do.
I can categorically state, that without this feature, choosing a gallery wall layout would have been so difficult. Trying to fit something together that everyone in your home will love in some way relies on you being able to visualise it in some form.

Start With A List Of Requirements When Choosing A Gallery Wall
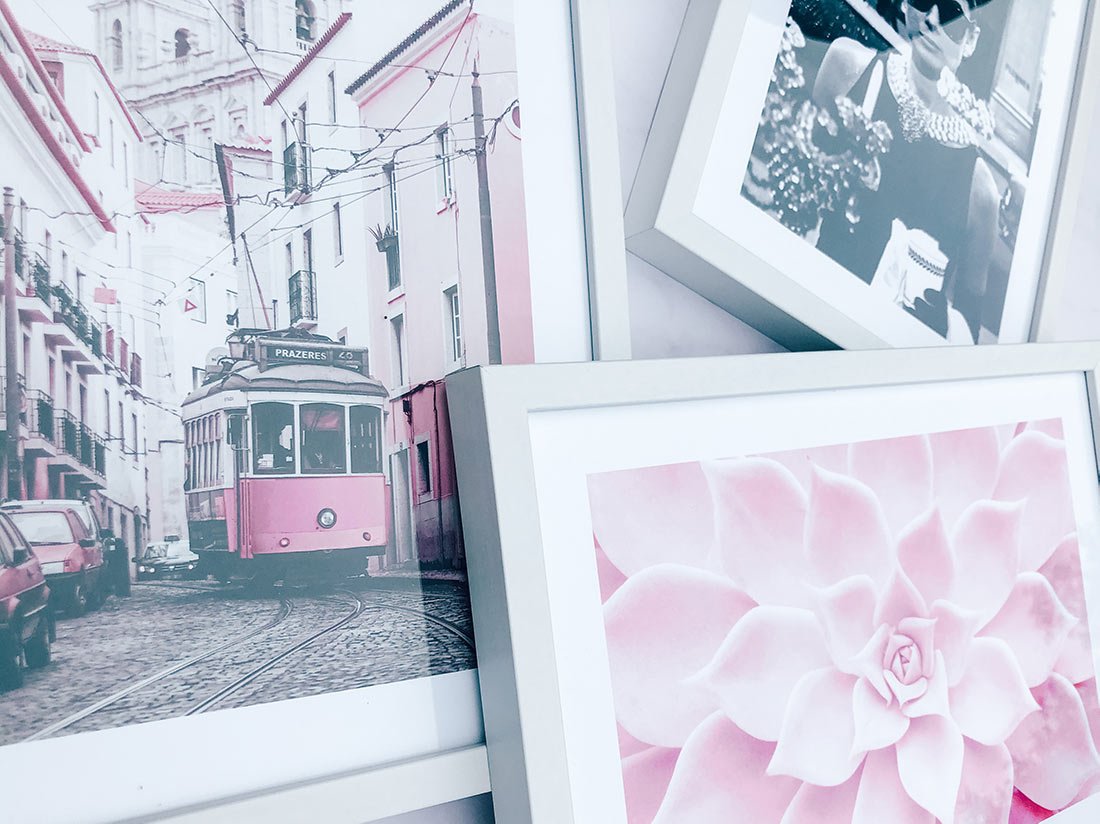
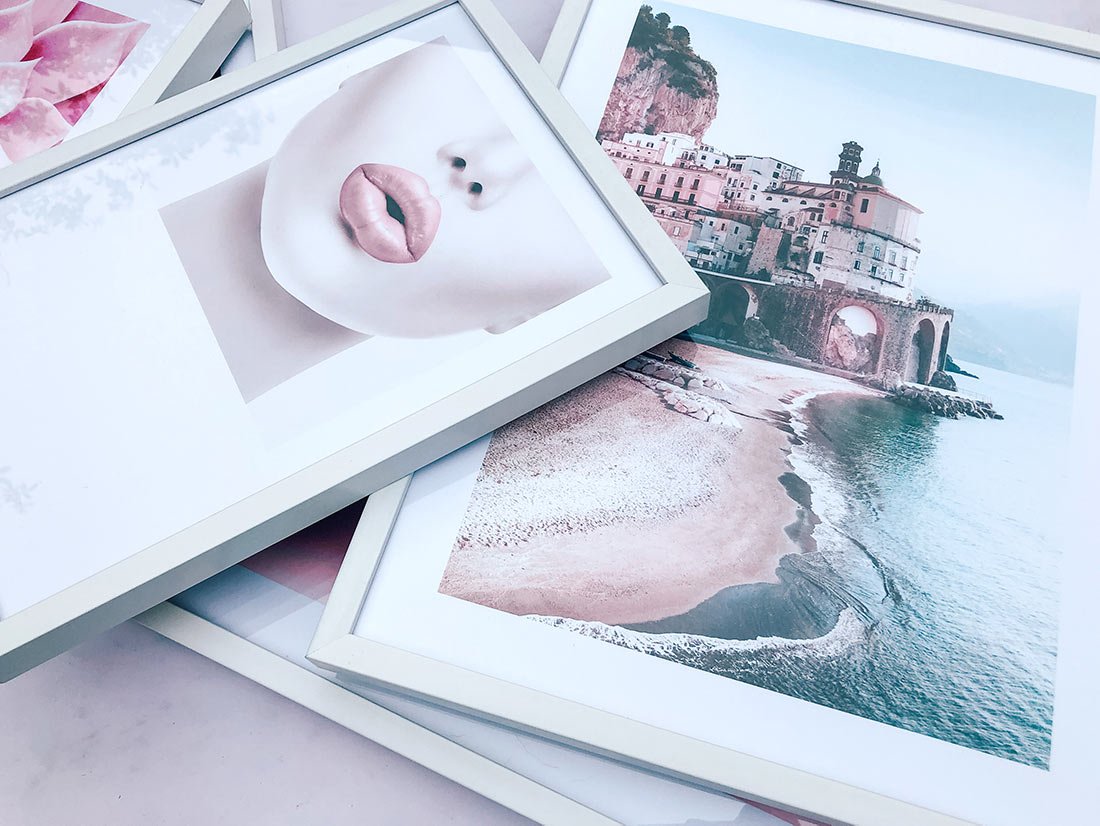
You need to start somewhere, I started with by scrolling thought Desenio quite randomly and choosing 1 image that took my eye. That was the tram in Lisbon, this helped to start to build a bit of a theme, travel, photography, music and football. A random collection I know, however being open minded and having the tool to build our vision helped tremendously.
Choose A Colour Theme
This was somewhat dictated by the tram picture, however Mediterranean shades of pink and blue alongside black and white became our ultimate colour theme. Once we had this in mind it helped to arrange images and indeed our vision.
Measure The Wall
Unless your wall is the same size as the gallery wall in the gallery wall layout selector, you will need to measure the wall and make some simple calculations ensuring you factor roughly an inch gap between each framed print. Our wall was smaller, however I wanted a layout the same as the one I had designed on the gallery wall builder tool. I also added a few extra to the layout, and another wall.
Choosing a gallery wall that fits relies on you measuring the wall, then calculating the size each image needs to be to fit the wall. From here you can choose you images for each size of frame.
Use A Gallery Wall Builder Tool
Once we had measured the wall, I drew out the layout to match the wall art tool, and resized each image on my sketch to fit my wall. It’s important to remember that not all picture come in all sizes, this allowed me to allocate an image to each size and mark on my plan, whilst keeping to the images I had chosen yet shuffling the gallery wall layout around slightly.
Choose Your Frames
This is an other incredible feature, you are able to see your frames on your gallery wall to give you an idea how they will match. I love this feature and in my mind I wanted rose gold or black which both looked great, however once I saw my wall with a white frame I change my mind.
Hang Your Gallery Wall
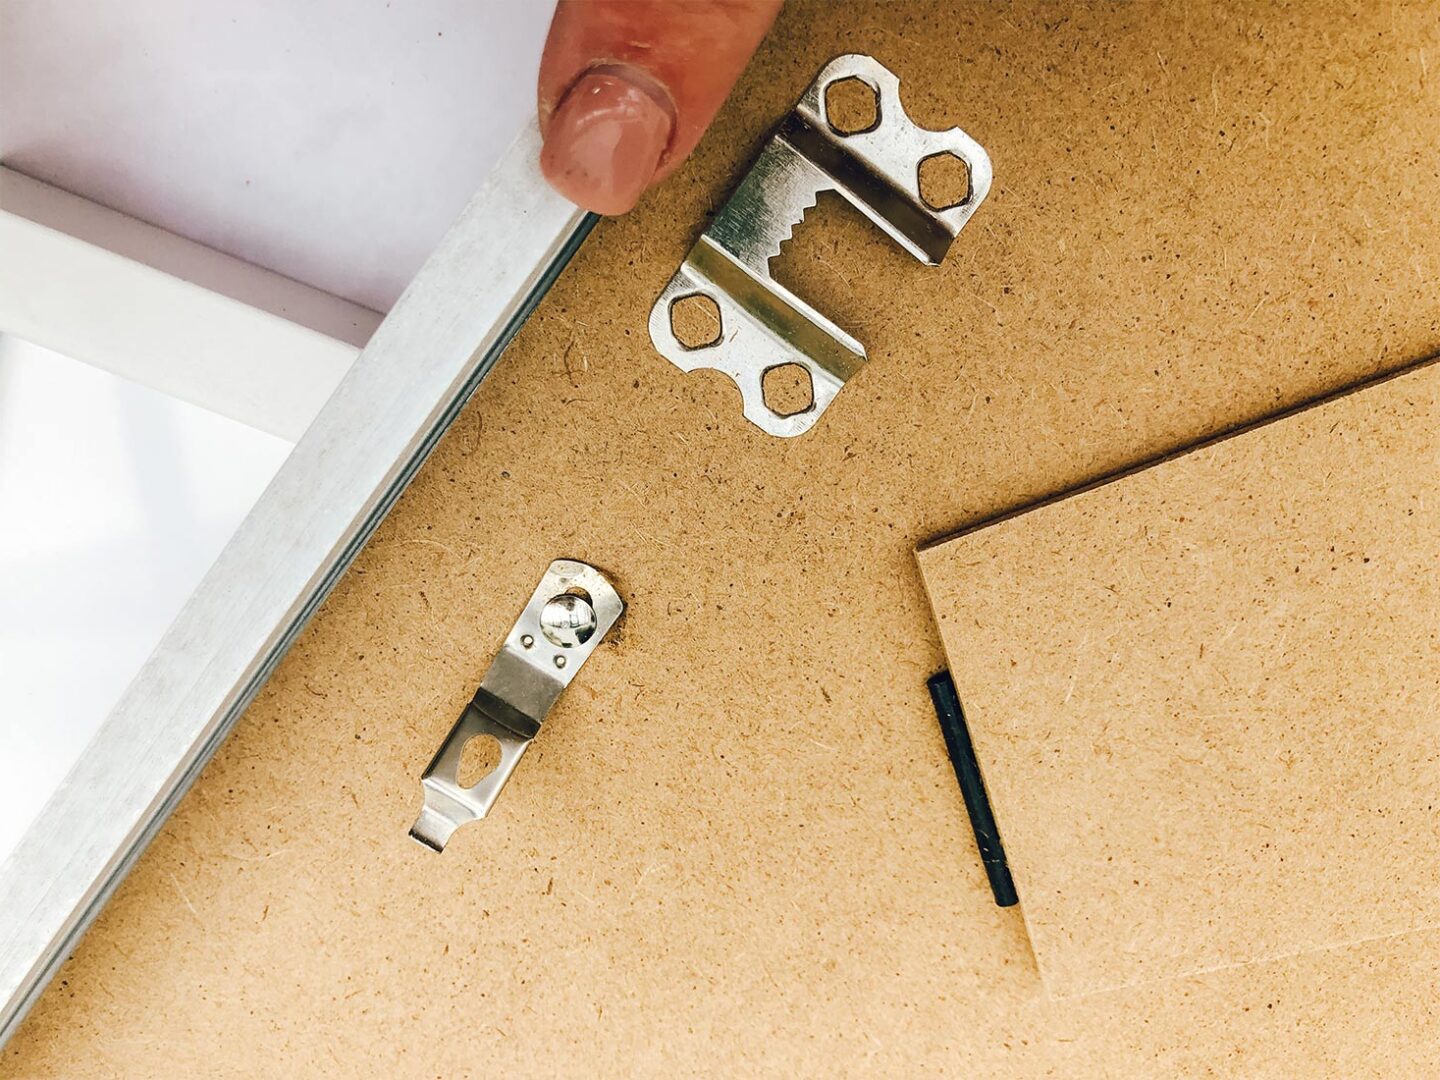
My order was tracked and arrived well wrapped, leaving me to put the art in the frames and hang, I need to say here that I love the frames. The fronts are perspex not glass, and also came with a protective film on to ensure there were no scuffs or scratches.
The frames were also simple to use with pressure release clips, so no messing about or struggling with a screw driver. I know thats a small thing, but it’s the one thing I hate about hanging pictures. Additionally the back of the frames have hangers for vertical and landscape hangings.
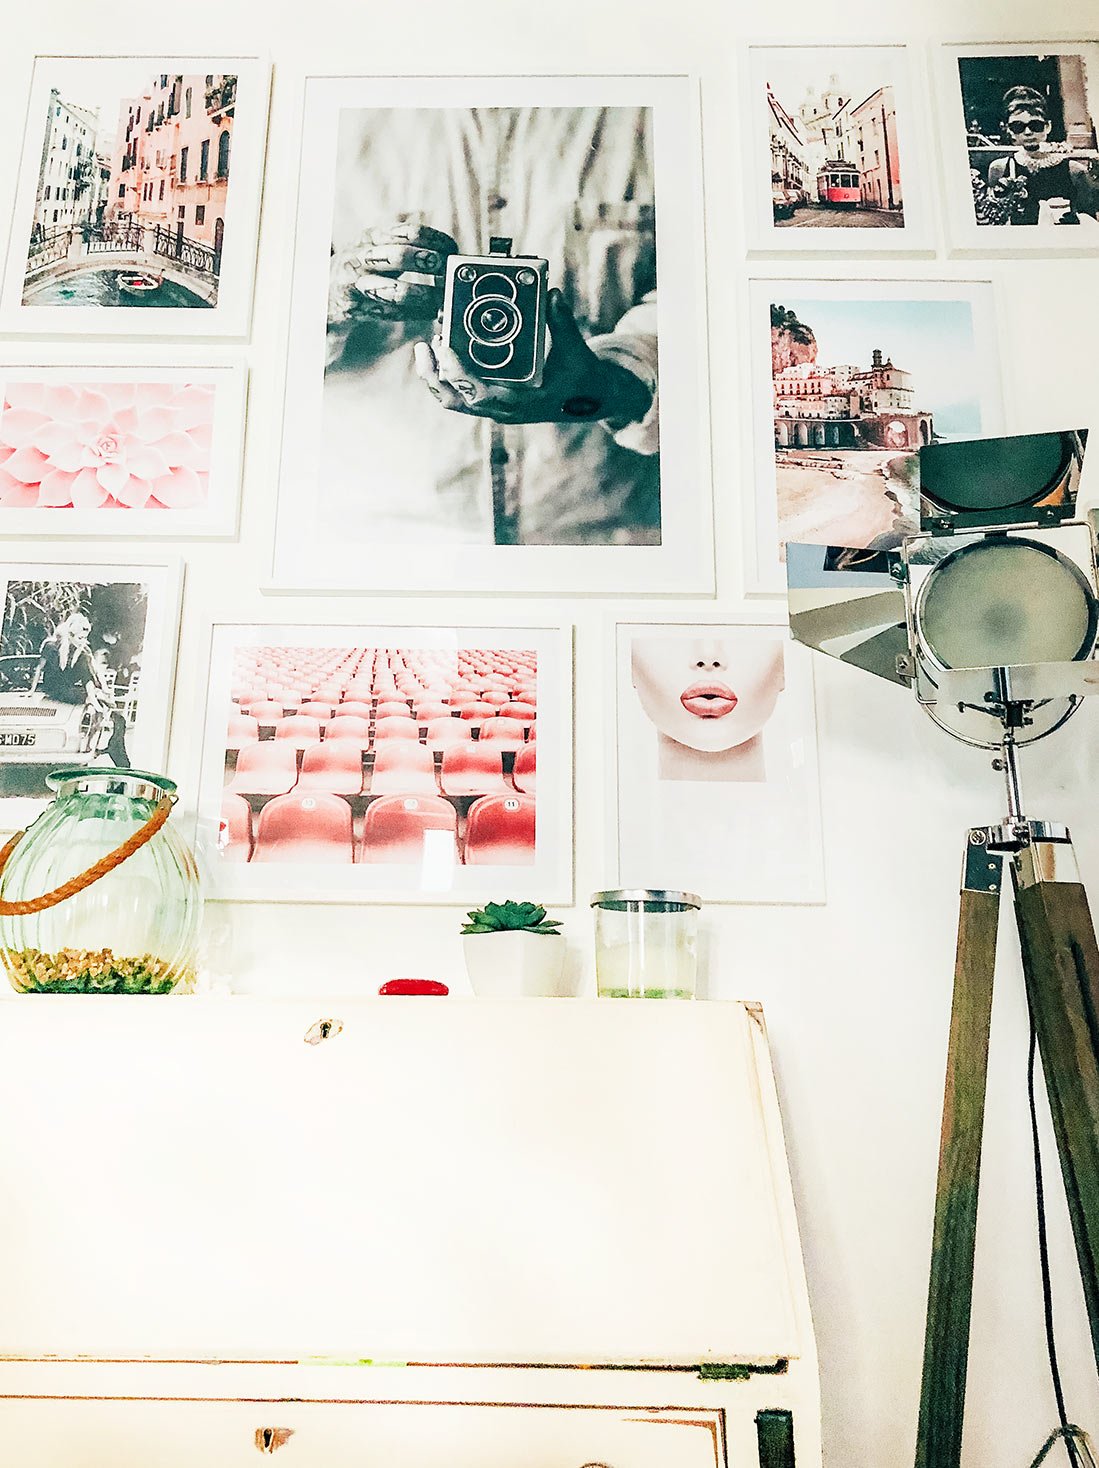
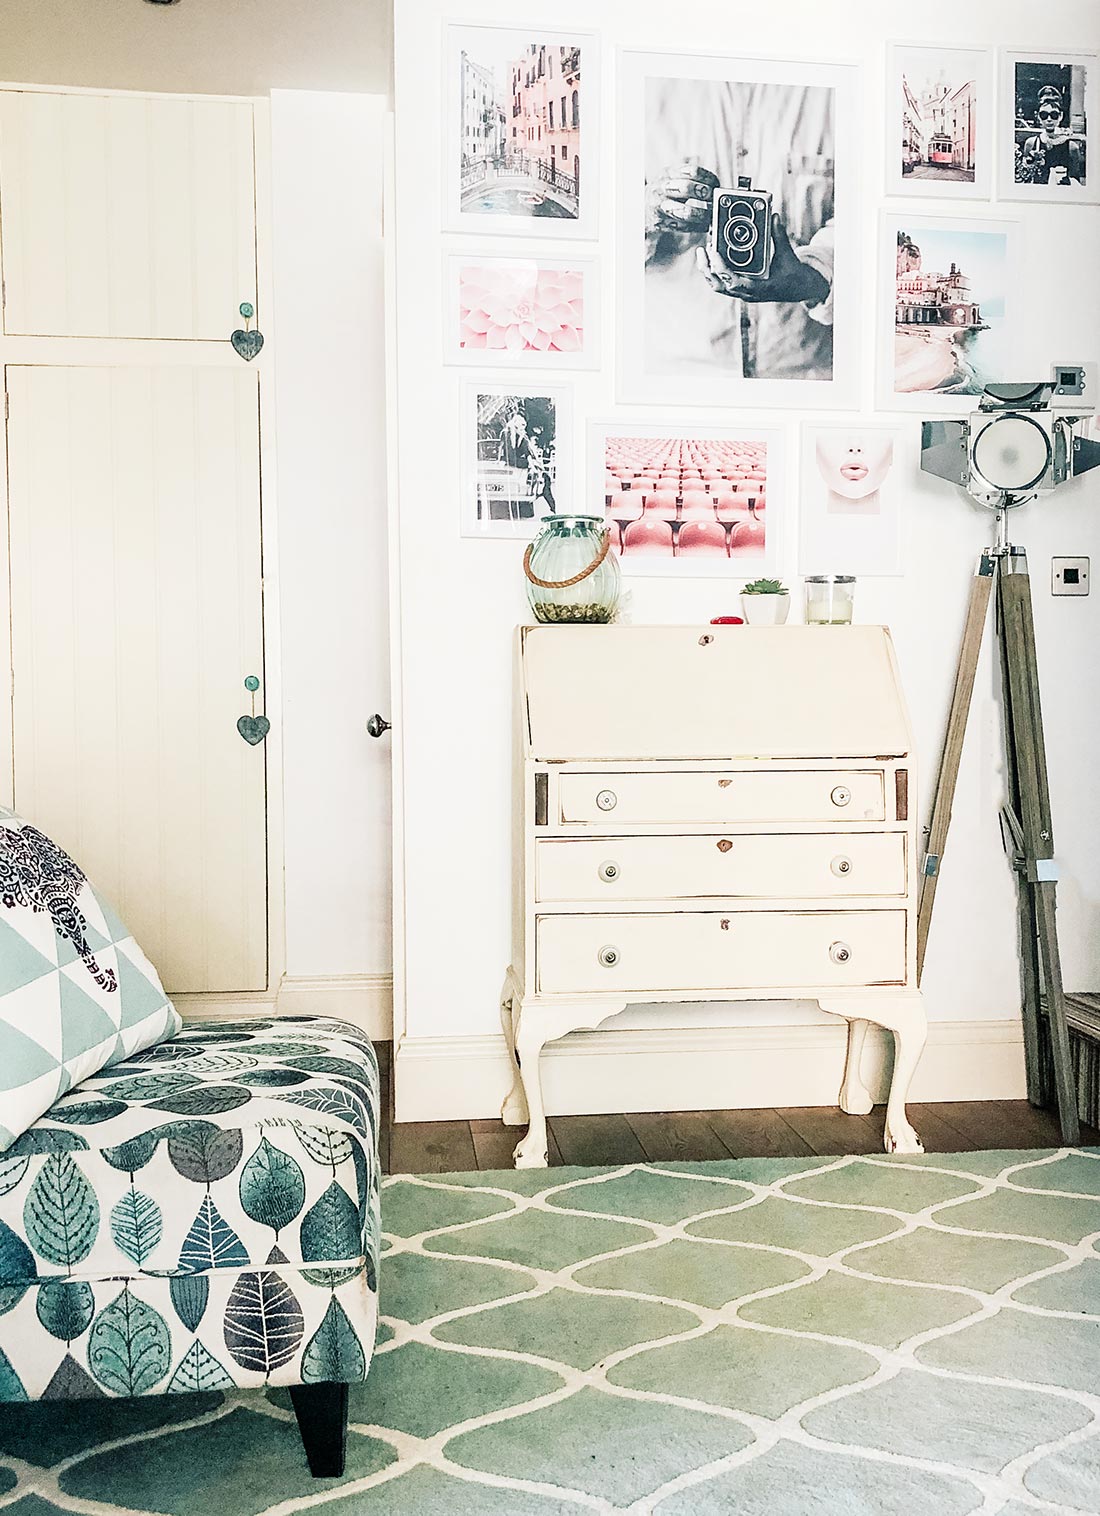
We started by laying all of the frames out on the floor to get the order right and measuring and making where the first hook needed to be on the wall. We started with the largest middle picture and worked outwards, keeping the 1 inch gap we had planned in between each print. Keep going until the wall is complete and looks balanced, finish off by ensuring each frame is straight.
Was It Easy Creating And Choosing A Gallery Wall Layout?
It was so easy, however I do feel that was down to the gallery wall builder, I would not have been as brave with my images without a visual representation. With such a random mix of prints I just couldn’t have seen it working. Yet as soon as I saw it as a mock up I knew I loved it and it all worked together for us.
I wanted a modern mix with vintage to match my shabby chic furniture and that is exactly what we achieved.
Our hallway is such a dark room with no natural light, this can make it feel a dismal area, one that requires brightening up. The gallery wall has made such a difference, it greets you as you enter the house, feels welcoming and bright and was just what our hallway needed to give a difficult room a little personality.
This was part of a paid promotion with Desenio but we are totally in love with our gallery wall. Also check Caro’s choices for a space themed bedroom here.