
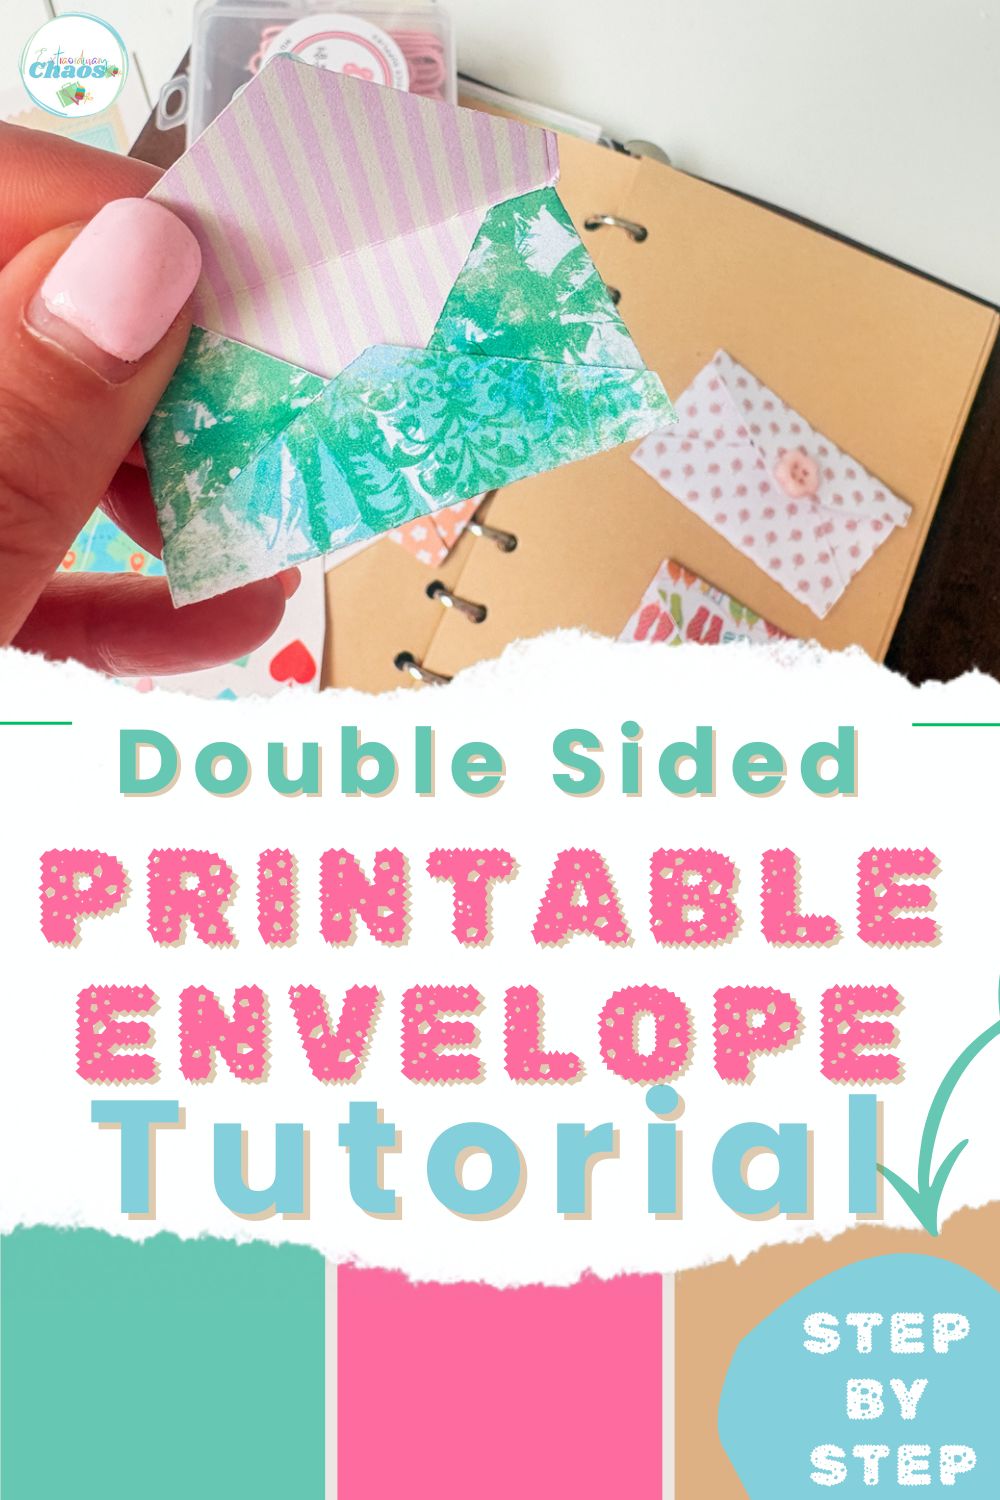
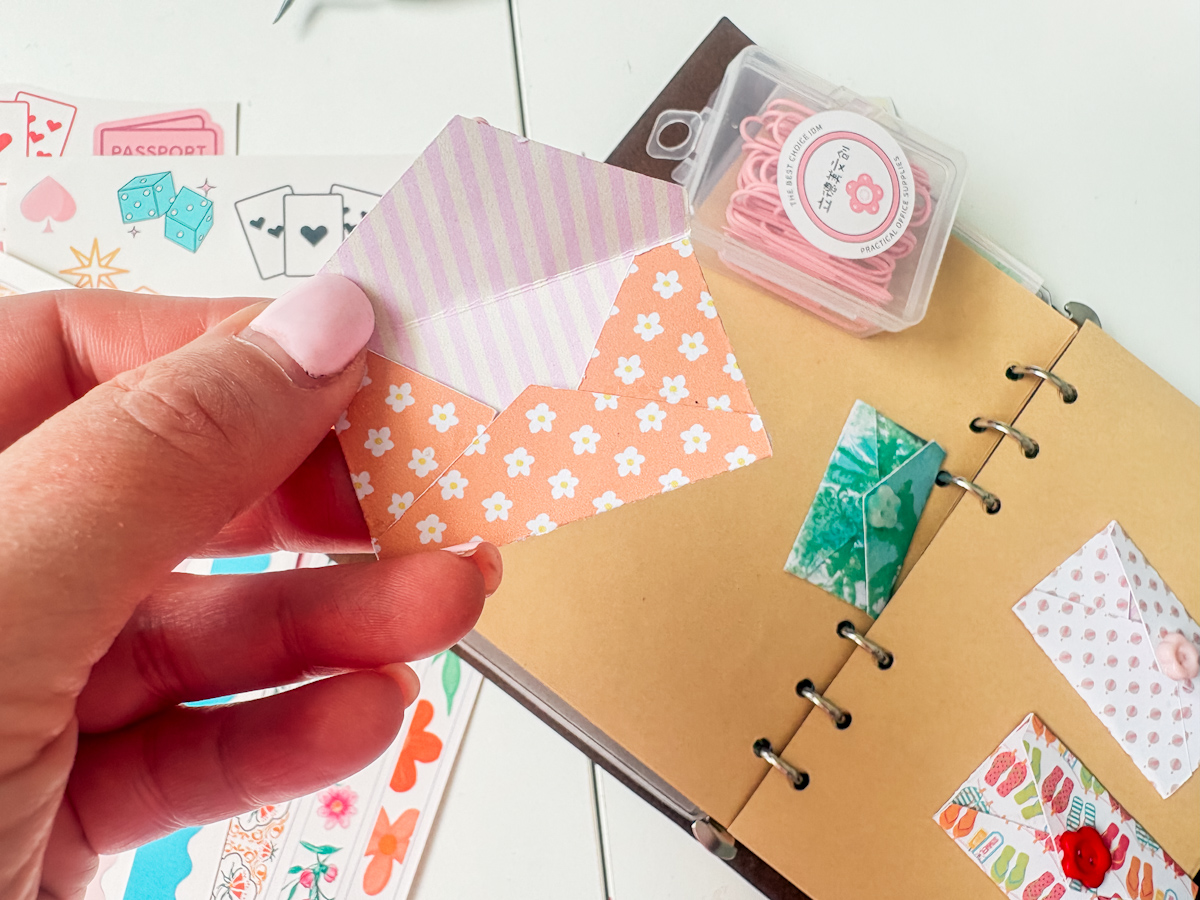
If you’ve ever wanted an envelope with one pattern on the outside and a completely different pattern on the inside, you’re in the right place. In this post, I’ll show you exactly how to make a double-sided print and cut envelope in Cricut Design Space, using nothing more than cardstock, your Cricut Maker, and a bit of clever welding.
These mini double-sided envelopes are perfect for journals, planners, scrapbook layouts, and even craft fair stock. Best of all, once you understand the trick behind double-sided Print then Cut, you’ll be able to reuse it for cards, gift envelopes, and money envelopes too.
This post may contain affiliate links. Which means I may receive a small commission if you click a link and purchase something that I have recommended at no extra cost to yourself. As an Amazon, Cricut and Glowforge associate, I earn from qualifying purchases.
What You Will Find Here
How to Make a Double-Sided Print and Cut Envelope in Cricut
What You’ll Need
Before we get started, gather these supplies:
- Cricut machine + Design Space
- Cutting mat or from Amazon
- Basic Cricut tools
- A home printer
- Printable cardstock
- Cricut paper trimmer
- A Cricut scoring tool attachment (a scoring stylus works, but I prefer a guillotine-style)
- E-Z Runner Grand Refillable Dispenser
With your supplies ready, let’s move on to building the envelope shape in Design Space.
1: Set Up Your Envelope Shape in Design Space
The first stage of making a double-sided print and cut envelope in Cricut is building the base envelope shape from scratch. It sounds technical, but it’s really just squares and triangles.
Open a New Canvas and Add Shapes
Open Cricut Design Space and start a new project by clicking Blank Canvas. Head to the Shapes panel on the left-hand side and add:
- Two squares
- One triangle
These three basic shapes are all you need to build a complete envelope template.
Build the Envelope Base
Take your first square and set it to Print then Cut, then resize it. Keep an eye on the top-right corner of the screen. If a red exclamation mark appears, your shape is too large for the printable area, so drag it back until the warning disappears. This gets you the maximum size possible without wasting cardstock.
Duplicate your square and drag it to a rectangle for the base, then duplicate and drag it thinner to create the envelope’s top and side flaps. Then position your triangle at the top to form the top flap of the envelope.
Slightly overlap your triangle with the rectangle underneath. Cricut’s welding tool needs shapes to overlap in order to fuse them together properly, so this step matters more than it looks. You need to do four two for the top and bottom and two for the sides or the envelope.

Weld the Shapes Together
Select all of your shapes and click Weld. If any edges look messy after welding, use the Slice tool to tidy up the overlaps. Repeat this duplicate-and-weld process on each side until you have a complete, symmetrical envelope shape with flaps on all four sides.
2: Add Your First Pattern (The Envelope Interior)
Now that your envelope shape is built, it’s time to add your first pattern. This will become the inside of your finished envelope.
Apply a Pattern Fill
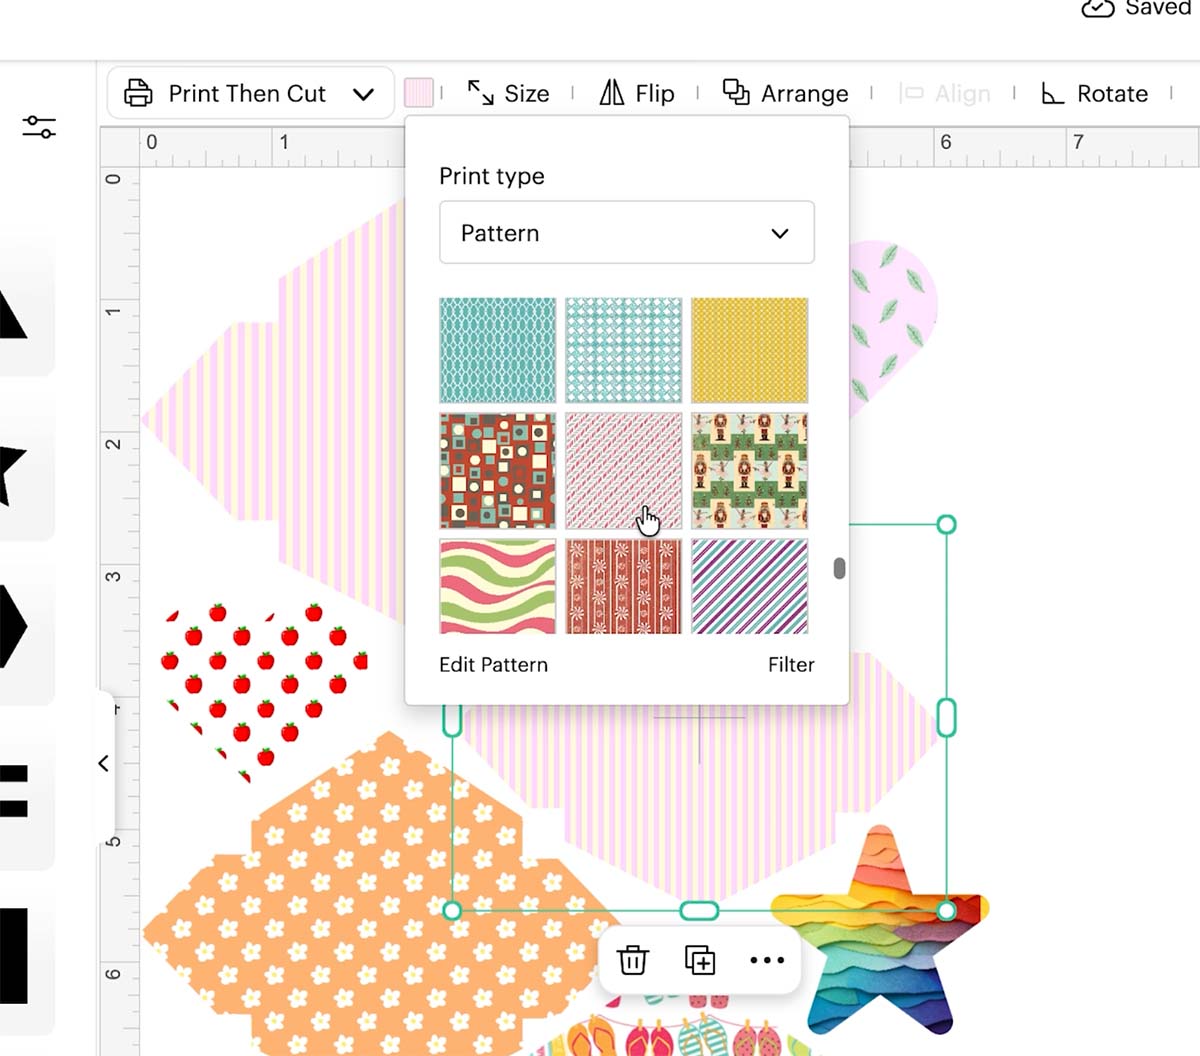
Click on your shape, select Colour, then choose Pattern. You can use Cricut’s built-in pattern library or upload your own seamless patterns. If you’re using a seamless design, use the Edit Pattern slider at the bottom of the panel to scale the pattern up or down until it fits your envelope size.
For mini envelopes, scale your pattern down significantly, since the standard pattern size is designed to fill an entire A4 sheet.
3: Design Your Second Pattern (The Envelope Exterior)
This is where the “double-sided” magic happens, so pay close attention to this step.
Duplicate the Envelope Shape
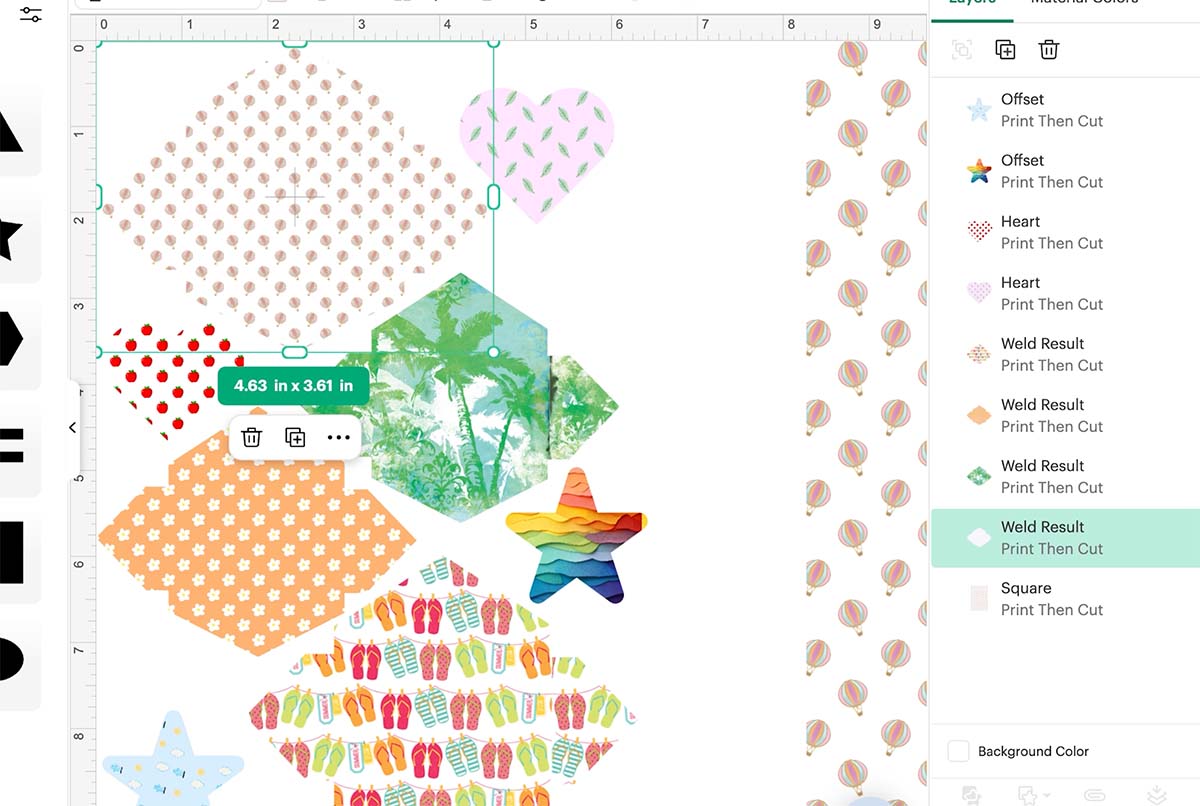
Duplicate your welded envelope shape and apply a second, different pattern to it, this will be the pattern that appears on the outside of your envelope once it’s folded. At this stage, I also added some shapes to fill all the space. I can use these on my journal layouts.
Flatten Each Layer Separately
Select all elements of your first pattern layer and click Flatten. Do the same for your second pattern layer. You should now have two separate, flattened Print then Cut images: one for the inside pattern and one for the outside pattern. Line them up to check the envelopes fit onto the pattern, but both patterns need to be flattened separately.

4: Print Both Sides on the Same Sheet
This is the step that makes a genuinely double-sided print and cut envelope in Cricut possible, rather than just two separate one-sided envelopes.
Send the First Layer to Print
Click Make It, then send your first pattern to print. Remove the bleed, select System Dialogs, choose your best print quality, and print the sheet as normal.
Flip the Sheet and Print the Second Layer
Once the first side has printed, feed the same sheet of cardstock back into your printer, flipped over so the blank side faces up. Then, in Design Space, click on your second pattern layer and send that to print too.
Your printer will now print the second pattern directly onto the reverse of the first, giving you one sheet of cardstock with two completely different patterns, one on each side.

5: Cut Your Envelope on the Cricut Maker
With your double-sided sheet printed, it’s time to cut.
Load Your Mat
Place your printed cardstock onto your cutting mat, lining it up in the same position it appeared in Design Space. This ensures the Cricut Maker’s sensors can accurately locate your Print then Cut registration marks.

Choose Your Settings
Load the mat into your Cricut Maker, select Heavy Cardstock as your material setting, and press cut. The Cricut Maker will read the registration marks and cut your envelope shape precisely around both printed patterns.
6: Score and Fold Your Envelope
Once your envelope shape is cut out, swap your fine-point blade for a scoring tool.
Score Along the Fold Lines
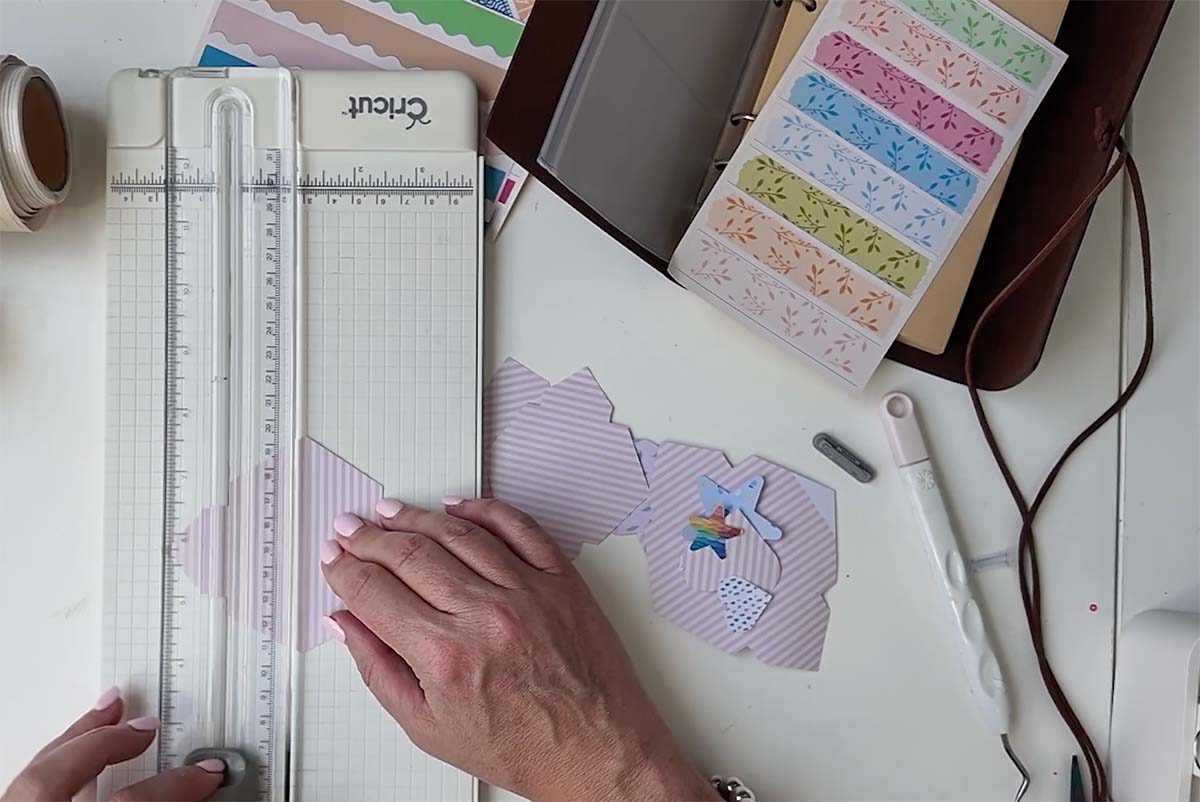
Line the scoring tool up along each edge of the envelope base, using the guide lines on your mat to keep everything straight. Score each fold line so the flaps crease cleanly.
Fold and Assemble
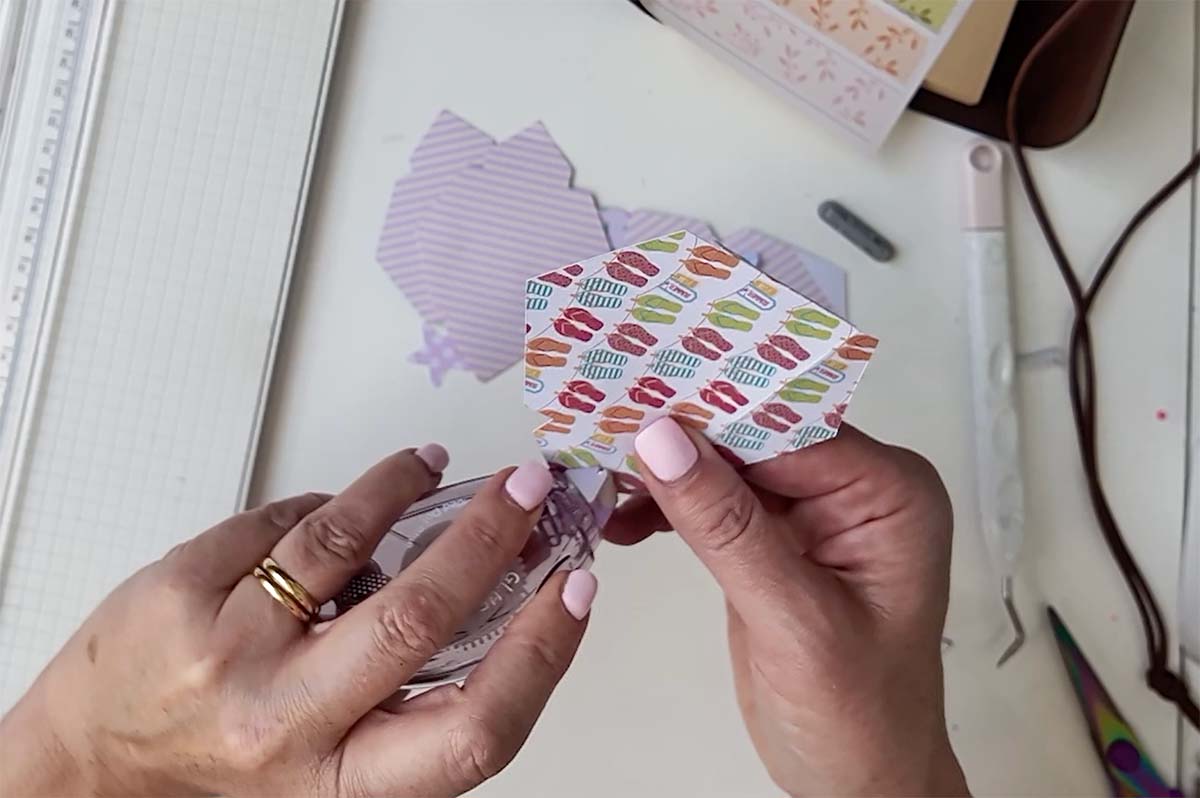
Fold each flap inward along your score lines. Add double-sided tape along the two side flaps, press them together, and your envelope shape is complete. The top flap tucks in to close the envelope, no adhesive needed there.
Step 7: Finish and Personalise
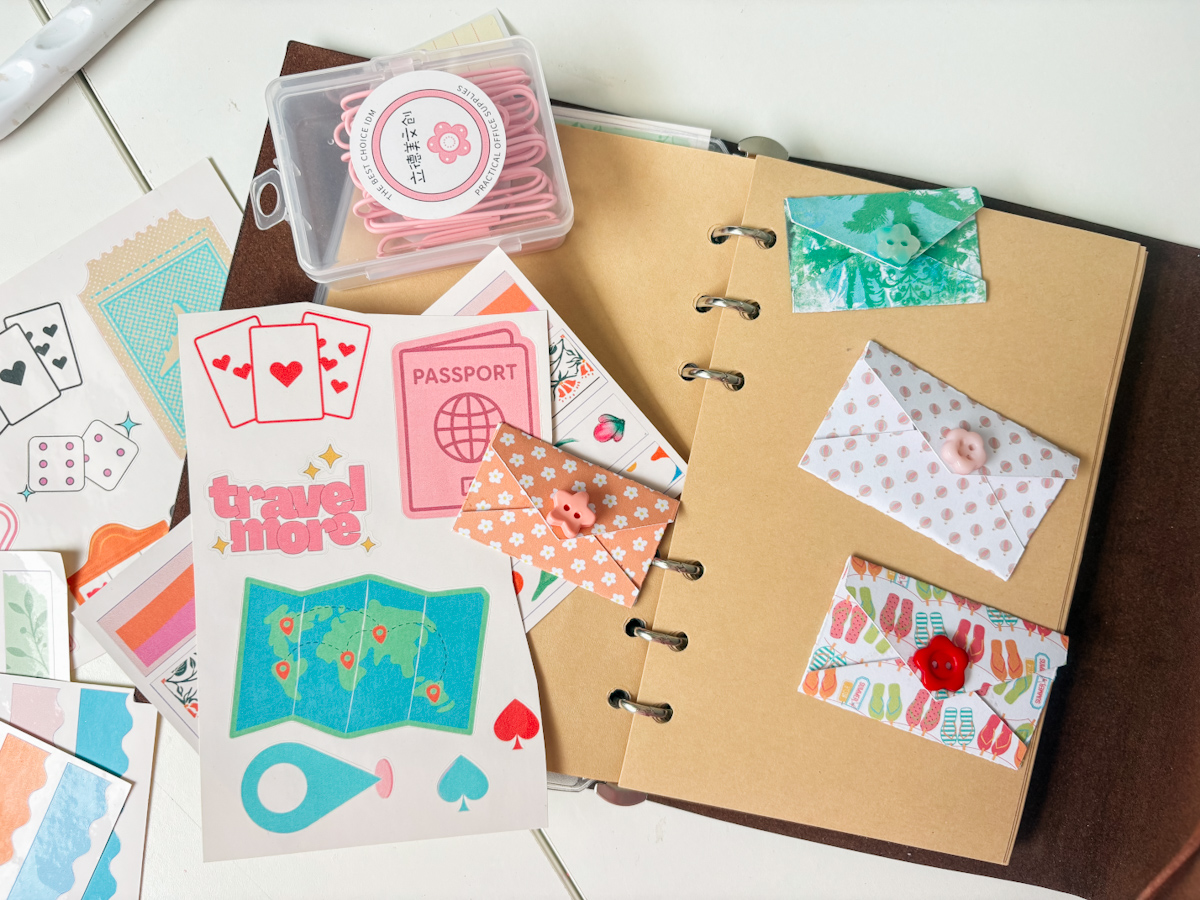
Your double-sided print and cut envelope in Cricut is now ready to use. From here, you can:
- Add a small button, brad, or embellishment to the flap
- Slot your mini envelope straight into a journal or planner
- Fill it with notes, receipts, or memorabilia for a scrapbook layout
- Scale the template up to use as a birthday or Christmas money envelope
Common Mistakes to Avoid
- Not overlapping shapes before flattening, Cricut Design Space now requires shapes to overlap before they’ll weld cleanly, so leaving gaps will cause the weld to fail.
- Skipping the “remove bleed” step, forgetting this can shift your registration marks and throw off your cut alignment.
- Feeding the sheet in the wrong orientation, always note which way up your first print came out before flipping it for the second pass, or your patterns will end up misaligned.
See The Step-by-Step Video Tutorial

And You Have Easy Double Sided Envelopes
And that’s it, a double-sided print and cut envelope in Cricut, made from a single sheet of cardstock and a bit of clever layering in Design Space. Once you’ve made your first one, the whole process takes minutes, and you’ll never look at a plain paper envelope the same way again.
Whether you’re stocking up for a craft fair, filling your travel journal, or making something special for a birthday card, this technique is one you’ll come back to again and again. Give it a try, and don’t be afraid to experiment with different pattern pairings; that’s honestly the most fun part.
