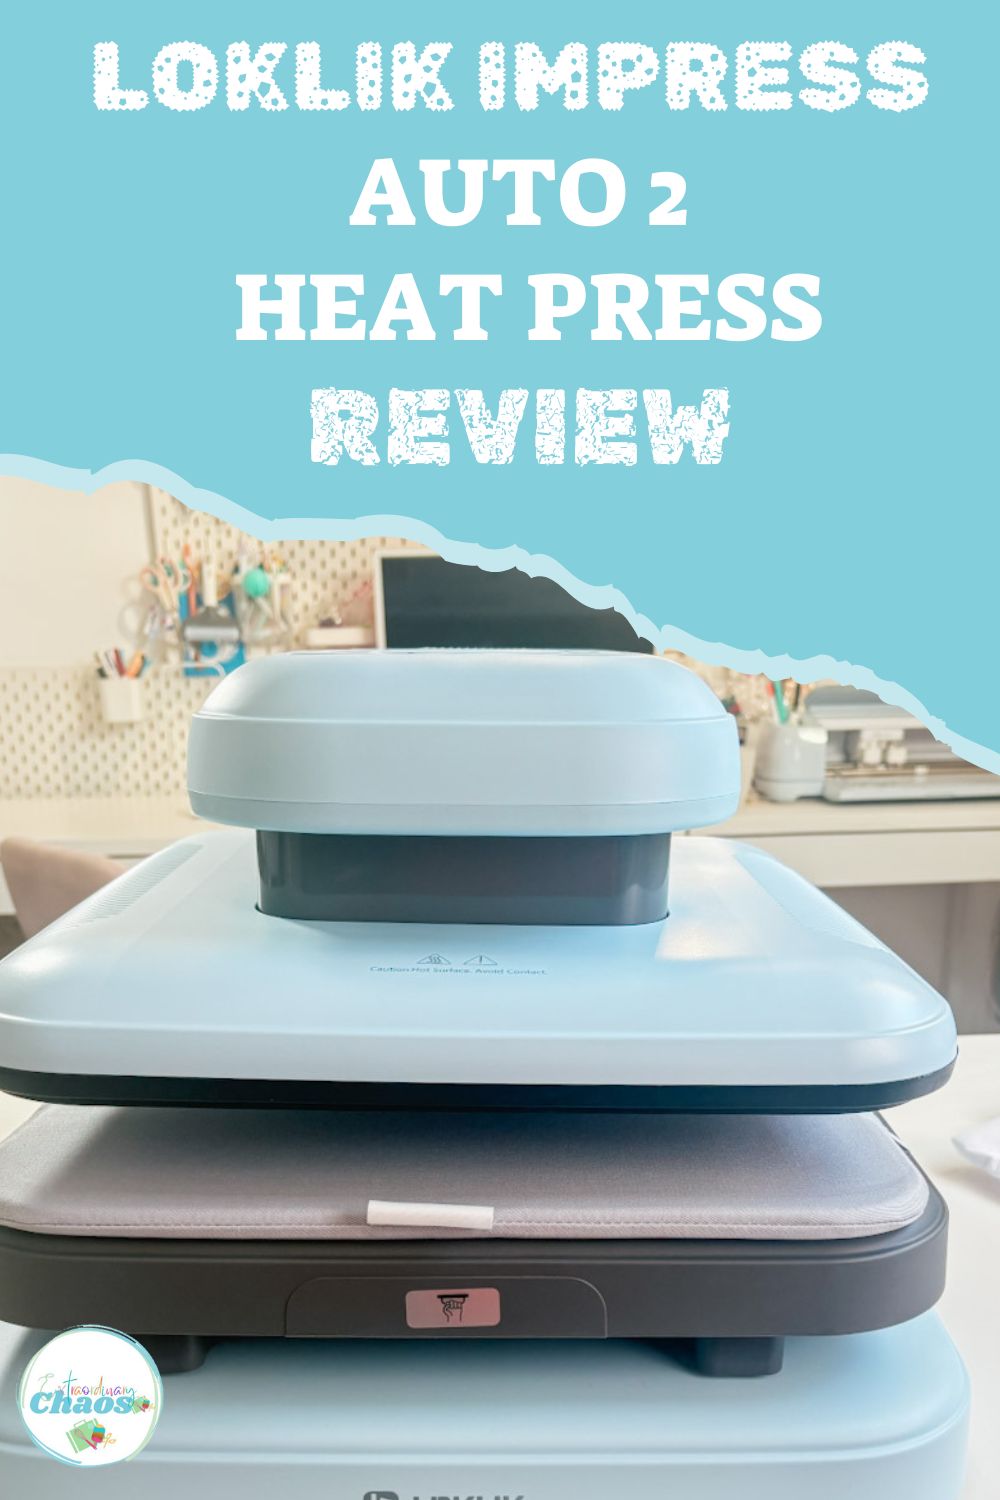
Today I am going to share my thoughts as I review the LOKLiK ImPress Auto 2 Heat Press. If you’re looking for a versatile, user-friendly, and high-performance heat press, the LOKLiK ImPress Auto 2 might be just what you need.
I have been putting it to the test using sublimation paper and blanks, and I’m excited to share my thoughts on how it performs! From ease of use to quality, here’s everything you need to know about this heat press. Whether you’re a hobbyist or running a small business, this automatic heat press offers convenience and professional-quality results.
In this guide, I’ll take you through its features, how it works, and whether it’s worth the investment for your crafting projects!
This post may contain affiliate links. Which means I may receive a small commission if you click a link and purchase something that I have recommended at no extra cost to yourself. As an Amazon and LOKLiK and associate, I earn from qualifying purchases.
What You Will Find Here
About The LOKLiK ImPress Auto 2 Heat Press
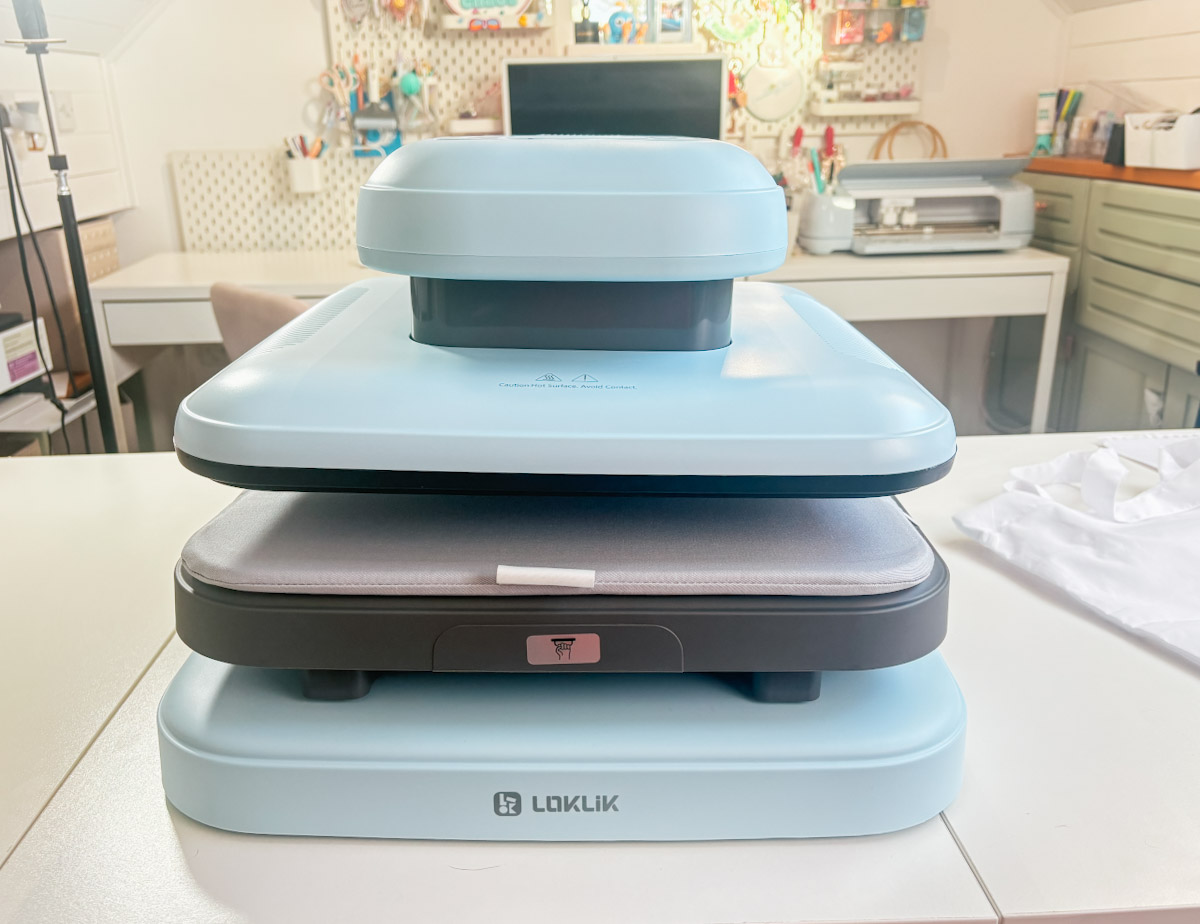
This fab heat press is designed to make heat transfer projects easier and more efficient, whether you’re a beginner or an experienced crafter. With automatic pressure adjustments to give added pressure and even heat distribution for improved transfer results. It’s an excellent option for those looking to create high-quality designs on fabric, wood, ceramic, and more.
The LOKLiK ImPress Auto 2 Heat Press offers a streamlined, user-friendly design with offering the following features…..
- One-click Press-down & Up: Simple and easy to use, requiring just one step.
- Pressure Adjustment: The LOKLiK provides a pressure range from 20-80 kg (50-170 lbs), offering more flexibility with no pressure adjustment.
- Maximum Heating Height: A maximum heating height of 4.5 cm, giving more flexibility to heat press thicker projects.
- Parameter Settings: It comes with five preset modes, four custom modes, and an auto mode, providing greater customisation.
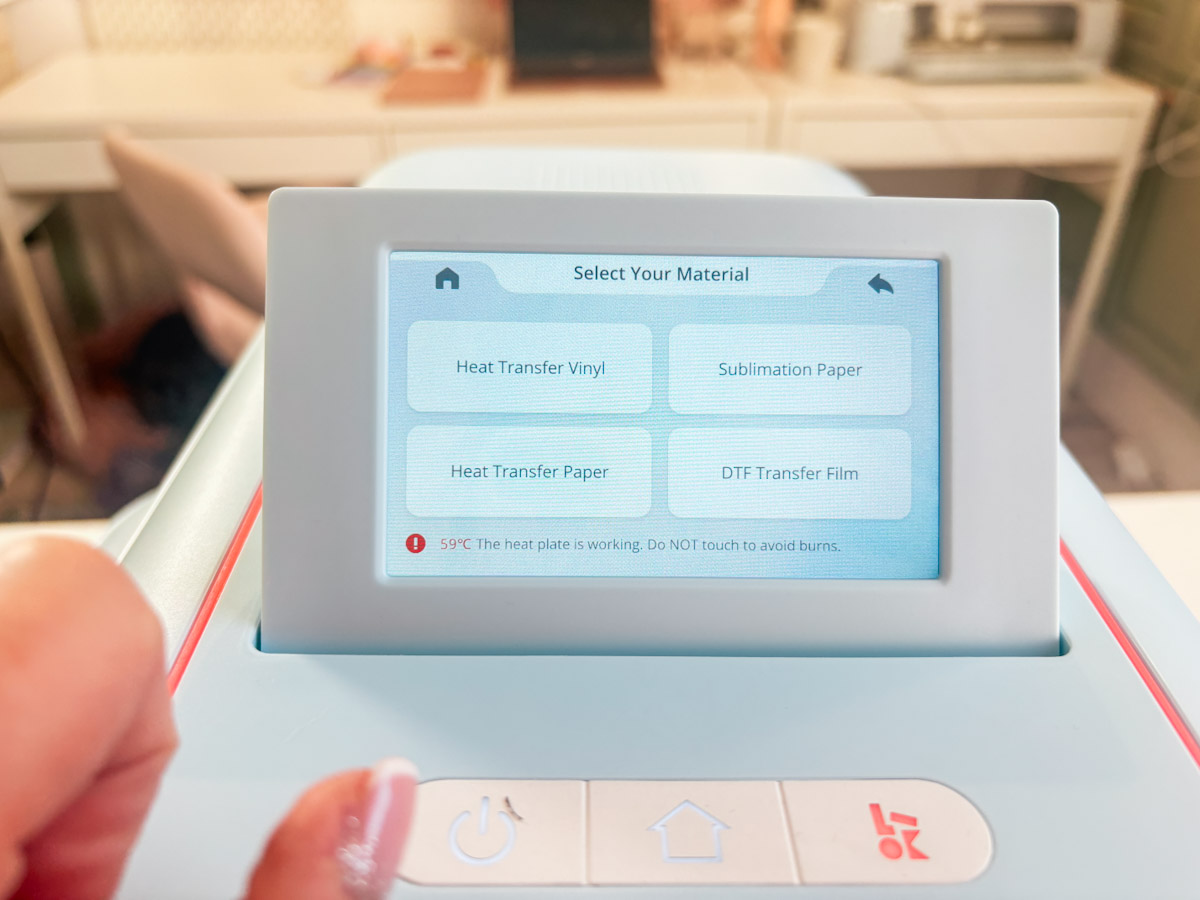
- Control System: The LOKLiK ImPress features an intuitive touch screen, which is so easy to use and allows you to custom set projects.
- User-safety Design: Includes safety features like a slide-out drawer, auto-lift trigger, and a 15-minute automatic shut-off function.
How Much Is The LOKLiK ImPress Auto 2 Heat Press
The ImPress Auto 2 Heat Press is currently on sale in the US for $329.00 and £315.99 in the UK.
How Does The LOKLiK ImPress Auto 2 Work?
The ImPress Auto 2 Auto Heat Press has a sleek design and looks super stylish. It has a pull-out tray, which also has an integrated removable heat mat, which makes it easy to load blank projects via the drawer. It has a maximum temperature of 210°c/410°f and can heat up to 210°C in 5 minutes and 30 seconds.
The machine works with automatic pressure. Thus, you only have to choose your mode and material, and it calculates the time and the automatic setting does the rest. Then you are good to go, with uniform heat for even pressure. When it’s done, the lifting system lifts away from the project.
The screen has an automatic motor that opens when you turn the machine on. You can choose the language and convert. the temperature between °C and °F.
What Can You Make With The LOKLiK ImPress Auto 2?
You can do so much with the LOKLiK ImPress Auto 2, I love that it works perfectly with sublimation inks and blanks and vinyl. So great for clothing, bags and gifts.
- Tote Bags
- T-Shirts and hoodies
- Make Up Bags
- Banners and flags
- Coasters
- Sublimate boxes and frames less than 4.5 inches deep
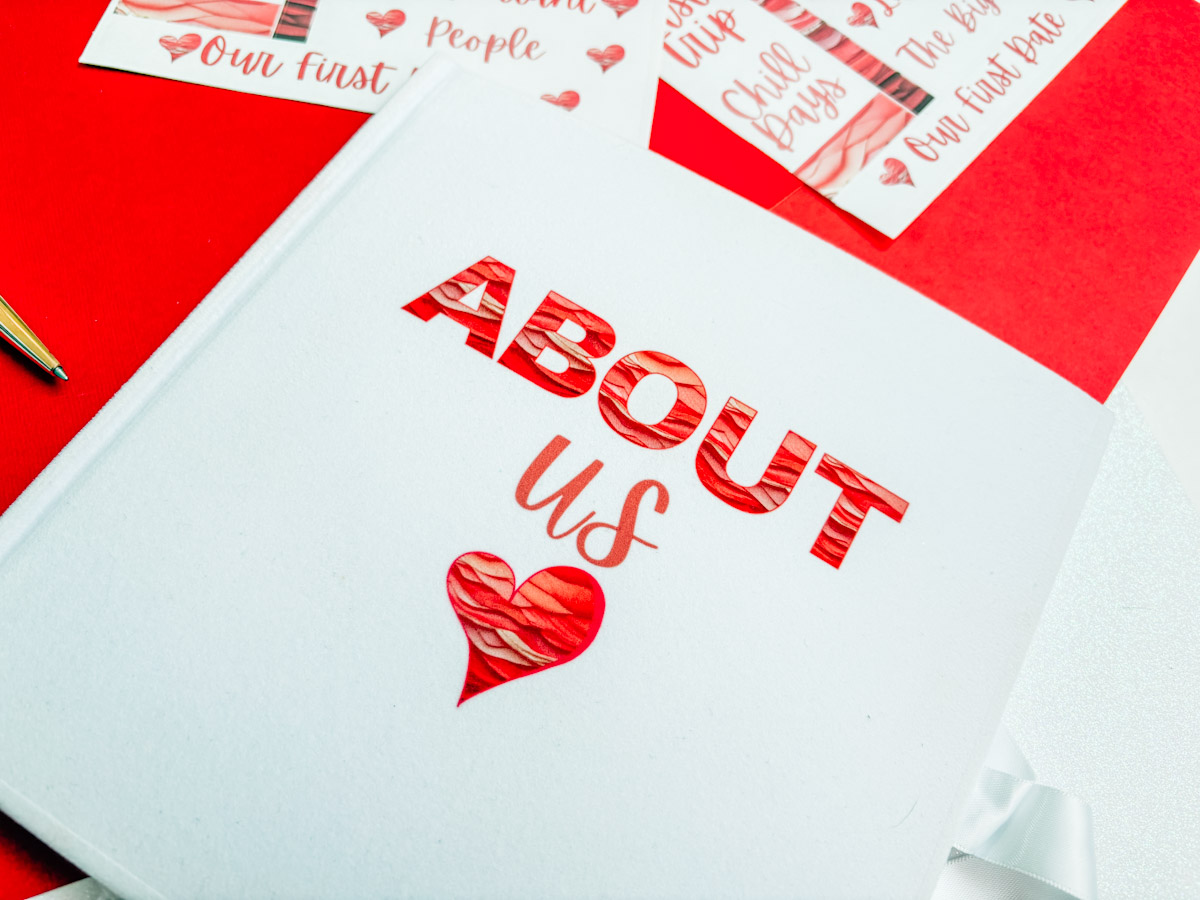
- Sublimation Albums
- Sublimation Key Rings and Jewellery
Step-by-Step Guide How To Use The LOKLiK ImPress Auto 2 With Sublimation Materials
Print Your Sublimation Image Or Word
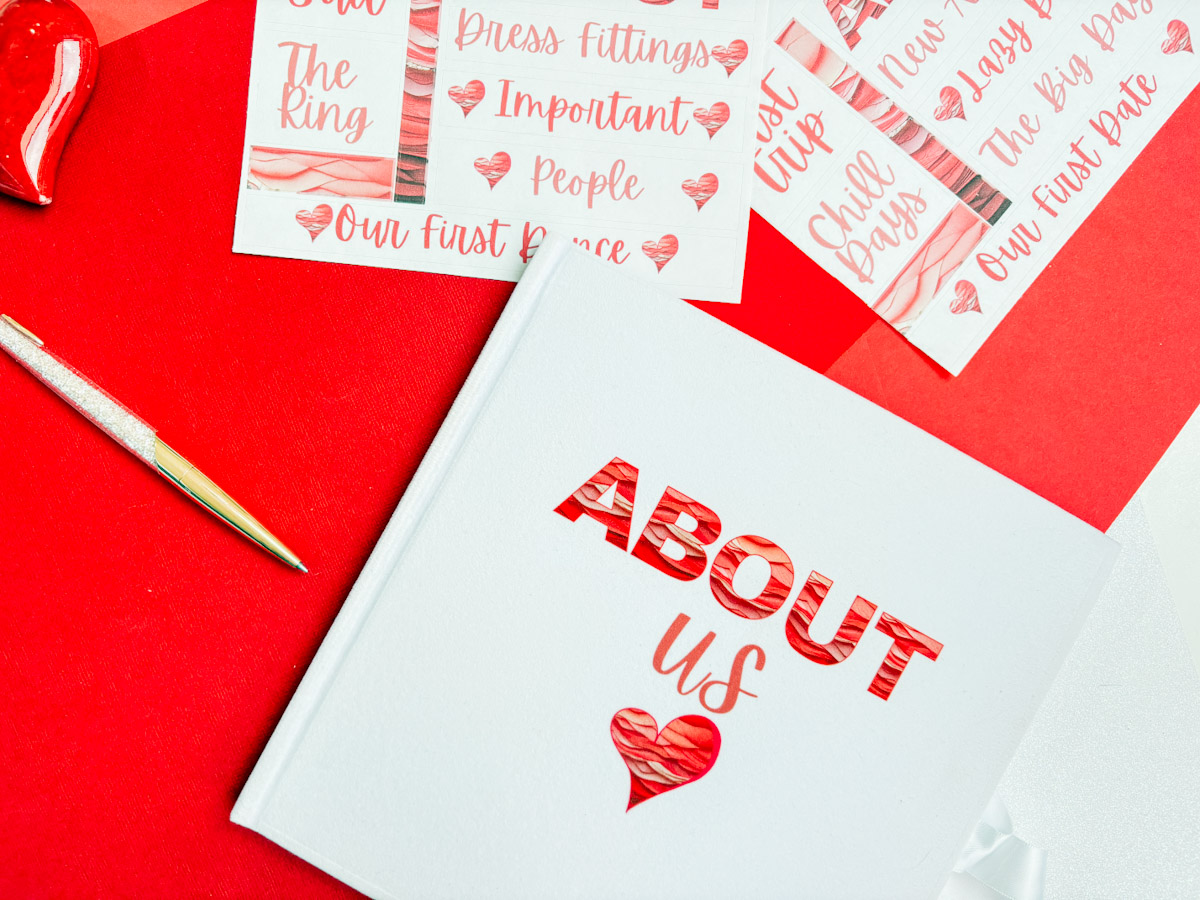
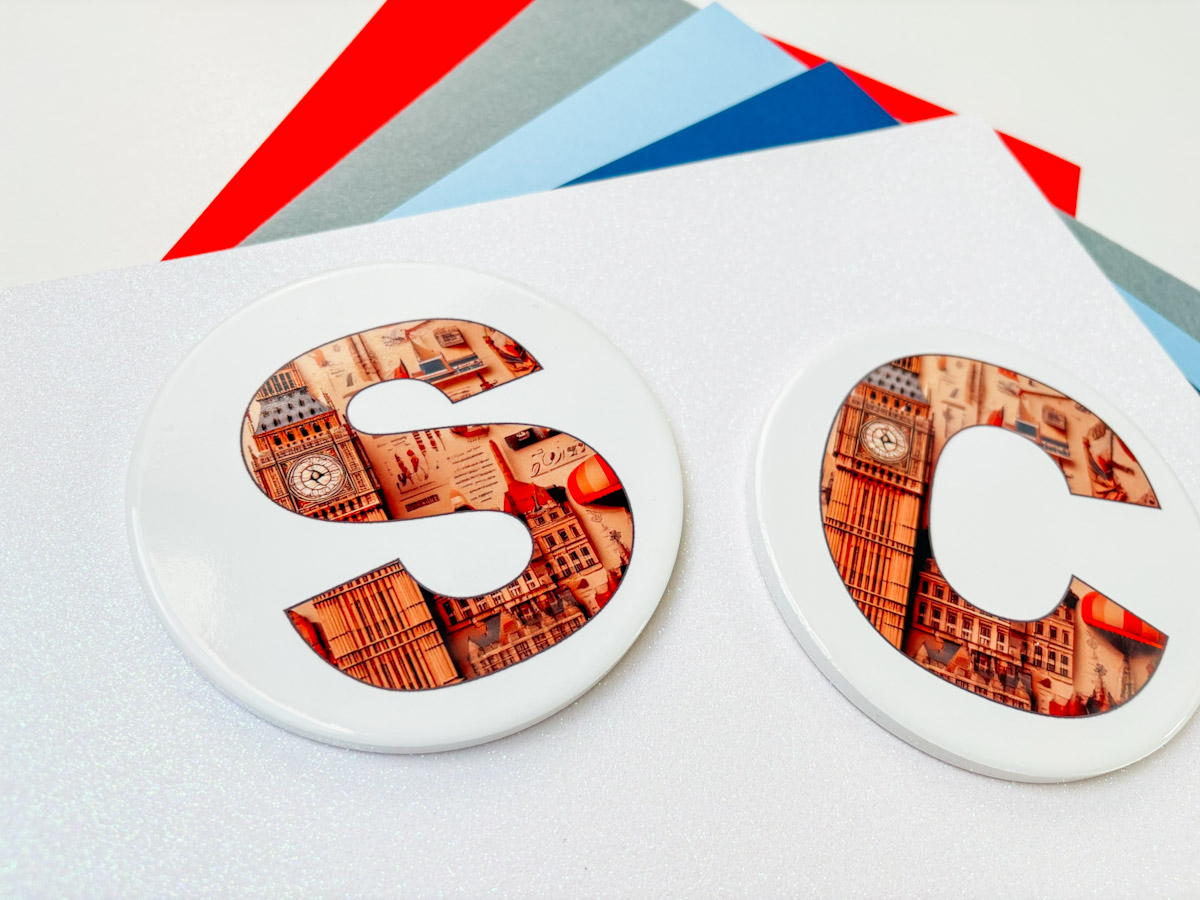
I printed two custom London-themed letters to make personalised coasters. And an About Us png to make a personalised wedding journal. When you are printing for sublimation, ensure you flip or mirror the images before you print, or they will print backward.

Prepare The Heat Press And Your Project
Once printed, turn on your auto heat press and select the material and settings required. I love this feature as the LOKLiK ImPress does all the thinking for you. However, you can also create your own presets.
Preheat your material first for around 5 seconds; this ensures the project and sublimation ink bond correctly.
Once preheated, use heat-proof gloves to apply your image, position it correctly, and use heat-proof tape to secure it well. This is important as it prevents your image from smudging. Place cardboard stock in the mat and your project on top, with the image facing up.
Then cover the whole area with a teflon sheet or grease proof paper. I have found that this is always better for getting the best results and protecting your heat plates. Now, click go. You need to click the safety button on the side to confirm. This is a great safety measure added to the new machine. Now the plate will lift, and sublimation begins.
Allow Your Project To Cool
When complete, allow the project to cool. Use heatproof gloves to remove from the LOKLiK ImPress Auto 2 and once cool remove the tape to reveal the finnished project.
Review Of The LOKLiK ImPress Auto 2
The LOKLiK ImPress Auto 2 is fabulous and super easy to use. Also, the results I have had so far on these projects and test pieces before were all great. The sublimation was vibrant and clear. I did have one project smudge, but that was my fault for not taping the image securely. I particularly love how easy it is to use and how great this new improved model looks on my desk.
Please note I was gifted the LOKLiK ImPress Auto 2 but all opinions are my own and I love this press!