
If you find yourself with a blurry image, don’t despair! Post-processing software can work wonders in sharpening your pictures. In this article, we’ll talk about how to make a photo less blurry. First, we’ll show you the 3 best photo editing programs that let you sharpen pictures. Then, you’ll find a couple of tips that will help you create clear photos. So, let’s jump right in and figure out which method works best for you.

What You Will Find Here
Top 3 Photo Editors for Fixing Blurry Images
For starters, we’re going to introduce 3 go-to photo editors: PhotoWorks, Lightroom, and Paint.NET. To choose the right software, you should consider the functionality, ease of use, and accessibility of the programs. Let’s take a look at them right now.
PhotoWorks
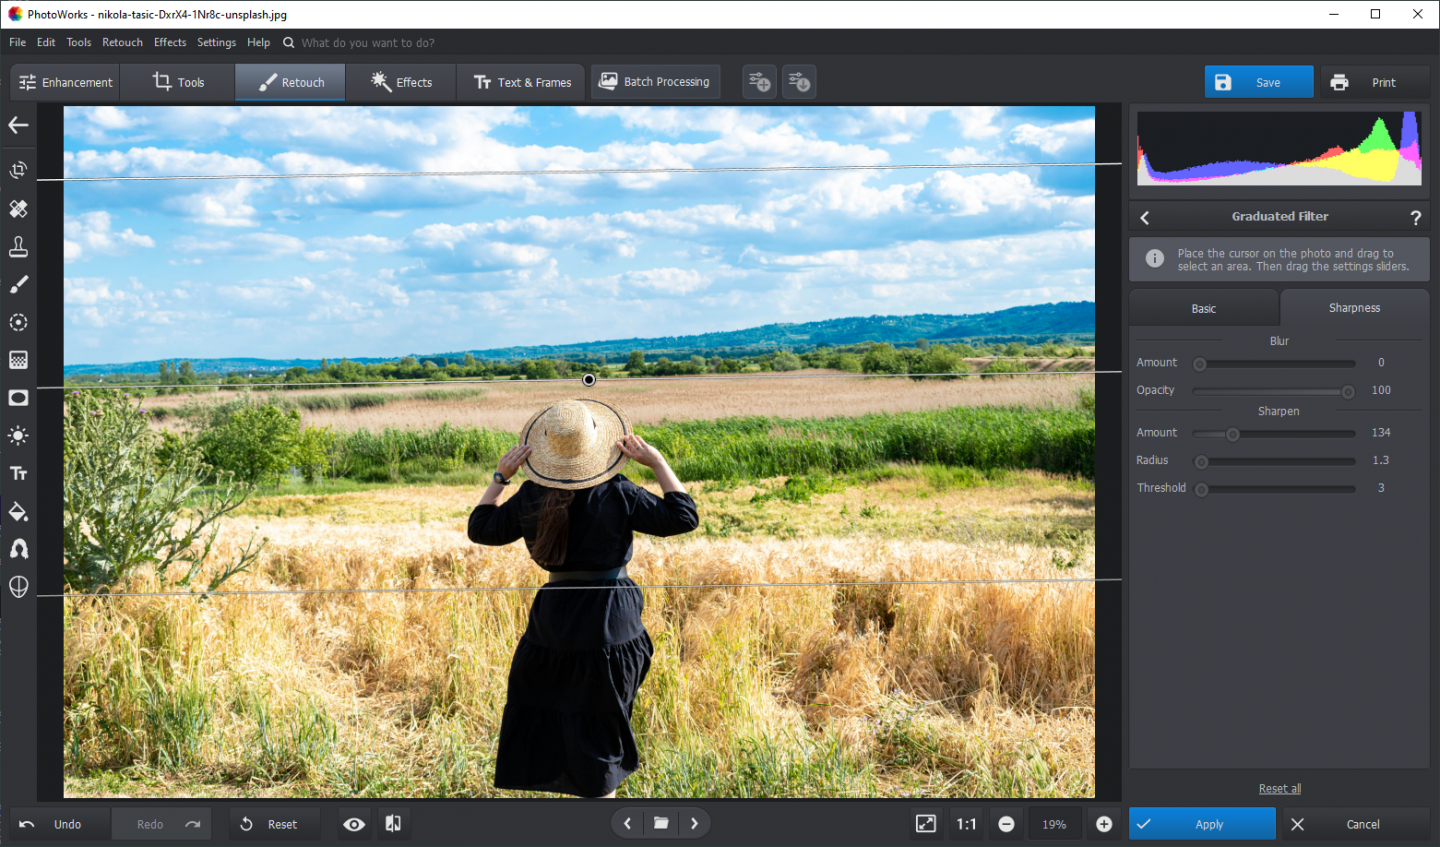
To correct a blurry image with the utmost ease, you can try PhotoWorks. This is a feature-rich photo editor that combines simplicity and pro-grade functionality. It offers both manual and AI-powered tools for making local adjustments, improving the overall quality, retouching portraits, removing objects, and more. So, how to make a picture less blurry with PhotoWorks? There are several easy techniques you can try.
If you want to sharpen an entire photo, you can move the Clarity slider. Alternatively, you can use the Sharpness feature – set the Amount, Radius, and Threshold values by dragging the corresponding sliders. To fix blurry parts of your picture, you can apply local adjustments. For example, Graduated Filter is the best option for sharpening landscape photos, while Radial Filter lets you correct small and big areas of an image.
There’s one more tool to check out – Adjustment Brush. This method suits you better if you want to fix blurriness with precision. You’ll need to pick the tool, adjust the Sharpen settings, and paint over the blurry area.
Lightroom
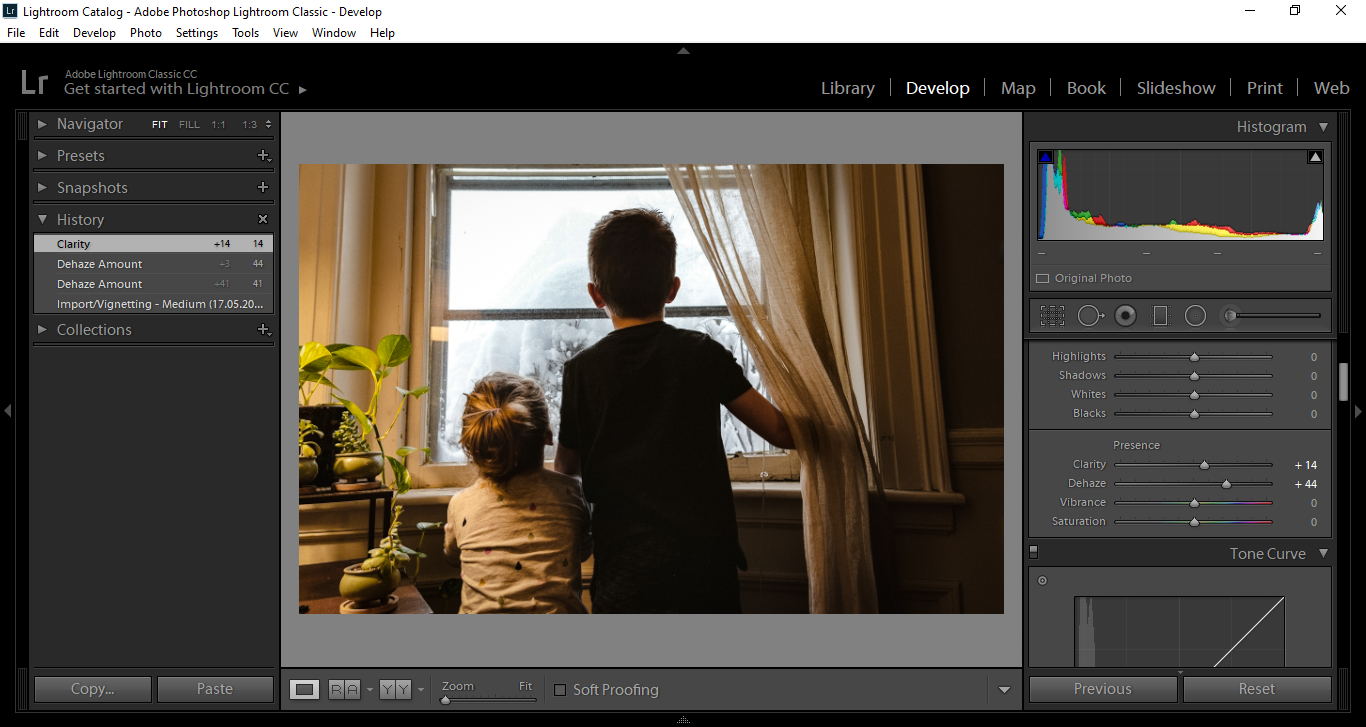
Lightroom is a full-featured photo editing program suitable for amateur and experienced users. It’s widely-used for color correction and basic adjustments in pictures – changing clarity, saturation, brightness, and other settings. To sharpen an image that is not clear enough, you need to open the Details tab and tweak the sliders. However, this software might be a costly option for beginners.
Paint.NET
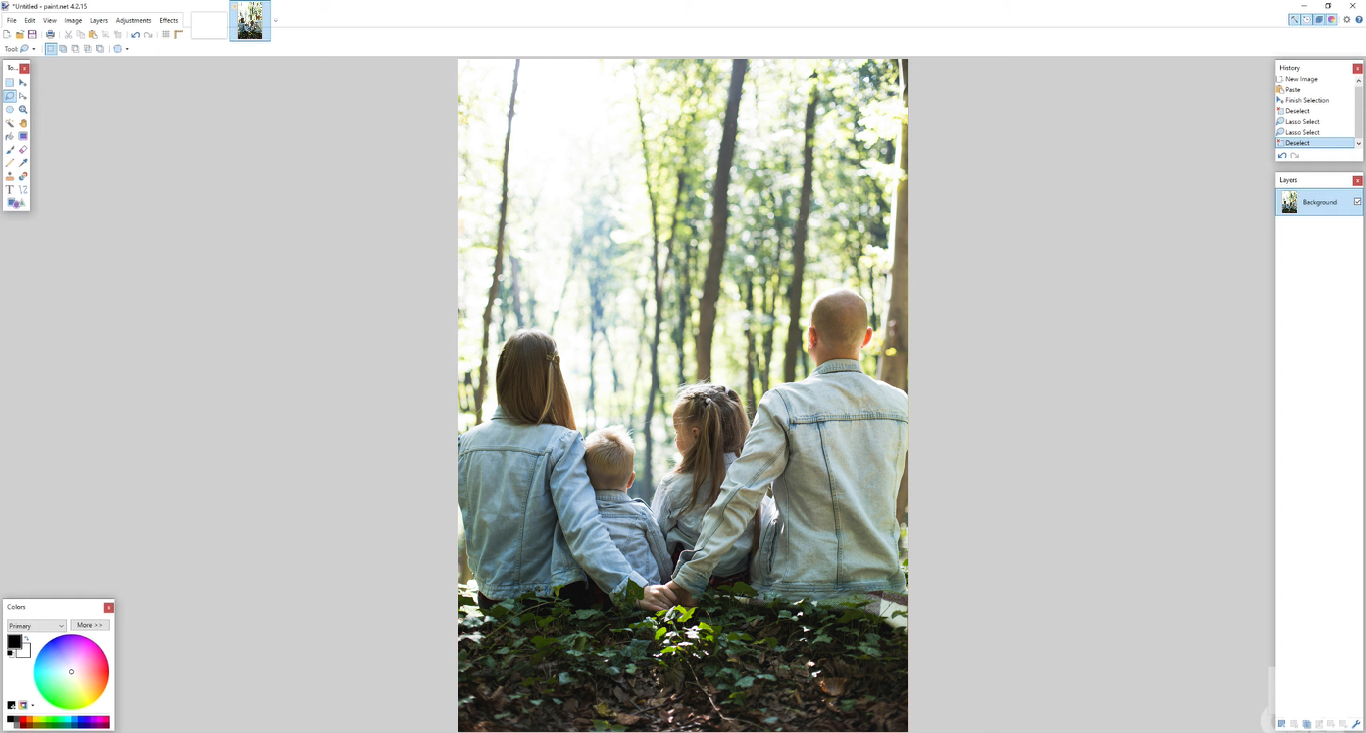
Another option for photo editing you can consider trying is Paint.NET. This is a desktop photo editor that allows for creative manipulations and multi-level image editing. For example, in the Effects menu, you’ll discover lots of useful features like Vignette and Red Eye Removal. Here, you’ll also find the Sharpness tool that helps you fix blurry images.
Paint.NET also supports a range of plug-ins. But this software is only available for Windows. Another drawback you should take into account is that it works better for those who already have experience in photo editing. The interface is rather cluttered, so it’s hard to navigate through it.
Tips to Sharpen Blurry Pictures
Whether you are going to take a shot or already have a picture that you want to enhance, the tips below will help you create sharp photos like a pro:
1. One of the main reasons for blurry pictures is camera shake caused by unsteady hands. To combat this, consider using a tripod to stabilize your camera or find a solid surface to rest it on. If you don’t have a tripod, try bracing yourself against a wall or holding your breath while taking the shot to minimize movement.
2. Sometimes, only specific areas of an image need sharpening. In such cases, using localized sharpening techniques can bring out the details without over-sharpening the entire image. This can be done using tools like the Brush tool or the Adjustment Brush in your photo editing software. Selectively apply sharpening to the areas that require it, such as eyes, hair, or important elements in the composition.
3. Blurriness and noise often go hand in hand, especially in low-light or high ISO situations. Applying noise reduction techniques can help reduce the noise while simultaneously enhancing the sharpness of the image. Experiment with noise reduction tools in your photo editing software, but be cautious not to overdo it, as excessive noise reduction can lead to loss of detail.
Final Thoughts
These are the top 3 photo editors that you can use to sharpen blurry pictures. You’ve discovered desktop programs for various operating systems and levels of skill. What’s more, we’ve shared some useful tips that can help you take sharp images and correct photos in post-production. Now, you know the ins and outs to get started – launch the software you like the most and give your shots a crisp and clear look.
Please note this post is a collaboration.
