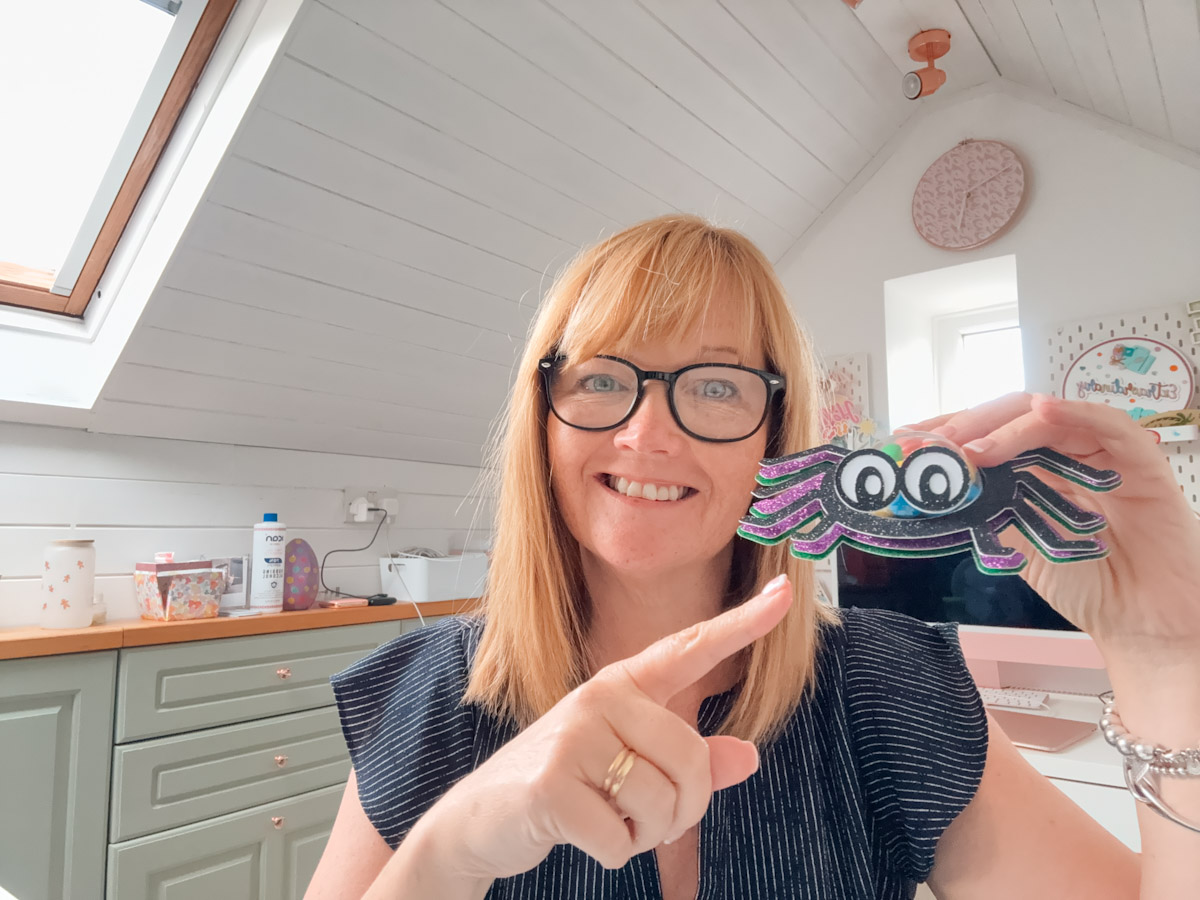
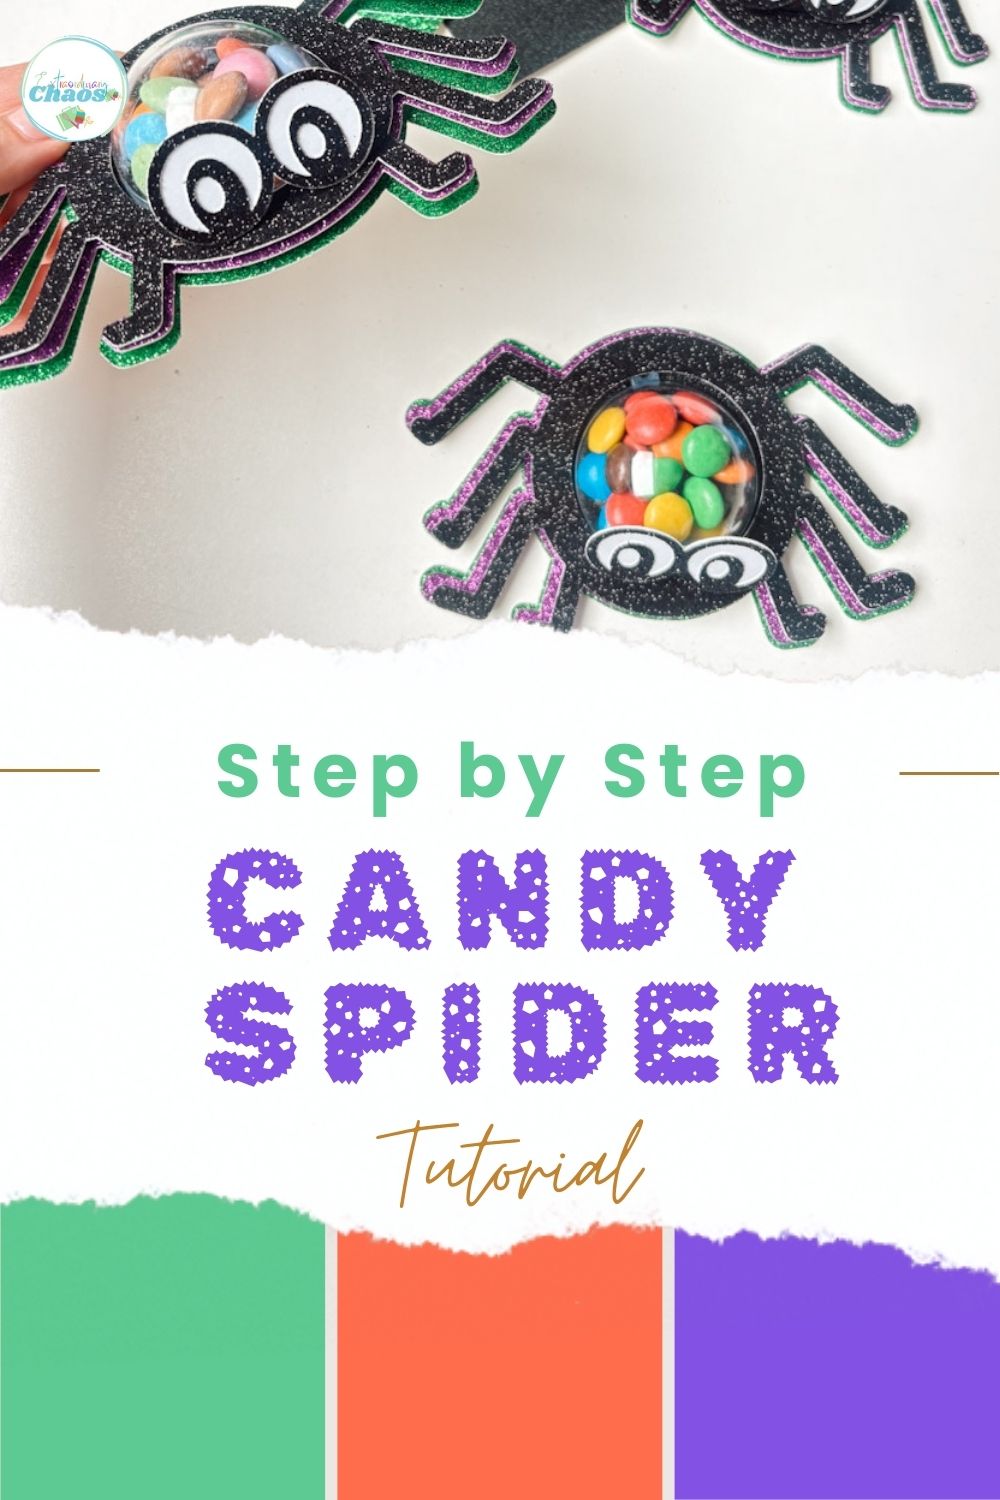
Looking for a spooky but super cute DIY craft this Halloween? This Halloween Candy Spider SVG and tutorial is the perfect way to make trick-or-treating extra special! Using your Cricut machine, you can create layered candy spiders that double as both party favours and Halloween decorations. Filled with Smarties, M&Ms, or your favourite sweets, these candy spiders are guaranteed to delight kids and adults alike.
Best of all, I’ve included a free Halloween Candy Spider SVG file that you can download and use right away. Whether you’re crafting for a Halloween party, classroom treats, or trick-or-treat night, this step-by-step tutorial will guide you through the process.
What You Will Find Here
Step by Step DIY Halloween Candy Spider SVG and Tutorial
Supplies You’ll Need
Before we jump into the Cricut tutorial, gather your materials: Ad Affilaites
- Cricut machine + Design Space
- FREE Halloween Candy Spider SVG (download below!)
- Plastic fillable baubles (2-inch size works perfectly)
- Glitter cardstock (black, purple, green – or any spooky colors)
- White cardstock (for the eyes)
- Foam sticky pads, Cosmic Shimmer Glue, and Super Glue
- Candy – Smarties, M&Ms, Skittles, or any small sweets
- Cutting mat + basic Cricut tools
Step-by-Step Halloween Candy Spider Tutorial
These instructions are designed to be used alongside the video.
Upload the SVG to Cricut Design Space
- Open Cricut Design Space and select Upload.
- Upload the Halloween Candy Spider SVG file from your computer.
- Once uploaded, insert it onto your canvas.
- You’ll see multiple spider layers. Keep the spider body, offset layers, and the eyes. You can delete any decorative extras, such as the floral layer, if you don’t plan to use them.
- Add an offset on the eye layer to make it chunkier. Duplicate and remove the contours for the white backing.
Tip: The spider SVG is layered, so you can change the colors in Design Space to match your chosen cardstock before cutting.
Resize and Slice for the Candy Bauble
- Measure your plastic bauble (mine fits inside a 2-inch square).
- In Design Space, create 2 circle shapes, one the same size and one just bigger than your bauble.
- Position the small circle over the spider’s body and use the Slice tool to cut out the centre. This is where the candy bauble will sit. You can now discard the smaller circles.
- The second circle, slightly larger than the hole, will be the backing piece that holds the bauble in place.
Create Offsets for Layered Effects
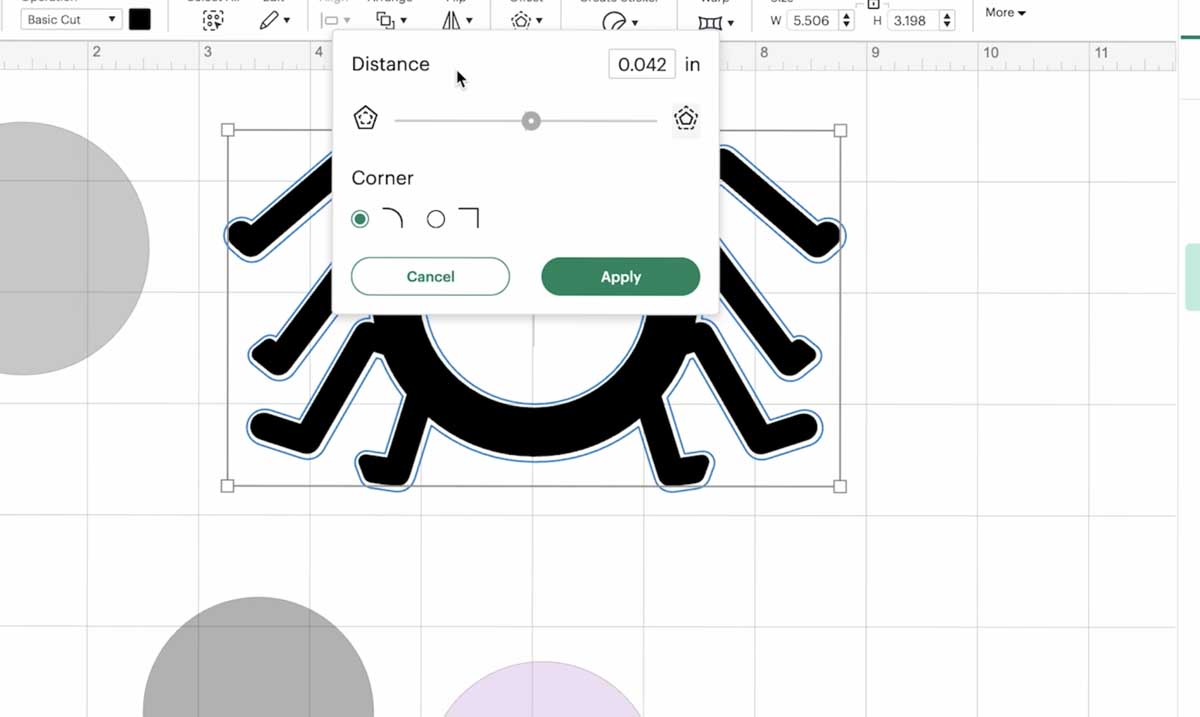
- Select the spider shape and click Offset.
- Add a small offset (around 0.7mm). This will become your second spider layer.
- Repeat again for a third offset layer if you’d like a multi-colored look.
- Change each offset layer to a different Halloween color (purple, green, or orange) so you can cut them from different cardstock sheets.
Cut the Cardstock
- Place your glitter cardstock on the strong-grip green Cricut mat.
- In Design Space, select Material, Glitter Cardstock and set More Pressure for cleaner cuts.
- Cut each layer separately:
- Spider base in black glitter cardstock
- Offset layers in purple and green glitter cardstock
- Eyes in white and black cardstock
- Carefully peel each piece from the mat using your spatula to avoid tearing thin spider legs.
Assemble the Candy Spider
- Stick the two back layers together using sticky pads.
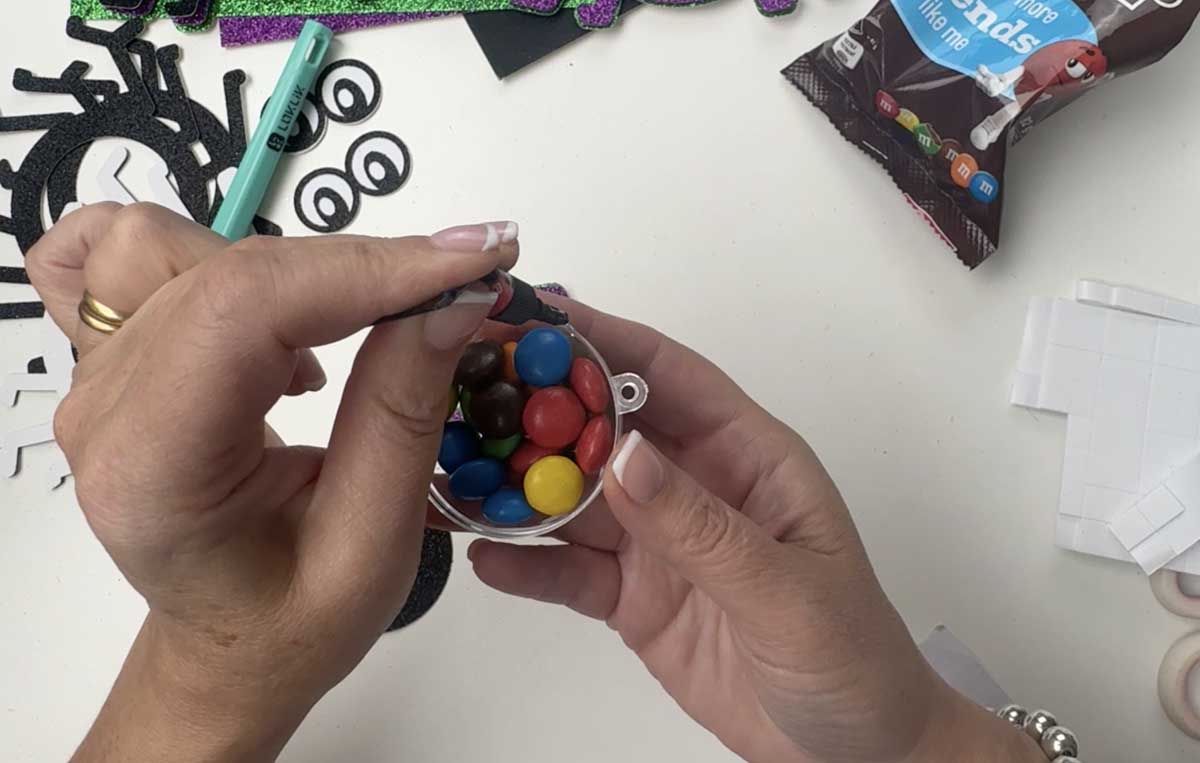
- Fill half a bauble with sweets and carefully apply superglue to the edge (See Video)
- Now attach the larger circle and add super glue around the outside edge and leave to dry.
- Attach the candy bauble to layer 2 using glue, and place layer one on the top over the bauble using sticky pads.
Tip: If you’re gifting these, you can cover the candy with a small piece of food-safe clear wrap before sealing.
Add the Eyes
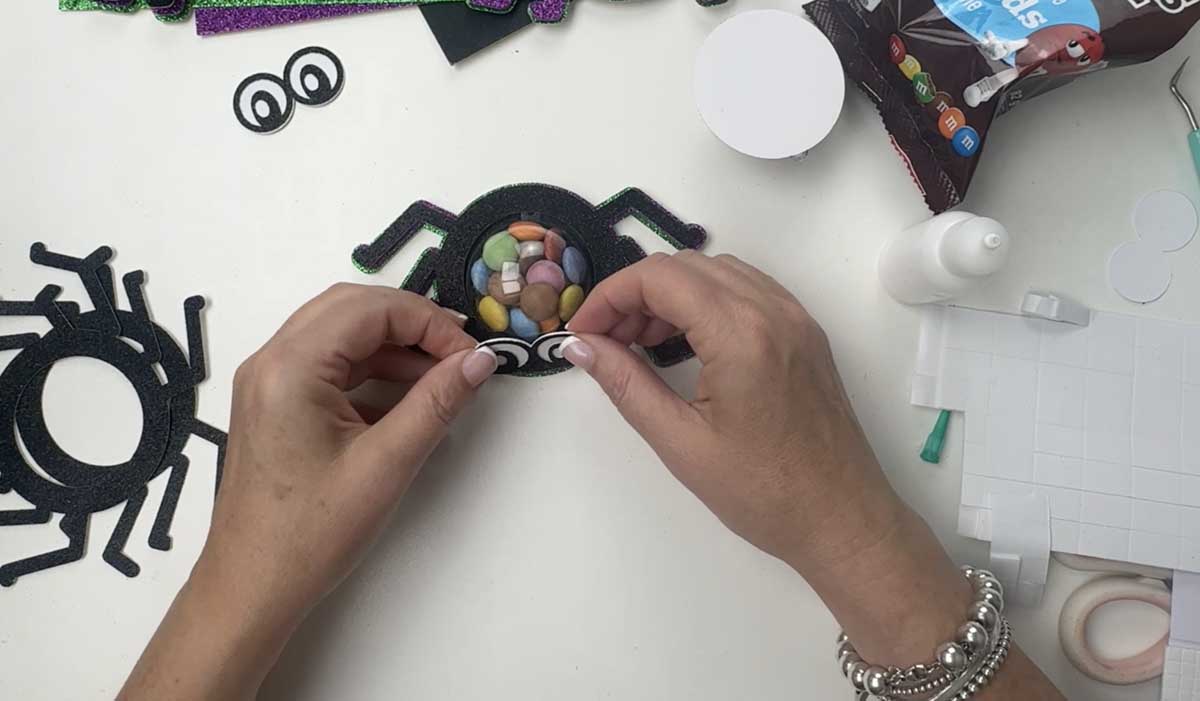
- Glue the black circles onto the white ones to create eyes.
- Attach the eyes to your spider with foam pads for a raised look.
- If making for older kids or adults, you can use googly eyes – but for younger children, cardstock is safer.
Finishing Touches
- Check all edges to make sure the bauble is securely held.
- Set aside to fully dry before packaging or handing out.
Get The Free Files Here
Click here of the the image below to get your free downloadable halloween spider svg free files and follow these instructions to add to Cricut Design Space. Don’t forget to turn off any pop-up blockers. Note if you are using Glowforge you need SVG files to cut the image out of wood or acrylic. Or Png or SVG to engrave.
If You’re Having Problems?
Check out my trouble shooting page, hopefully, it will answer any questions you may have.

The Perfect Trick Or Treat Gift
This Halloween Candy Spider is the perfect Cricut craft to impress trick-or-treaters or party guests. These layered candy spiders are fun to make, totally customizable, and a creative way to serve Halloween sweets.
With just a few materials, your Cricut machine, and my FREE SVG file, you can whip up a whole batch of spooky candy spiders in no time.