
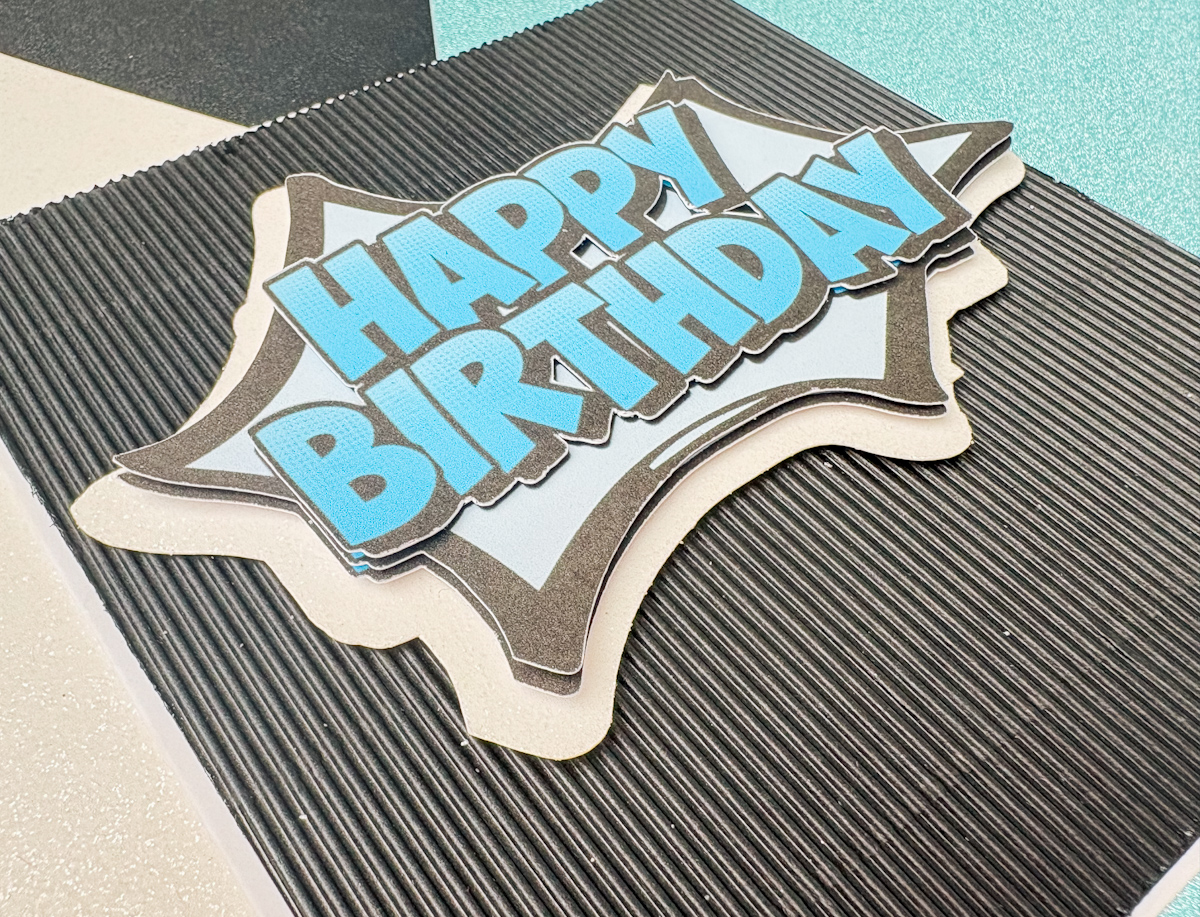
Today we are going to make a Layered 3D Birthday Card, using Canva and Cricut Design Space. If you’ve ever hovered over the “buy premium” button in Canva or Cricut Design Space and thought, there has to be a free way to do this, you’re not alone. Card making can get expensive fast once subscriptions, premium fonts and paid design assets get involved. I mean, you have paid for your cutting machine, right? Surely that’s enough. Unless you choose to buy a file you particularly want, you shouldn’t be held over a barrel.
The good news is that you don’t need any of that to make a genuinely impressive card. In this step-by-step tutorial, I’ll show you exactly how I made this layered 3D birthday card, using raised text and foam pads for a dimensional, professional finish, all with free tools in Canva and Cricut Design Space. From finding free 3D fonts to building up your layers for that raised effect, everything below is beginner-friendly and completely free to follow.
By the end, you’ll have a show-stopping birthday card that looks like it came from a shop, perfect for teens, 18ths, 21sts, or anyone who’s notoriously hard to buy a card for.

What You Will Find Here
What You’ll Need
Before we start designing, gather the following:
- Cricut machine + Design Space
- Canva, Free Version
- Cutting mat from Shein or from Amazon
- Basic Cricut tools
- A home printer
- Printable cardstock
- A Cricut scoring tool attachment (a scoring stylus works, but I prefer a guillotine-style)
- E-Z Runner Grand Refillable Dispenser
- Foam Pads
- Glitter cardstock
- Blank card templates or blanks to build your card front onto
- Corrugated card, black card, or any colour cardstock of your choice
Watch Our Step-by-Step Video Tutorial
If you want to use these written instructions alongside a step-by-step video, then check out the video below and see me make this project.

How to Make a Layered 3D Birthday Card in Canva and Cricut Design Space (Free!)
There’s no need for a Canva Pro subscription or Cricut Access membership. Every step in this tutorial uses free features only.
1: Create Your 3D Text in Canva
The first stage of this project happens entirely in Canva, where we’ll design the base of the card using free 3D text.
Setting Up Your Canva Document
Open Canva and click the plus sign in the top left, then select New Document. An A4-sized document works well for this project and gives you plenty of room to design.
Finding Free 3D Fonts with Text Studio Maker
This is the part that really transforms your card from flat to eye-catching. Click on Text, then scroll to Apps and select See All. In the search bar, type Text Studio Maker: this app gives you access to a huge range of 3D font styles, including cartoon, gaming and comic-book designs.
Once you click on it, Text Studio will save to your Canva sidebar so you can access it instantly next time.
A quick tip: some fonts in Text Studio are marked as premium and require a paid subscription (this isn’t the same as a Canva subscription, it’s separate). Simply skip past these and use the free options instead. There are still dozens of brilliant free 3D fonts to choose from.

Styling Your Text
For this card, I used the Bad Comic Speech Bubble font. Type your text into the box provided. For a “Happy Birthday” card split across two lines, press return to stack the words.
From here, you can adjust:
- Letter spacing
- Line height
- Text alignment (left, centre, right)
- Colour, depending on the font’s advanced settings
Play around until your text looks exactly how you want it. This will form the base of your card design.
2: Add a Pow Shape Background
To give your text more visual impact, search “pow shape” in Canva’s search bar. Not every result will be free, so if the top option doesn’t work for you, it’s often quickest to scroll back to the very top of the results rather than working your way through the whole list.
Once you’ve found a shape you like, position it behind your text:
- Click on the shape
- Go to Position, then Layers in the sidebar
- Drag the shape below your text layer
Don’t worry if the shape has small accents or extra details sticking out, as these are easy to remove later in Cricut Design Space.

3: Duplicate and Prepare Your Layers
Because this card uses a layered, 3D effect, you’ll need two copies of your text.
Click on your text layer and look for the duplicate option at the top of the screen (near the lock and delete icons). Duplicate the text, making sure both copies stay exactly the same size, as this is important for the layering effect to line up correctly later.

4: Add a Background Colour and Download
Before downloading, add a solid background colour behind your design. I wanted this to sit in the POW element (I used pale blue) using the colour bar at the top of the screen. If you can’t find the exact shade you want, use the colour picker tool and drag it around the colour wheel until you find the right one.
Once everything is positioned:
- Click Share
- Click Download
- Choose PNG as your file format
You may see a prompt about ordering flyers or prints. This is optional and can be closed, and it has no bearing on your download.

5: Prepare Your Design in Cricut Design Space
Now it’s time to move into Cricut Design Space and get your design ready to cut.
Uploading and Removing the Background
Upload your PNG file, then click on the blue background area. Use the eraser tool (making it slightly bigger for speed) to remove the small accent details left over from the pop shape.
For the bottom “Happy Birthday” layer, also clean up the blue areas in the middle of the letters, since this layer will be visible underneath the top layer. You don’t need to do this for the top layer.

Slicing Your Layers Apart
If your design has two words or elements stacked together, you’ll need to separate them:
- Go to Shapes and select a square
- Drag the square over one of the words
- Right-click and select Slice
This separates your design into individual, workable pieces.
Duplicating and Grouping
Duplicate your top text layer, since we’ll be layering two of these together for extra dimension. Group the layers together so they stay the same size and don’t shift independently when resizing.
Building the Card Base
Add a square shape sized to fit just inside your card. This is a good moment to decide on your background cardstock colour. I went with a black corrugated card in the end, though blue or grey would work just as well depending on your theme.
Adding an Offset Layer
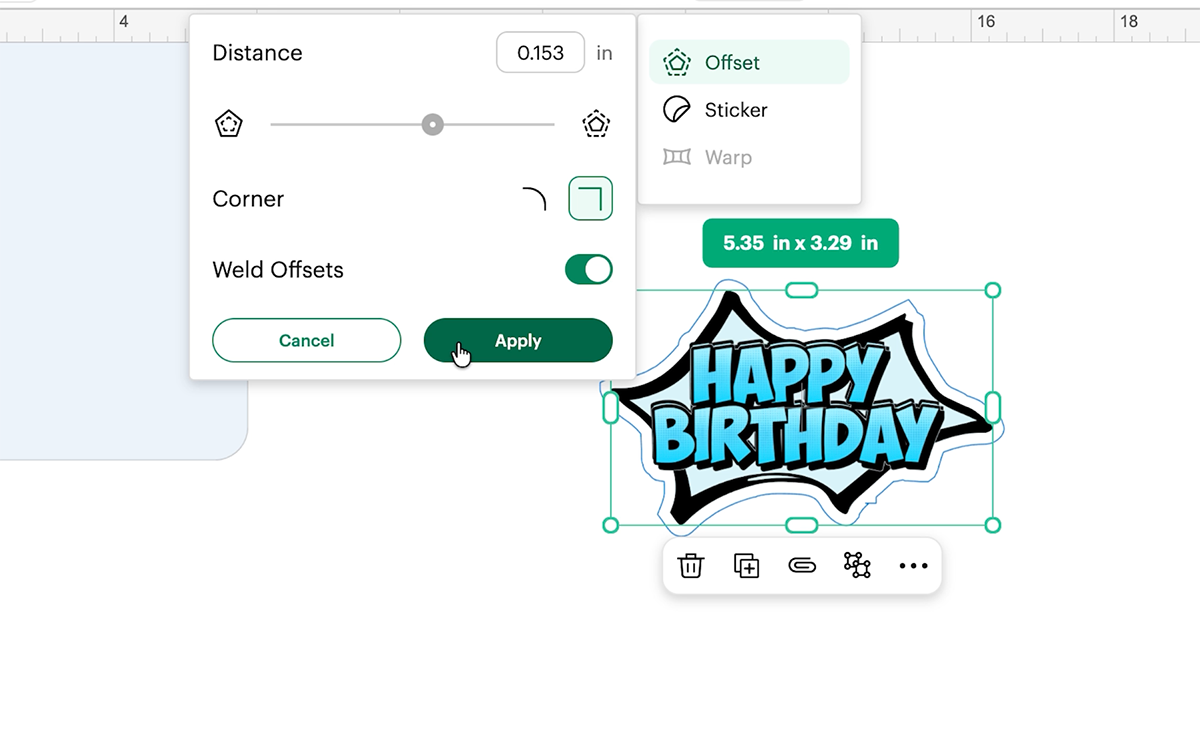
For extra depth, add an offset to your design with square edges (rounded edges can look too soft for this style). Set this to cut on white card as a basic cut layer. It will look jagged in Design Space, but this cuts cleanly and adds a lovely contrast border.
6: Print Then Cut
Once your layers are ready:
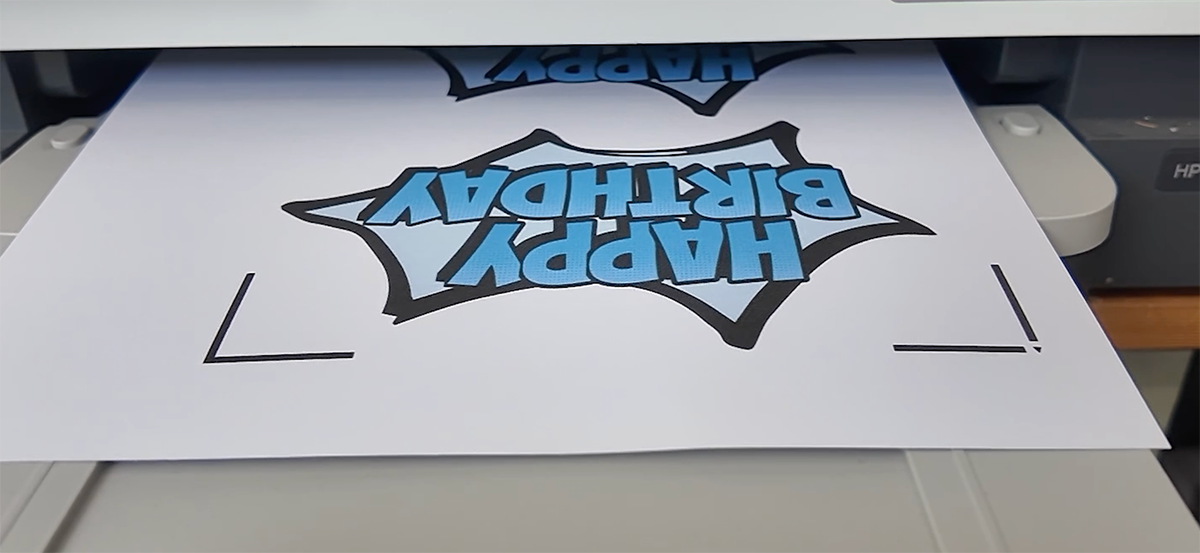
- Click Send to Printer
- Turn off “use system settings” for better print quality
- In your printer settings, select Media and Quality, and choose the best quality option
- If needed, minimise Design Space so your printer settings load correctly
- Once printed, send the design to Cut
For the cardstock layers, select a heavy cardstock setting on your Cricut machine to ensure a clean cut.
7: Cut Your Corrugated Card
Corrugated card can be tricky to cut cleanly because it isn’t a solid core; well, mine wasn’t. Which can leave the edges looking a little rough.
Here’s a simple fix: once your shape is cut, run a black acrylic paint pen along the edges, wiping away any excess with a wet wipe as you go. This neatens up the edge beautifully and is well worth the extra few minutes if you love the corrugated look but not the rough finish.

8: Assemble Your Layered 3D Card
Now for the fun part: bringing all the layers together.
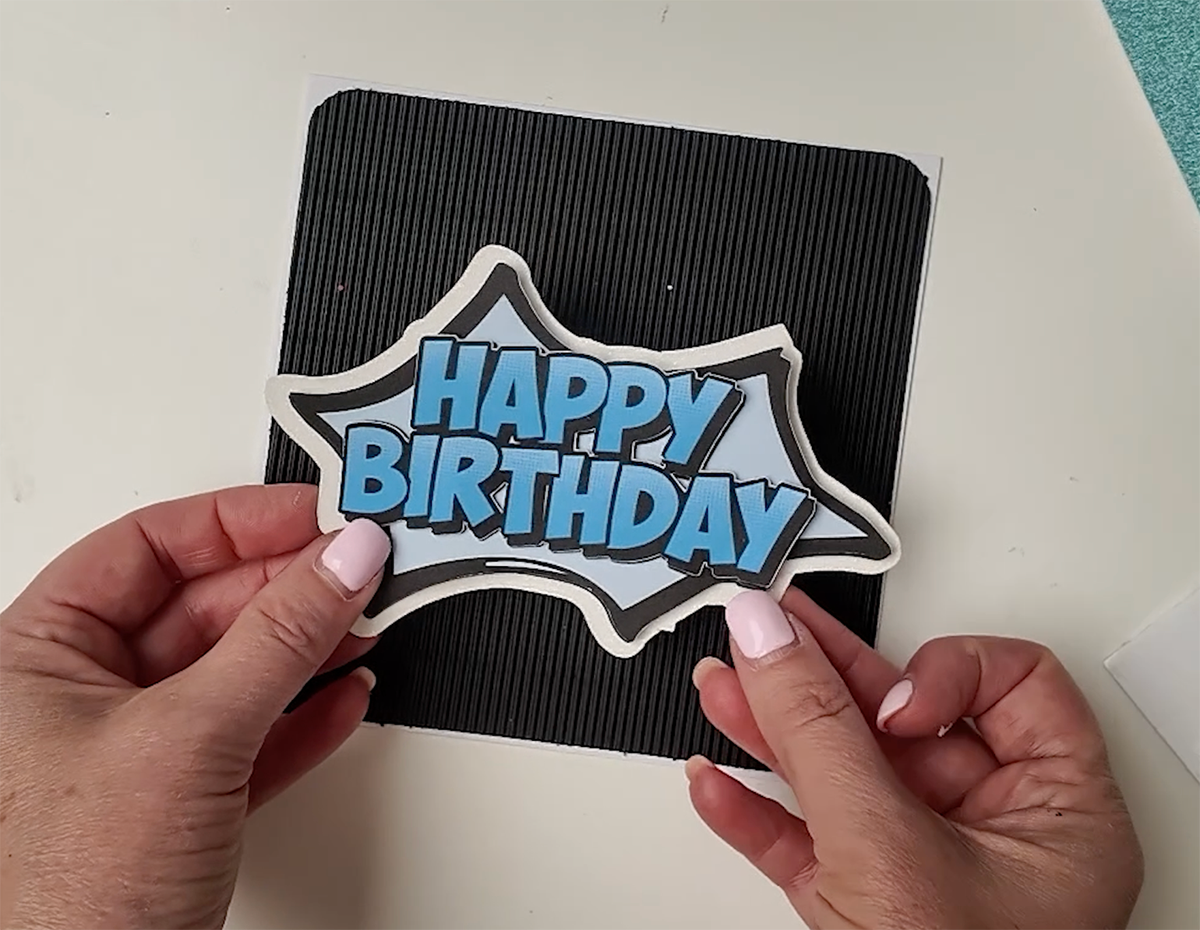
- Attach your corrugated card background to your blank card base using a strong adhesive roller
- Add your offset border layer on top
- Use sticky pads (foam pads) to build up each text layer, giving the card genuine raised height and dimension
- Apply the sticky pads horizontally rather than vertically for maximum grip, especially on textured card like corrugated stock
- Layer your duplicated text pieces on top of each other, adjusting position slightly if needed before the adhesive fully sets
Once everything is in place, you’ll have a genuinely dimensional, layered 3D birthday card with real depth and texture.
A Free To Make Layered Card in Canva and Cricut
And there you have it: a genuinely impressive, layered 3D birthday card made entirely with free tools. This project proves that you don’t need expensive subscriptions or premium assets to create professional, dimensional card designs. With just Canva’s free Text Studio app and Cricut Design Space, you can design, print, cut and build a card that looks far more complex (and expensive) than it actually is.
This technique works brilliantly for all kinds of occasions beyond birthdays too, so once you’ve got the hang of the layering and 3D text process, feel free to experiment with different fonts, colours and card shapes.
If you give this a go, I’d love to see how it turns out, and if you’re looking for more ways to level up your Cricut projects, check out my tutorial on making cards from shapes in Cricut Design Space next.
Happy crafting! Sarah x
