
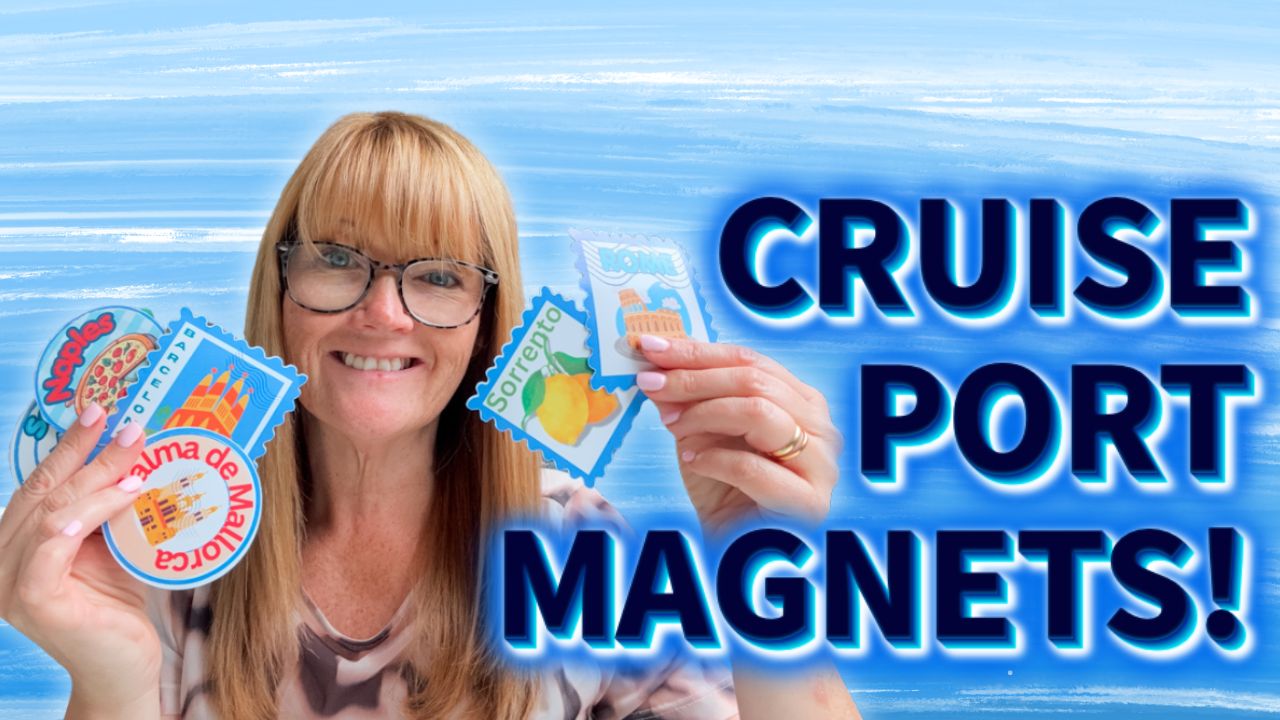
Going on a cruise soon and want your cabin door to stand out? DIY cruise port door magnets are one of the easiest and most fun ways to personalise your door, and you don’t need to spend a penny on design software to do it.
In this tutorial, I’ll show you how to design and cut your own cruise port magnets using two completely free tools: Canva and Cricut Design Space. Instead of the usual “ship and date” magnet, we’re making a full set of port magnets for a Mediterranean itinerary, one for each stop, so you can build a little souvenir collection right on your cabin door.
By the end, you’ll have magnets you can:
- Display proudly on your cruise door for the whole trip
- Swap and collect as you visit each new port
- Save afterward in a scrapbook or travel journal
- Reuse the templates again on your next cruise
Let’s get crafting.

This post may contain affiliate links. Which means I may receive a small commission if you click a link and purchase something that I have recommended at no extra cost to yourself. As an amazon, Cricut and Glowforge associate, I earn from qualifying purchases.
What You Will Find Here
How to Make DIY Cruise Port Door Magnets (With Free Canva and Cricut)
What You’ll Need
Before you start, gather these supplies:
- Cricut machine + Design Space
- Cutting mat + basic Cricut tools
- Printable Magnet Paper
- A free Canva account (Canva Pro is optional but not required)
- A home printer
That’s it. Because the whole design process happens in free software, materials are the only thing you’re paying for.
Watch My Step By Step Video Here
Step 1: Set Up Your Canva Base Design
Open Canva and click Create a design, then choose an A4 Portrait Flyer. This blank page becomes the template you’ll build all your cruise port magnets on.
From the sidebar, click Elements and search “stamp.” You’ll notice some stamp graphics have a small gold crown icon, which means they’re premium (Canva Pro only). Stick to the ones without the crown so everything stays free, or start a 30-day free trial of Canva Pro if you want more options.
Pick two stamp shapes to use as your base:
- A round stamp outline
- A square or rectangular stamp outline
Since these are outline graphics with no fill, you’ll add your own colored background behind each one in the next step. See The video for help.

Step 2: Build Your Reusable Stamp Bases
Search Canva’s Elements for “square” and “circle,” and place one of each behind your stamp outlines. This gives your stamps a solid color base instead of a transparent center.
A few tips that will save you headaches later:
- Right-click each shape and choose Send to back, or use the Position panel in the top toolbar to layer things correctly.
- Color the shapes (white, off-white, or any base tone works well).
- Group each stamp with its background shape (right-click, Group). This lets you move the whole stamp as one piece without locking it, so you can still edit it later.
- Duplicate your grouped stamps and arrange six on the page, alternating the square and round shapes so they fit together neatly. Six stamps per A4 page is a good, printable size for cruise door magnets.

Step 3: Design a Stamp for Each Cruise Port
Now for the fun part: turning each blank stamp into a port-specific design. Here’s how it works for a Mediterranean itinerary.
Rome Stamp
Search Canva’s free graphics for images related to Rome (again, avoid the crowned/premium ones). A Colosseum graphic works well. Add a text box, type “Rome,” and enlarge the font. Highlight the text, click Effects, and try the bubble-letter style for a fun, dimensional look. Recolor the text until it matches your stamp’s palette, then layer your stamp base behind the text so it looks stamped.
Barcelona Stamp
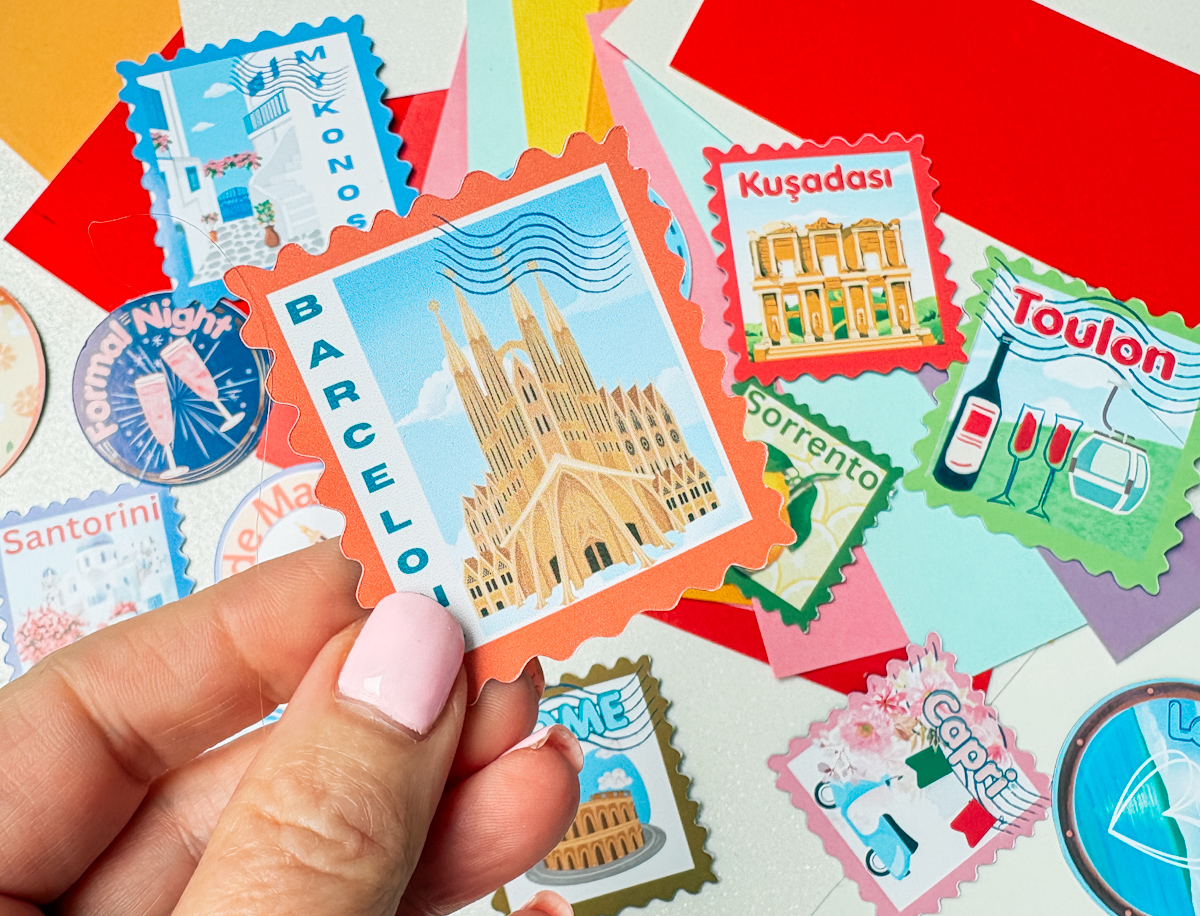
Search for a free Barcelona graphic and adjust its colors from the top toolbar so it blends with your stamp’s background. Use the Crop tool to trim the edges so the image sits neatly inside the stamp shape.
For the text, add a heading text box and type each letter of “Barcelona” followed by a line break, so the word runs vertically down one side of the stamp instead of across it. Reduce the line spacing and font size until it fits, then color it to match.
Palma de Mallorca Stamp
Add “Palma de Mallorca” as heading text, then open Effects and use the curve tool to bend the text into a circular shape around your stamp, similar to a real passport stamp. Resize until it fits without overlapping. Add a free circular outline shape underneath the curved text as a decorative ring, and color it to complement your design.
Ship / Sea Day Stamp
Search Canva for a free cruise ship graphic and place it on a round stamp base. Add text, curve it using Effects, and apply the same bubble font style used for Rome so your set feels consistent.
Sorrento Stamp
Search for a lemon graphic (a nod to the Amalfi Coast’s famous lemons) and size it to fit your stamp. Add “Sorrento” as your text, colored in a complementary green tone.
Naples Stamp
Search for a pizza graphic, since Naples is the birthplace of pizza. Add “Naples” as heading text, apply a bubble font in red with a colored outline, then curve the text around the pizza using the same Effects curve tool. For an extra decorative touch, search “checkered pattern” for a circular checkered graphic to use as a subtle “tablecloth” background behind the pizza; lower its opacity slightly so it doesn’t overpower the design.

Step 4: Avoid the Most Common Mistake (Rough Edges)
Before downloading anything, know this: Canva graphics are designed for screens and print, not for cutting machines, so their edges are often rougher than they look. Skipping an offset outline at the cutting stage is the single biggest cause of jagged, scrappy-looking cut edges.
We’ll fix this properly in Cricut Design Space in Step 6, but keep it in mind now: every stamp should end up as a solid color with no white gaps, since you’ll use the background remover tool in Cricut later.
Step 5: Download Your Design and Upload to Cricut Design Space
Once your six stamps are arranged and you’re happy with the layout:
- Click Share in the top-right corner of Canva.
- Click Download, choosing either PNG or JPEG (the free version won’t let you change the resolution, but image quality is still good).
- Open Cricut Design Space and upload your downloaded file.
- Click the white background area to remove it with the background remover tool.
- Under Convert Upload To, select Flat Graphic, then click Next to bring your image into your canvas.

Step 6: Add an Offset for Clean Cuts
This is the step that fixes the rough-edge problem mentioned in Step 4.
Select your image and open the Offset tool, then add a small offset around each stamp. This creates a slightly larger outline layer that smooths out any jagged edges from the original Canva graphic.
Click Apply, then move your stamps aside so you can inspect the offset layer on its own. Round stamps are usually the worst offenders for scrappy edges, while wavy or stamped-edge designs typically look fine as is.
To clean up the rough circles:
- Go to your Shapes panel and add a plain circle.
- Position it directly over each rough circular edge so the messy outline is fully covered.
- Repeat for every circular stamp, duplicating the circle as needed.
- Make sure none of the shapes are touching one another, since anything touching will be cut as one connected piece.

Step 7: Flatten, and Line Everything Up
Select your cleaned-up shapes and right-click to flatten them into a single image. Change the color to white so you can see it against your canvas background (click Background in the bottom-right corner to adjust the canvas color for visibility).
Drag your original stamp designs back on top and send them to the back so they layer correctly over the welded white base. Double-check each stamp is aligned properly. If anything looks off, you can un-flatten just that layer, nudge it into place, and flatten it again.
Once everything lines up, your magnets are ready to send to print and cut.

Step 8: Print and Cut Your Cruise Port Door Magnets
Load your printable magnetic sheet into your printer and print using your printer’s own quality settings, not Cricut’s print settings, for the best results.
In Cricut Design Space:
- Let them dry for a few seconds if needed, then use a brayer or roller to smooth them onto the cutting mat
- Choose Printable Magnetic Sheet as your material.
- Select More Pressure, since magnetic sheets are thicker than standard cardstock and need extra cutting force.
- Let the machine read the guidelines and cut.
Thanks to the offset you added in Step 6, your stamps should cut cleanly around the edges instead of coming out jagged.

Step 9: Weed and Attach to Your Cruise Door
Once cut, gently peel your magnets off the mat (a thicker magnetic material is genuinely easy to weed).
No Cricut? No Problem
Don’t have a cutting machine? You can still design your stamps in Canva and simply cut them out by hand with scissors. Each stamp only has a few curved edges, so it’s a quick, low-fuss job even without a machine.
Why Make Your Own Cruise Port Door Magnets?
Buying pre-made cruise magnets is easy, but designing your own means you get complete creative control over your ports, colours, and style, and you can add a new stamp every time you visit somewhere new. Making a “stamp” for each port you visit is also a lovely way to look back on your trip, and the finished magnets are the perfect size to save in a travel journal or scrapbook afterward.
They also make a thoughtful, inexpensive gift for cruise companions. Printing off an extra set for friends or family traveling with you means everyone gets to display their own set on their own cabin door. Also check out all of our free cruise door printables.

Also Check Out My Premium Set in the Shop
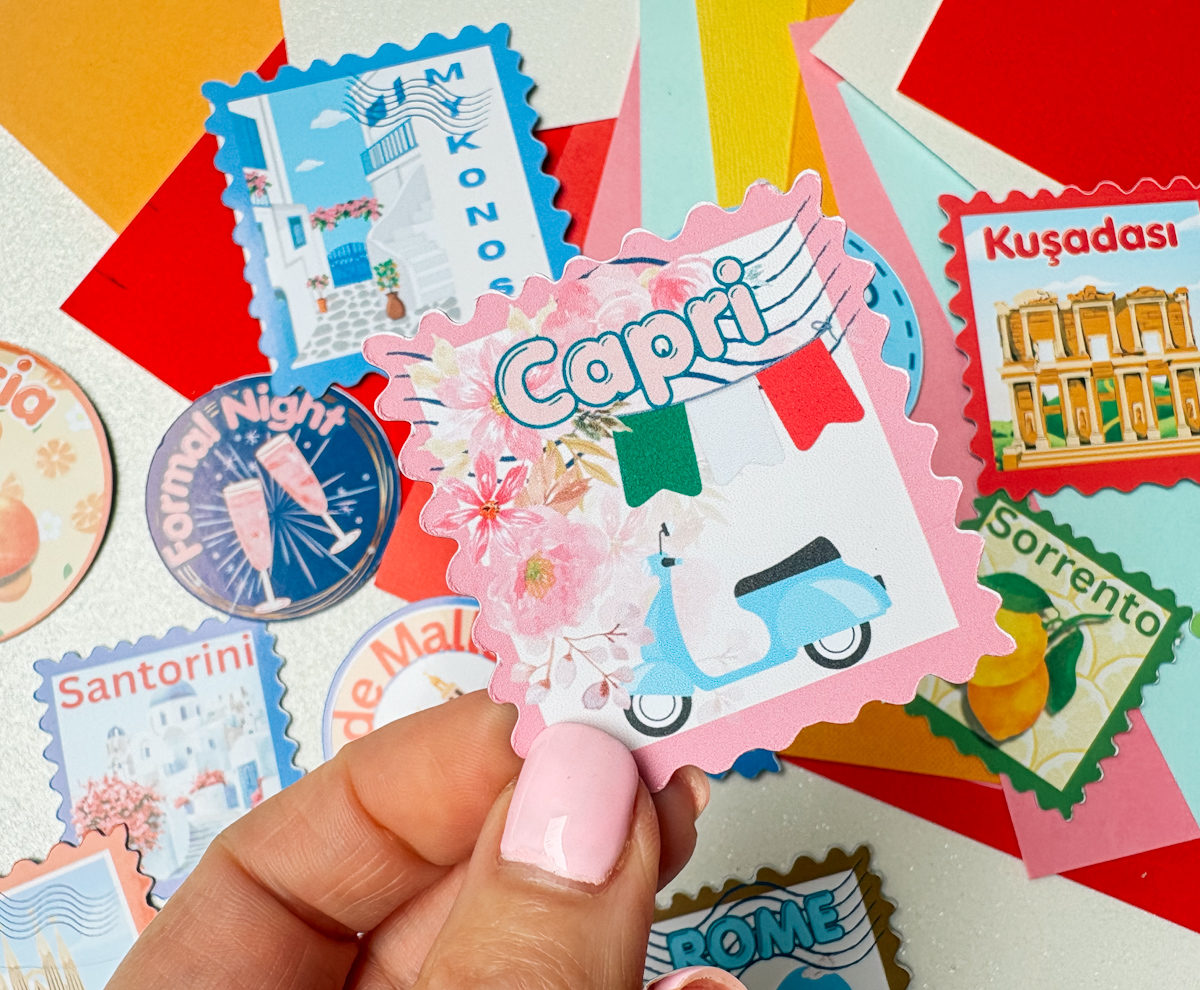
If you’d rather skip the design process altogether, I’ve also put together a premium set of 18 ready-to-print port stamps (Rome, Santorini, Barcelona, and more) in my shop, just download, print, and cut.



Cruise Port Door Magnets Done Your Way
Making your own DIY cruise port door magnets is a simple, budget-friendly project that lets you tell the story of your trip, one port at a time, using nothing but free software and a bit of creativity. Whether you cut them with a Cricut or trim them by hand, you’ll end up with a set of magnets that’s completely unique to your cruise.
Happy crafting!
