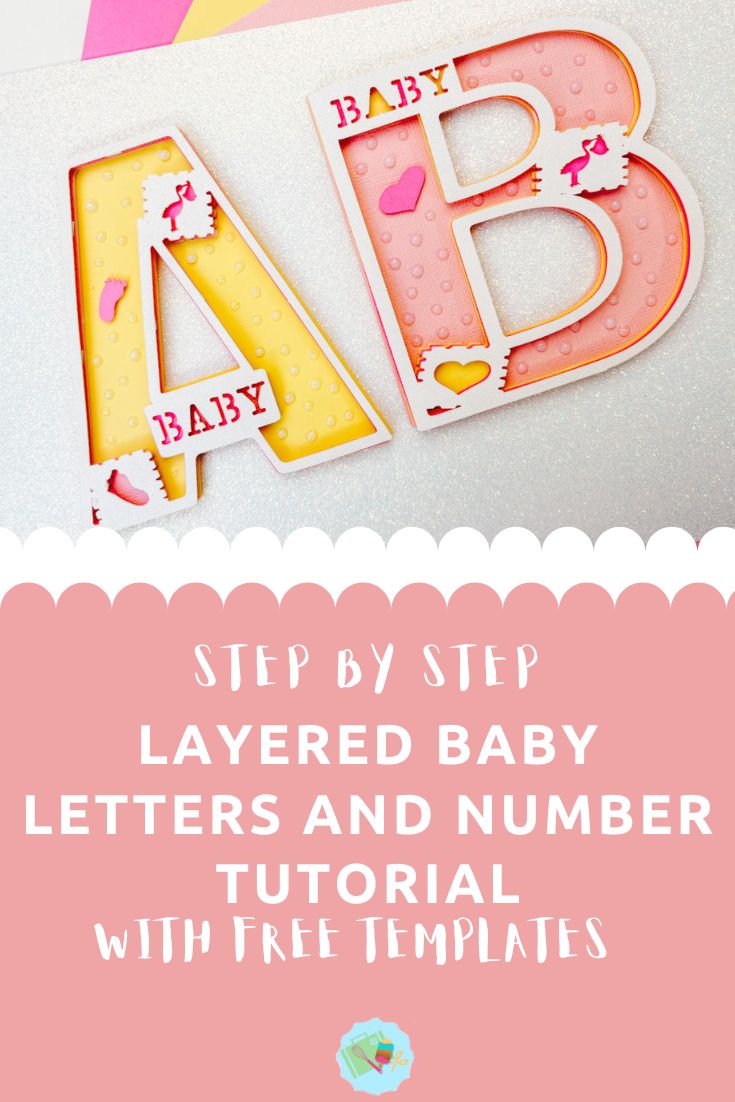
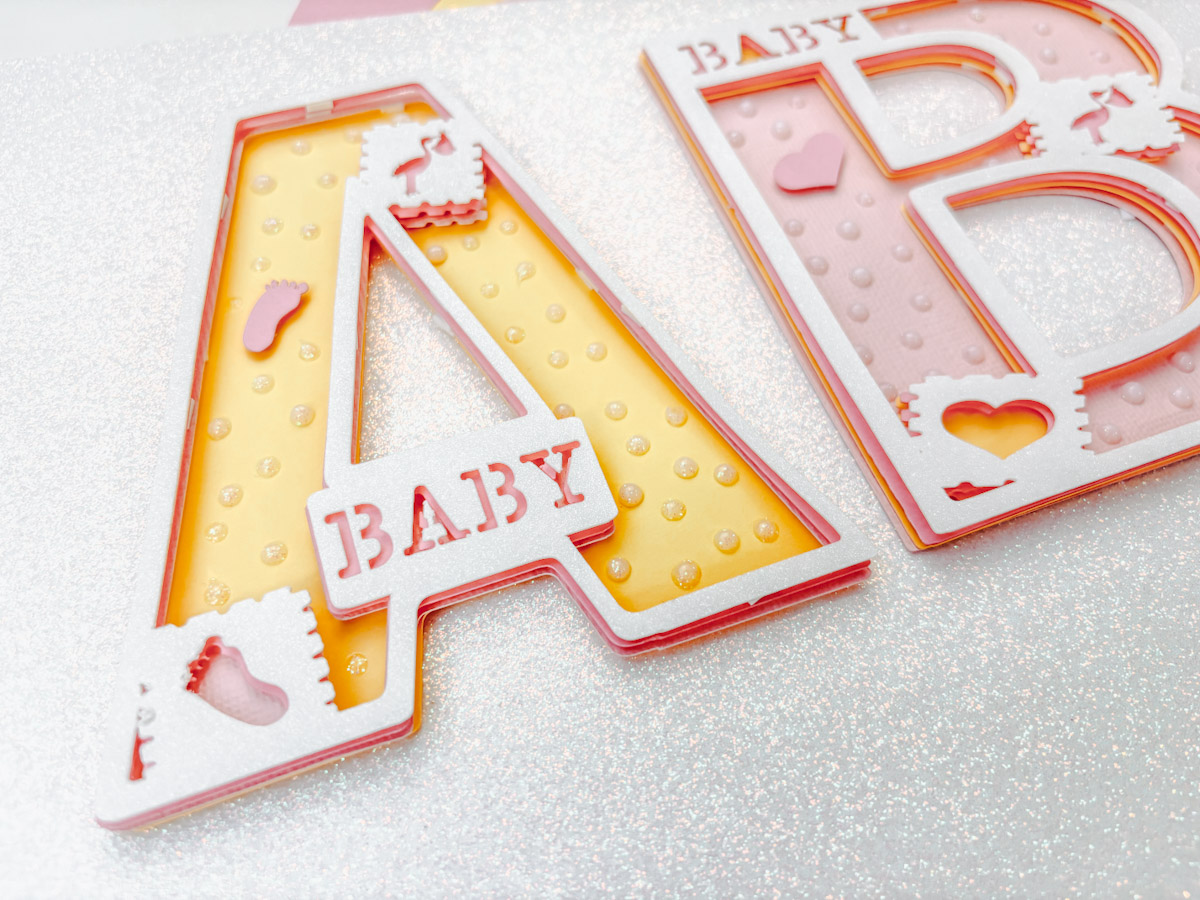
Today, we’re diving into an exciting creative project, Step-by-Step Tutorial: Creating Multi-Layered Baby Letters. Whether you want to showcase your baby’s memories, box frames or use this for general scrapbooking, this tutorial will guide you through. Let’s get started!
What You Will Find Here
Step-by-Step Tutorial: Creating a Multi-Layered Baby Letters
What You’ll Need
Before we begin, gather the following materials:
- Cardstock 4 colours
- Photo paper (if printing your own photos)
- Cutting machine (Cricut or Silhouette)
- Weeding tool, scraper, and brayer
- Cricut cutting mat (green mat recommended for intricate cuts)
- Box frame or flat frame (optional for display)
- Sticky pads (for a layered effect)
- Nuvo Drops, in Morning Dew

See Our Step By Step Video Tutorial
If You Want To Use Our Baby SVG, PNG Alphabet and Numbers
Click here or the image below to get your free downloadable Baby SVG Alphabet and Number set from our shop, and follow these instructions to add to Cricut Design Space if you are using a Cricut Machine. Note if you are using Glowforge or xTool you need SVG files to cut the image out of wood or acrylic. O
Step-by-Step Instructions:
1. Upload Your SVG File
- Download the base files (top layer)
- Open Cricut Design Space and upload the SVG letters – for this example, we’re using the letters A and B.
2. Resize Your Letter (Optional)
- If your canvas appears small, try zooming out or dragging to resize it.
- To adjust the letter’s shape, click Unlock, drag it to your desired size (fatter/thinner), then lock it again using the padlock icon.
3. Weld the Letter
- Select the letter and click Weld. This step is essential because contouring only works on a single welded shape.
4. Duplicate the Welded Layer
- Duplicate the layer three times (you’ll need four total).
- These will become your four stacked layers.
Creating the Layered Effect For Your Baby Letters
Top Layer:
- This is your base letter.
- Keep it as is and colour it white or glitter cardstock (your choice).
Next 2:
- Select the duplicated layer, go to Contour, and remove certain elements (e.g. the inner parts of letters).
- Change the colour to something contrasting or complementary.
- Move this layer to the back, below the top layer.
Layer 3:
- Duplicate the second layer.
- Go into Contour again and remove additional parts (e.g. the foot, the dot on the “i”, etc.).
- Change the colour and place it below the previous two layers.
Bottom Layer:
- Duplicate the third layer.
- Go to Contour, click Hide All Contours, then open only the middle part if needed.
- Colour it differently again, then move it to the bottom layer.
Cutting the Layers Of Your Personalised Baby Letter or Number
- Send all layers to be cut on your Cricut machine.
- Use glitter cardstock for the top layer if you want extra sparkle.
- Use a sticky green mat for better hold.
Assembling the Layers
Using Sticky Pads:
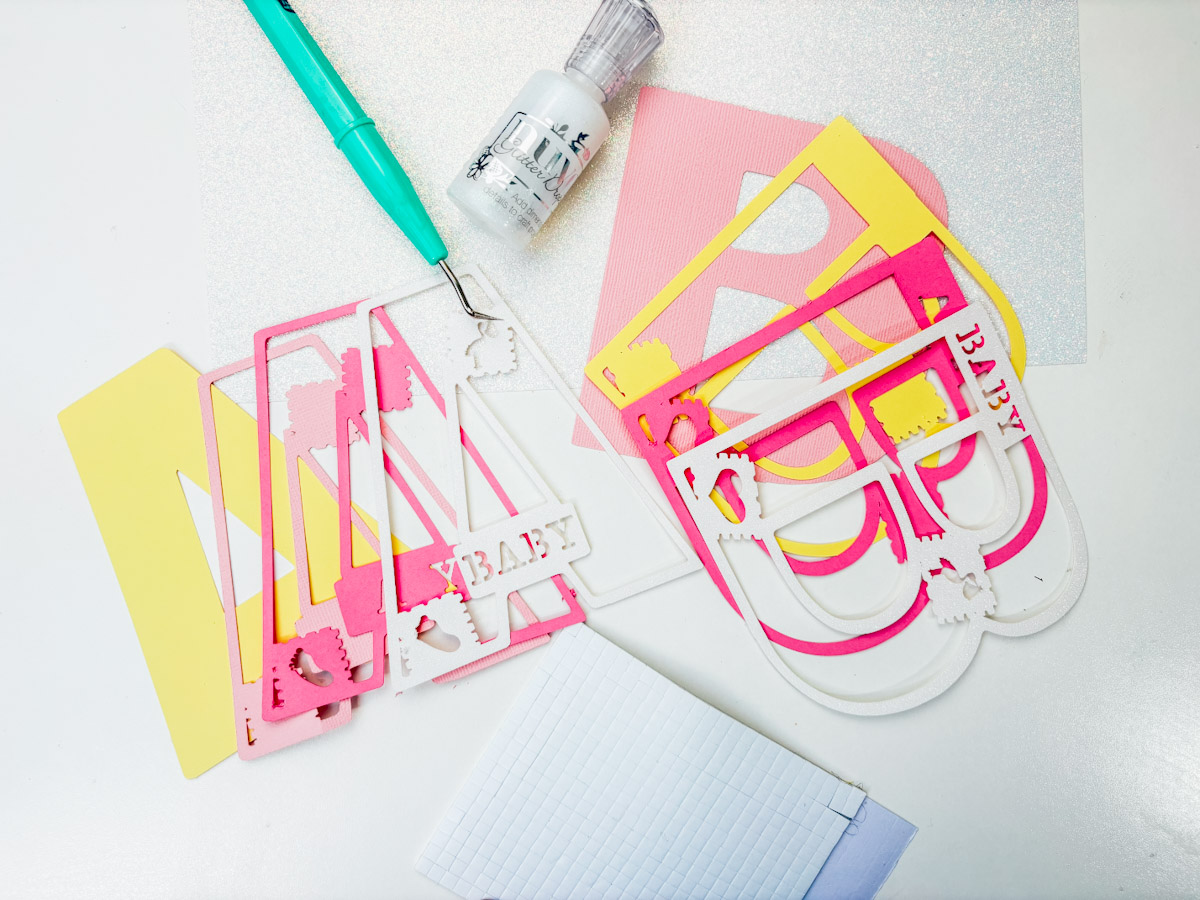
- Use small foam sticky pads to give the letters a 3D effect.
- Cut pads in half for narrow parts.
- Use a weeding tool to position them precisely.
Stack the Layers:
- Start from the bottom and work up.
- Carefully align each layer before pressing down – repositioning is tricky once stuck.
Finishing Touches (Optional)
- Add Nuvo Drops (e.g. glittery or clear) for a decorative touch.
- Some cut-out elements (like hearts or baby feet) can be glued back on for added detail.
Tips:
- Test colour combinations to find what works best.
- Use advanced colour settings in Cricut Design Space to preview your final look.
- Nuvo Drops level themselves and dry with a beautiful acrylic finish.
That’s It Beautiful Layered Baby Monogram Letters
You’ve now created stunning multi-layered baby letters – perfect for baby showers, christenings, gifts, or nursery decor. You can personalise these further with names or dates using the full alphabet and number set.