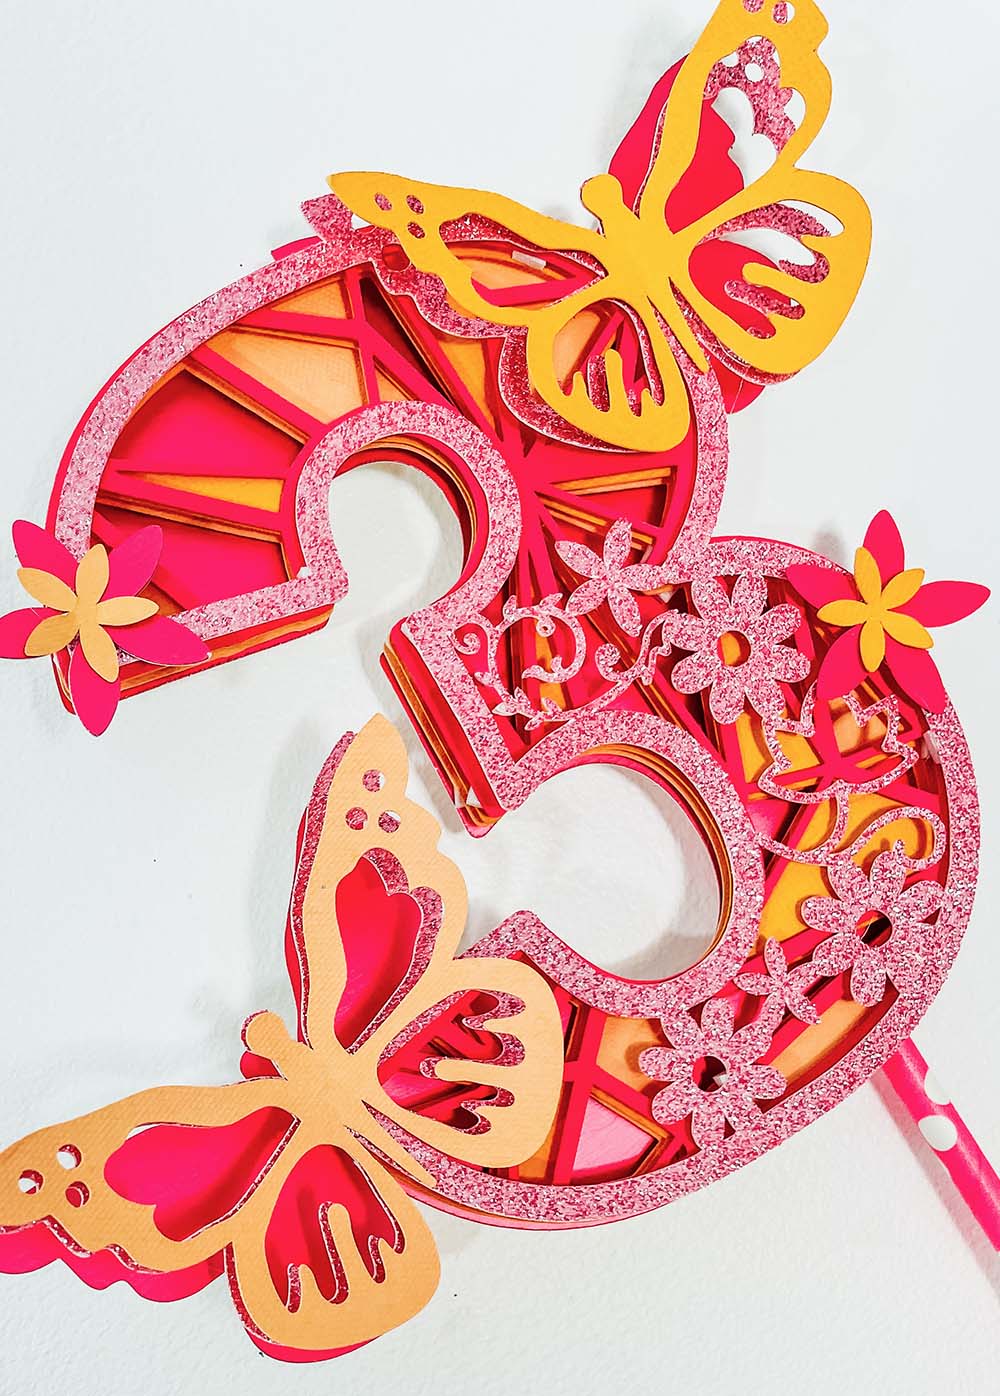
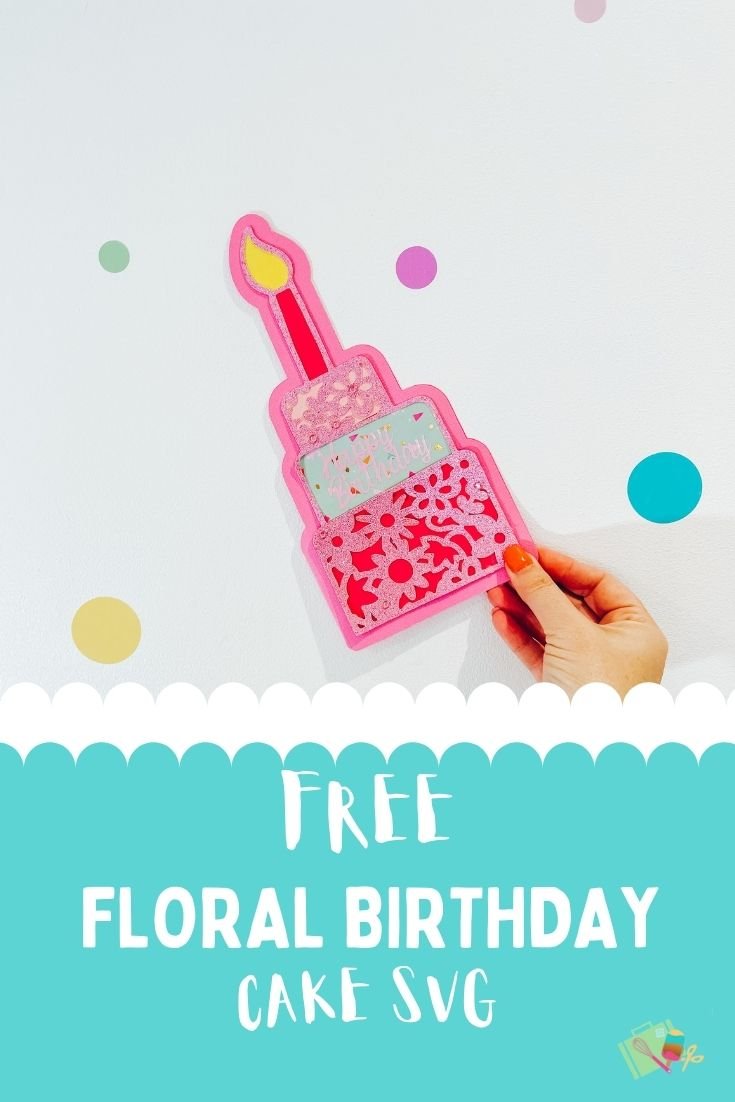
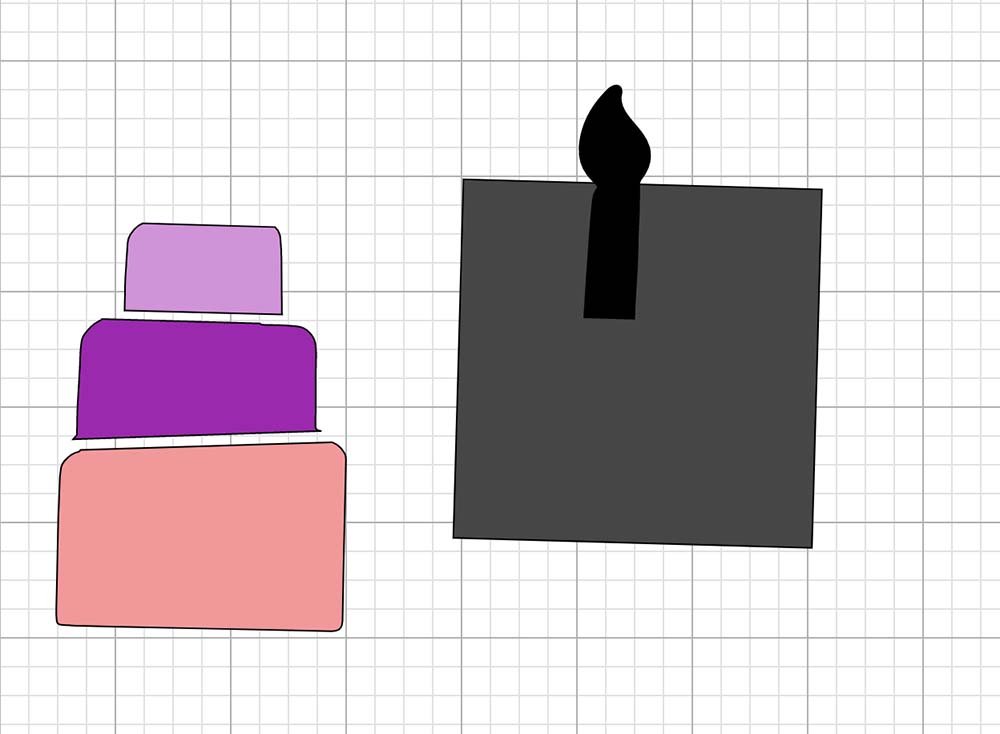
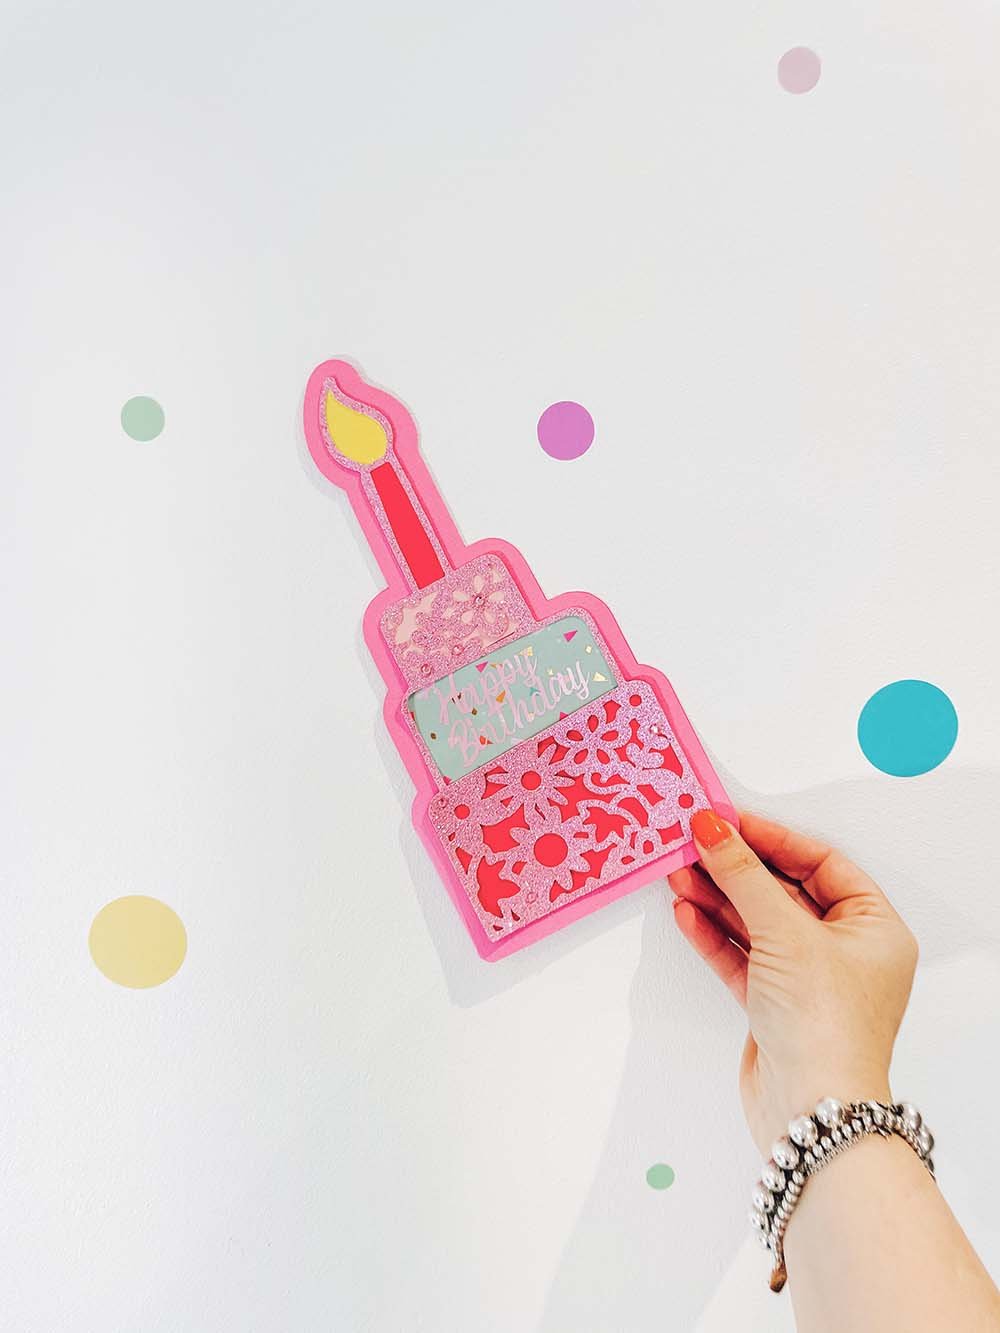
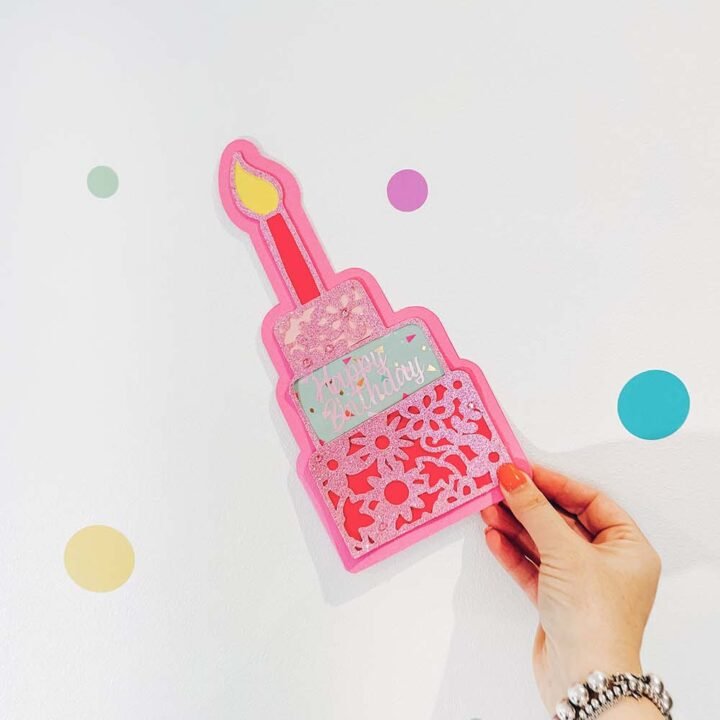
It’s always birthday season, every day when I turn on my phone there are several people in my contacts to wish a happy birthday and I love that. Birthdays are to celebrate, each year is another glorious milestone and a day to feel special or make others feel special. My Free Floral Birthday Cake SVG is a nod to that, and of course cake lovers. Because you don’t need cake to celebrate right?
How To Make A Floral Birthday Cake Card
Project Ideas For Using My Floral Birthday Cake SVG Cut File.
- Scrapbooks
- Birthday or Cake T Shirts
- Framing As Wall Art
- Tea Towels
- Decorating Themed Parties And Afternoon Tea’s
- Cake Toppers
- Cricut Mugs
- Cushion Covers And Themed Bedrooms
- Wall Decals
- Cake Birthday Cards
- Wedding Cards or Invites
- Infusible Ink Coasters
- Wall Decals
- Table Plan For Weddings
- Note Books
To Make A Floral Birthday Cake SVG Card You Will Need
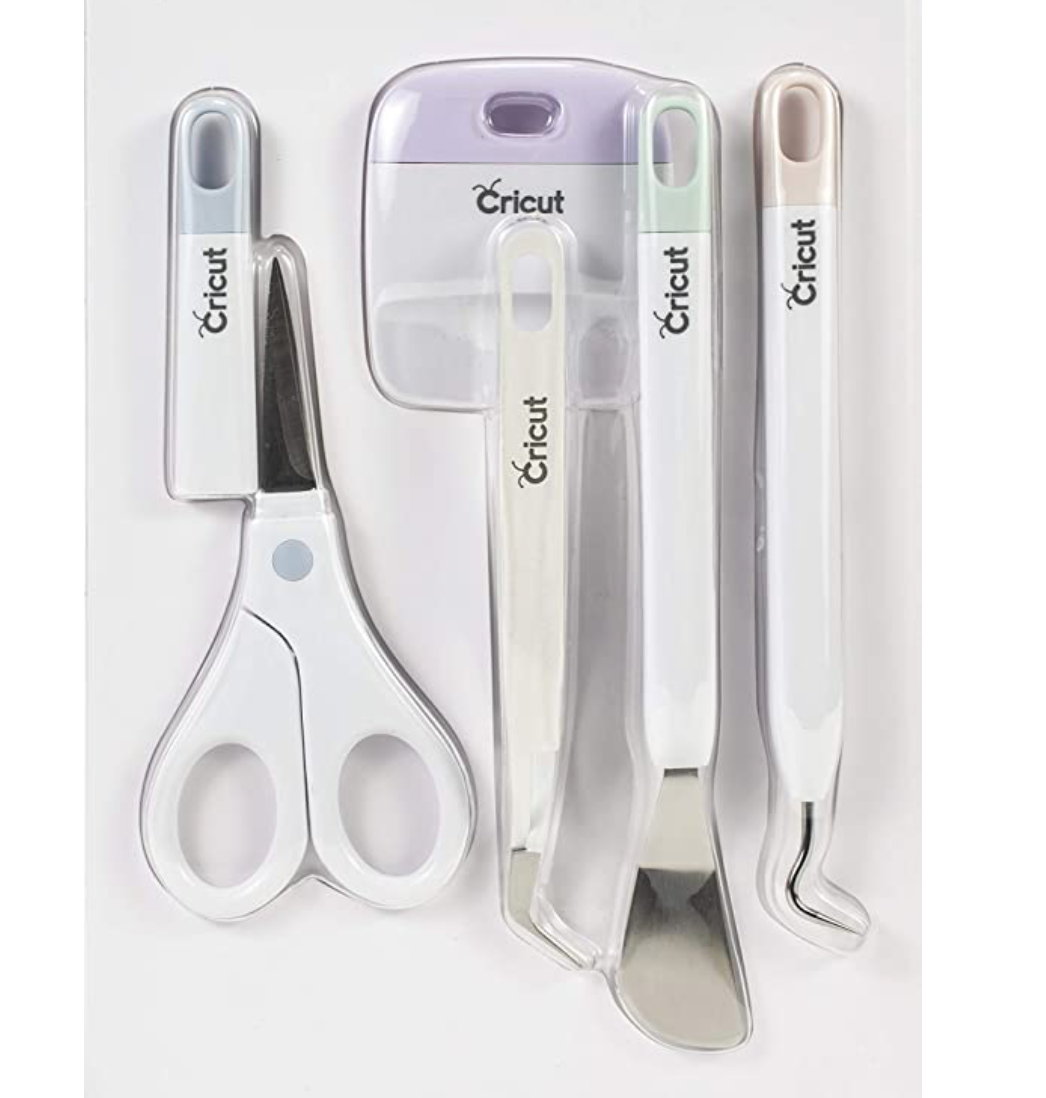
- Cricut Maker
- Cricut Design Space
- Cutting Mat
- 12x 12 plain or glitter or corrugated card stock
- Glitter Card Stock
- Brayer and weeding tools
- Double sided tape, sticky pads and glue stick/gun
- Pink rhinestones (optional)
- A small scrap of vinyl and transfer tape
If You Want To Use This Cut File For DIY Birthday Cake Projects?
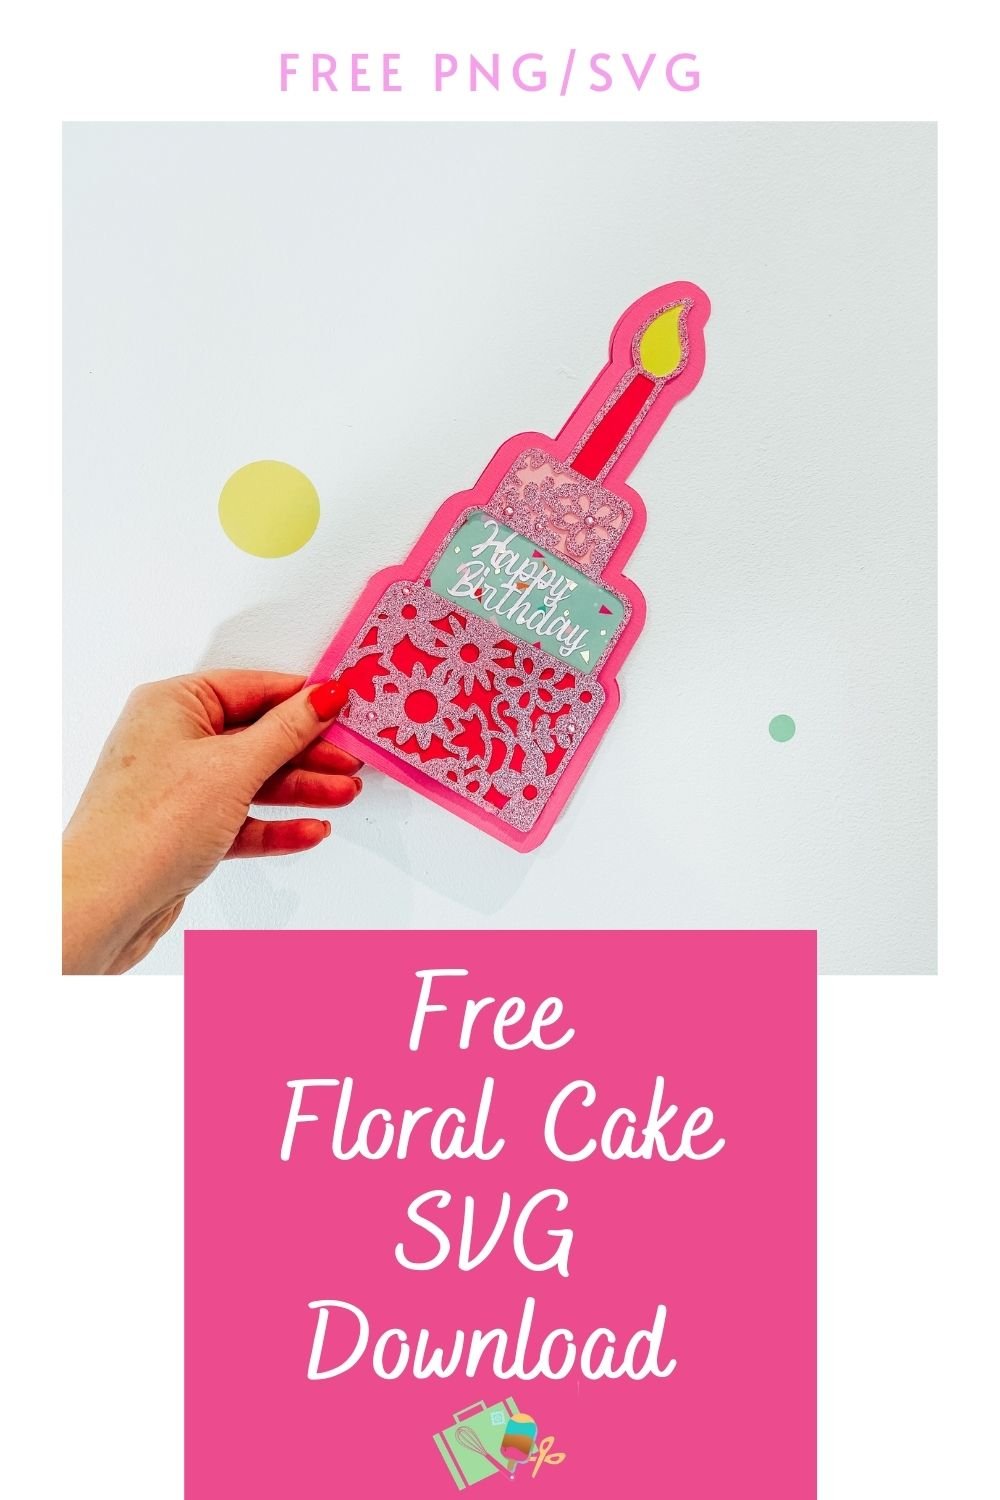
Simply click here or on the image below to get my free Floral Birthday Cake SVG cut file download and I will pop them across to you in PNG and SVG form.
If you want to see me create my projects, follow me on Tik Tok and Instagram.
However, make sure your pop-up blocker is turned off. Here’s how you upload the files to Cricut Design Space.
If You’re Having Problems?
Check out my trouble shooting page, hopefully it will answer any questions you may have.
How To Upload Your Cricut Floral Birthday Cake SVG File To Cricut Design Space
Firstly click upload at the bottom of the left hand bar and click browse to find your chosen SVG file on your MAC, Phone or PC. Find the file and click upload.
Next you will see is the image below, click on the image and press upload in the bottom right corner.
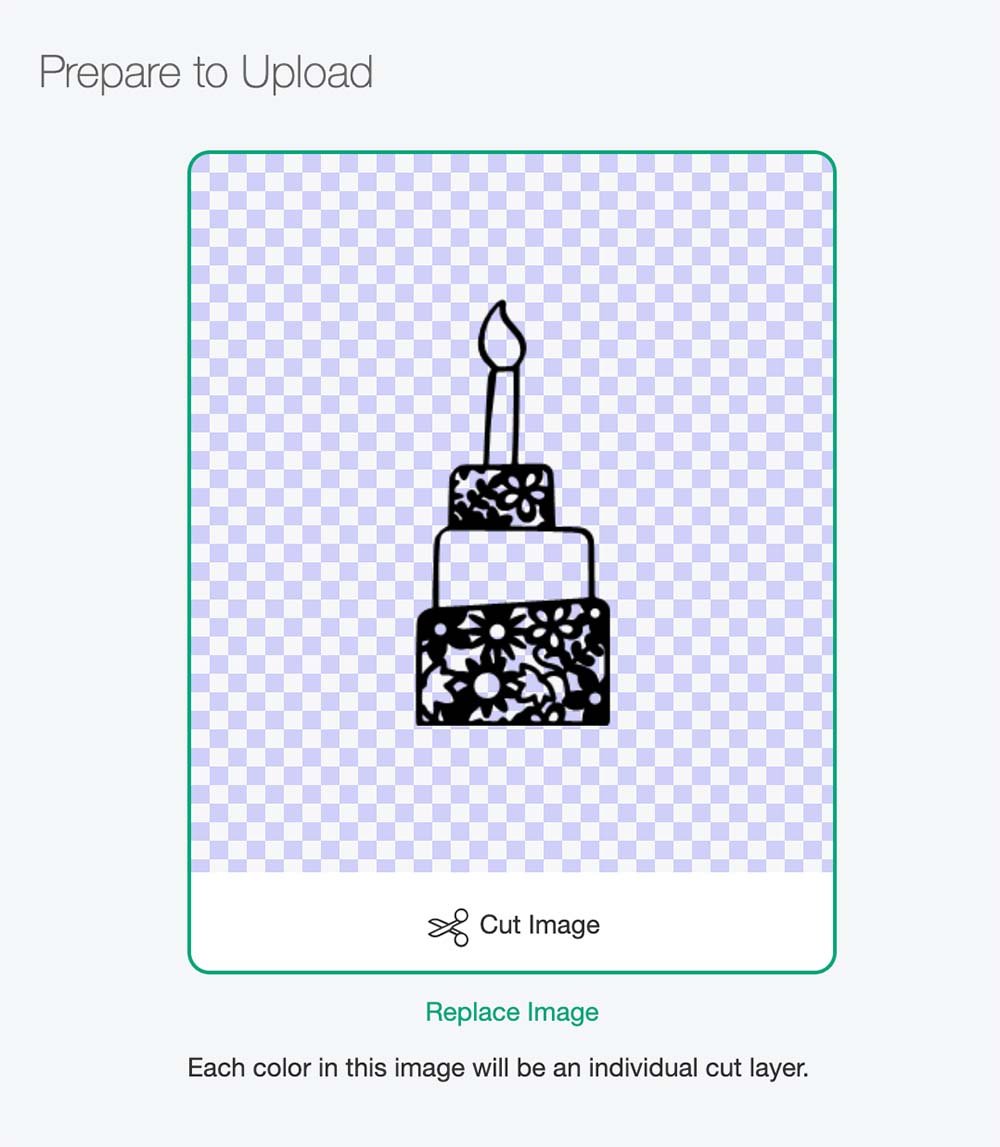
It will now appear in uploads in Cricut Design Space. From there you can pull it into design space and use for creating your themed birthday cake crafts.
Creating A Back File For Your Floral Birthday Cake SVG
If you want to frame your birthday, or make multiple cakes for a banner or make a card then creating a solid back file is a great way to make you art work pop.
To do this start by right clicking and duplicating your birthday cake, put one to one size and click on contour in the bottom right hand corner, this will create a solid backing image the same size.
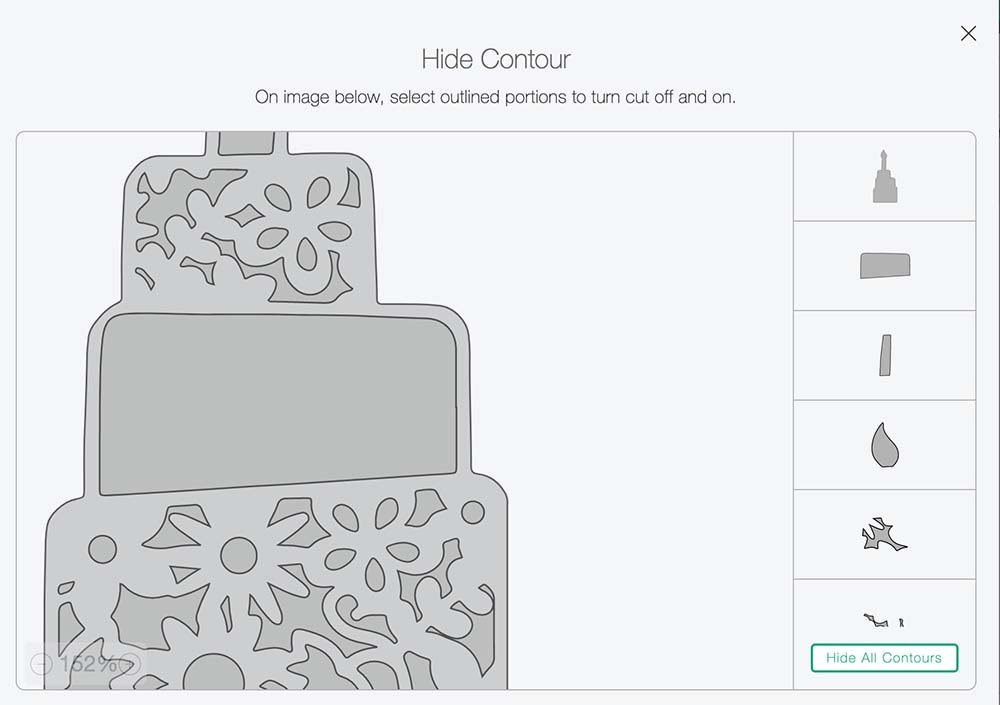
The contour tool enables you to remove any open spaces on your image. To make a back file you will need to click hide all contours. This will make your cake one solid image exactly the same size as your cut file.
If you want each portion of your cake to be a different colour or pattern you can slice areas away with a square. To do this start by duplicating the cake back-file, pull a square over the cake, line up and click slice. This will allow you to portion your cake.
Using The Offset Tool
To make your background slightly bigger but still in proportion click on your image then select offset in the top tool bar. Here you can choose how large you want your background to be by sliding the distance bar.
Once the size is decided you can line up with your cut file ready to cut.
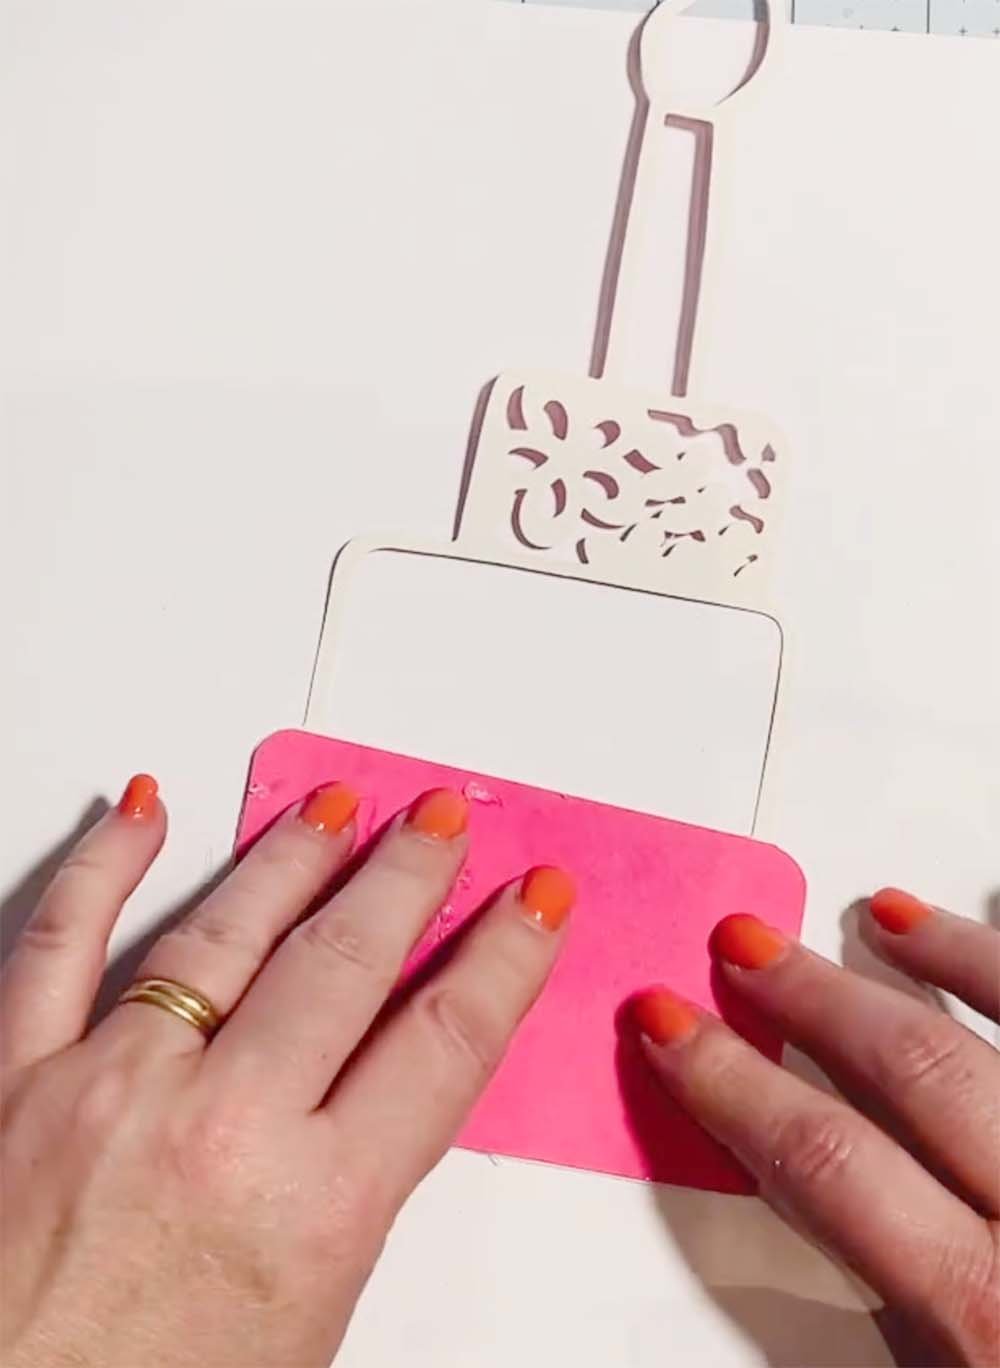
If You Want To Create A Floral Birthday Card
Start by duplicating and clicking offset on your cut file, you can change the size to suit your card. If you are left with any spaces, click contour and remove all the contours and duplicate.

Position both blank files next to each other, flip one to the images and mirrored and line up, right click and press weld. Now select a score line, position down the centre, right click, select all and click attach.
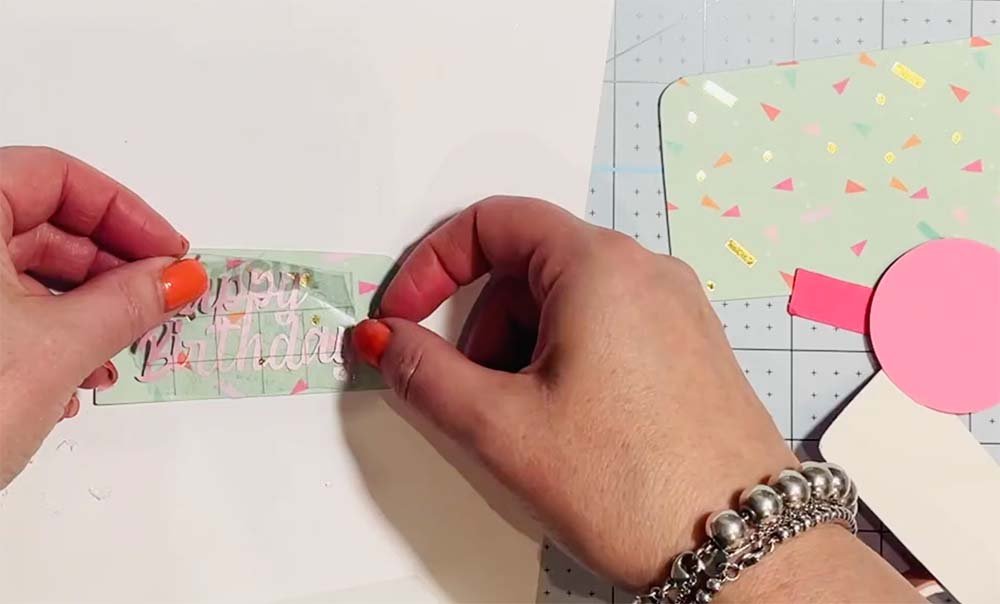
To add text choose the text to fit the occasion, size and cut in vinyl.
When you send your files to cut, ensure you consider colours and plan before cutting.
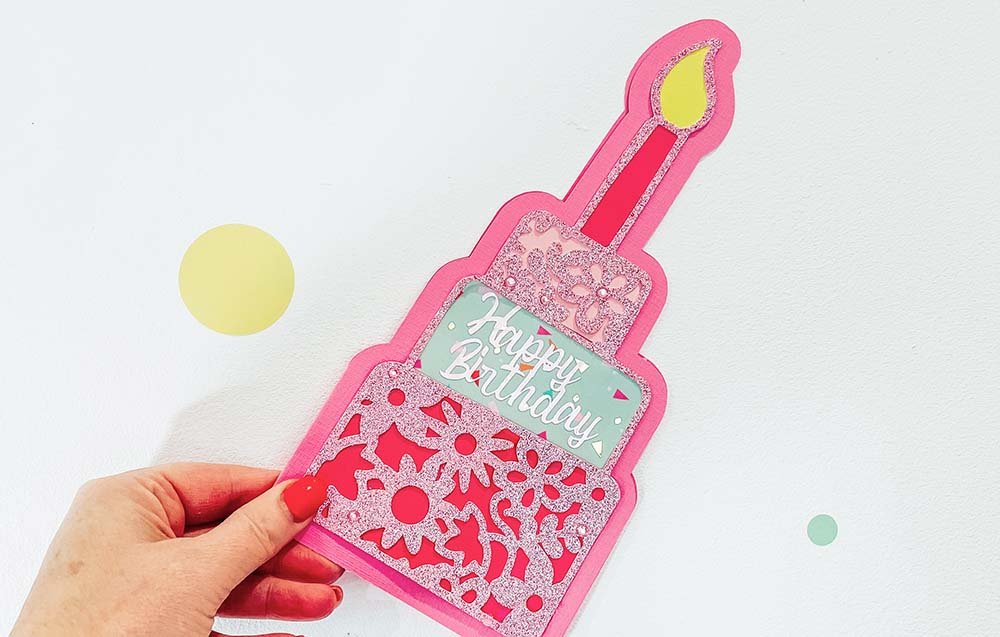
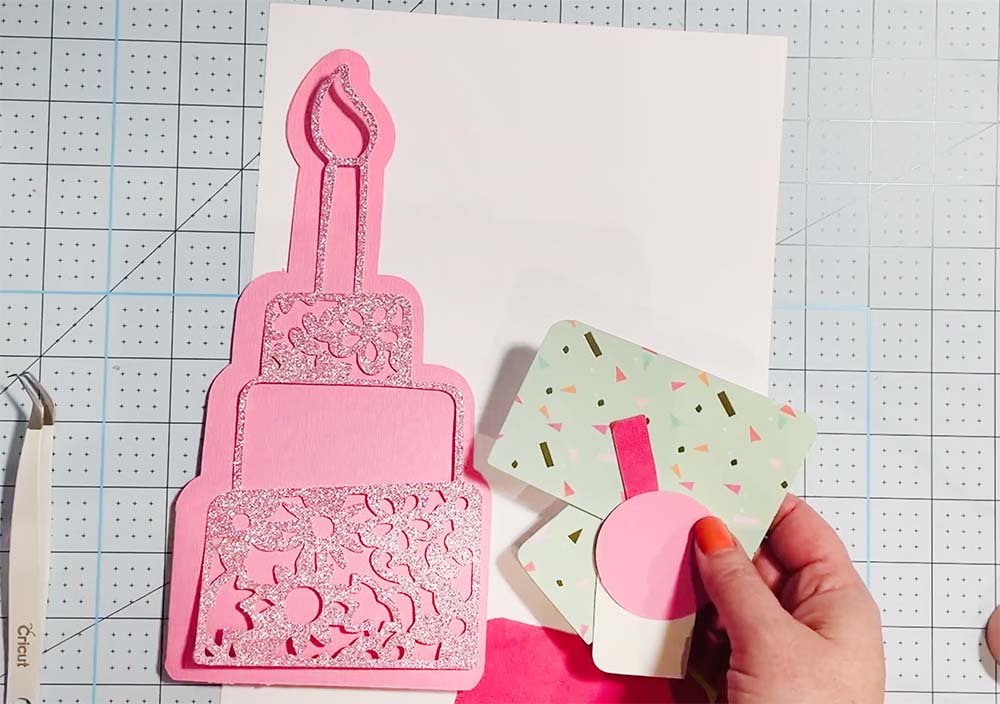
Building Your SVG Cut File Into A Birthday Cake Card
Start by adding the back layers of the cake using a clue stick or gun, I found it better working from the bottom upwards.
If you are adding a vinyl message to any of your layers, do this with transfer tape before adding the layer to your cake.
Once you have build the layers, add double sided sticky tape so it runs up the back of the cake and across the layers. Now stick to the cake card.
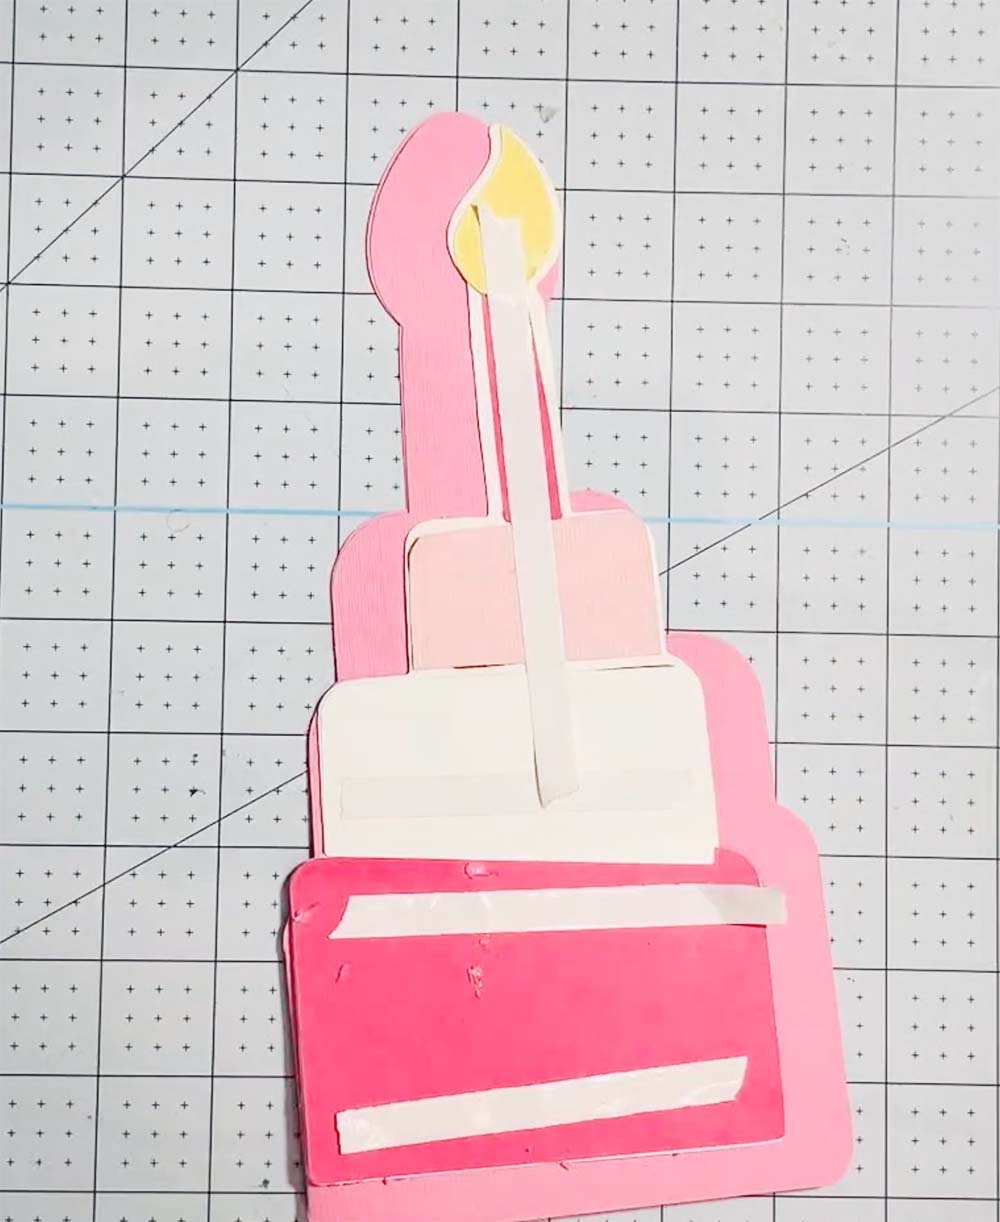
Lastly add any gems to decorate your card.
Please do pop over to Instagram, and give me a follow and if you make a project please do tag me! I love seeing everyone else’s makes and chatting crafting. I could do that all day!
Free SVG Birthday Cake SVG And Card Tutorial
Free Floral Birthday Cake SVG for Birthday themed Cricut projects such as cards, cushions, art & scrapbook layouts with Offset card tutorial.
Materials
- 12x 12 plain or glitter or corrugated card stock
- Glitter Card Stock
- Double sided tape, sticky pads and glue stick/gun
- Pink rhinestones (optional)
- A small scrap of vinyl and transfer tape
Tools
- Cricut Maker
- Cricut Design Space
- Cutting Mat
- 12x 12 plain or glitter or corrugated card stock
- Brayer and weeding tools
Instructions
- How To Upload Your Cricut Floral Birthday Cake SVG File To Cricut Design Space
Firstly click upload at the bottom of the left hand bar and click browse to find your chosen SVG file on your MAC, Phone or PC. Find the file and click upload.
Next you will see is the image below, click on the image and press upload in the bottom right corner. It will now appear in uploads in Cricut Design Space. From there you can pull it into design space and use for creating your themed birthday cake crafts.
 - Creating A Back File For Your Floral Birthday Cake SVG
If you want to frame your birthday, or make multiple cakes for a banner or make a card then creating a solid back file is a great way to make you art work pop.
To do this start by right clicking and duplicating your birthday cake, put one to one size and click on contour in the bottom right hand corner, this will create a solid backing image the same size. The contour tool enables you to remove any open spaces on your image. To make a back file you will need to click hide all contours. This will make your cake one solid image exactly the same size as your cut file.
 - If you want each portion of your cake to be a different colour or pattern you can slice areas away with a square. To do this start by duplicating the cake back-file, pull a square over the cake, line up and click slice. This will allow you to portion your cake.

- Using The Offset Tool
To make your background slightly bigger but still in proportion click on your image then select offset in the top tool bar. Here you can choose how large you want your background to be by sliding the distance bar.
Once the size is decided you can line up with your cut file ready to cut. - If You Want To Create A Floral Birthday Card
Start by duplicating and clicking offset on your cut file, you can change the size to suit your card. If you are left with any spaces, click contour and remove all the contours and duplicate. Position both blank files next to each other, flip one to the images and mirrored and line up, right click and press weld. Now select a score line, position down the centre, right click, select all and click attach.
To add text choose the text to fit the occasion, size and cut in vinyl.
When you send your files to cut, ensure you consider colours and plan before cutting. - Building Your SVG Cut File Into A Birthday Cake Card
Start by adding the back layers of the cake using a clue stick or gun, I found it better working from the bottom upwards. If you are adding a vinyl message to any of your layers, do this with transfer tape before adding the layer to your cake. Once you have build the layers, add double sided sticky tape so it runs up the back of the cake and across the layers. Now stick to the cake card. Lastly add any gems to decorate your card.
Notes
Project Ideas For Using My Floral Birthday Cake SVG Cut File.
Scrapbooks
Birthday or Cake T Shirts
Framing As Wall Art
Tea Towels
Decorating Themed Parties And Afternoon Tea’s
Cake Toppers
Cricut Mugs
Cushion Covers And Themed Bedrooms
Wall Decals
Cake Birthday Cards
Wedding Cards or Invites
Infusible Ink Coasters
Wall Decals
Table Plan For Weddings
Note Books
Recommended Products
As an Amazon Associate and member of other affiliate programs, I earn from qualifying purchases.