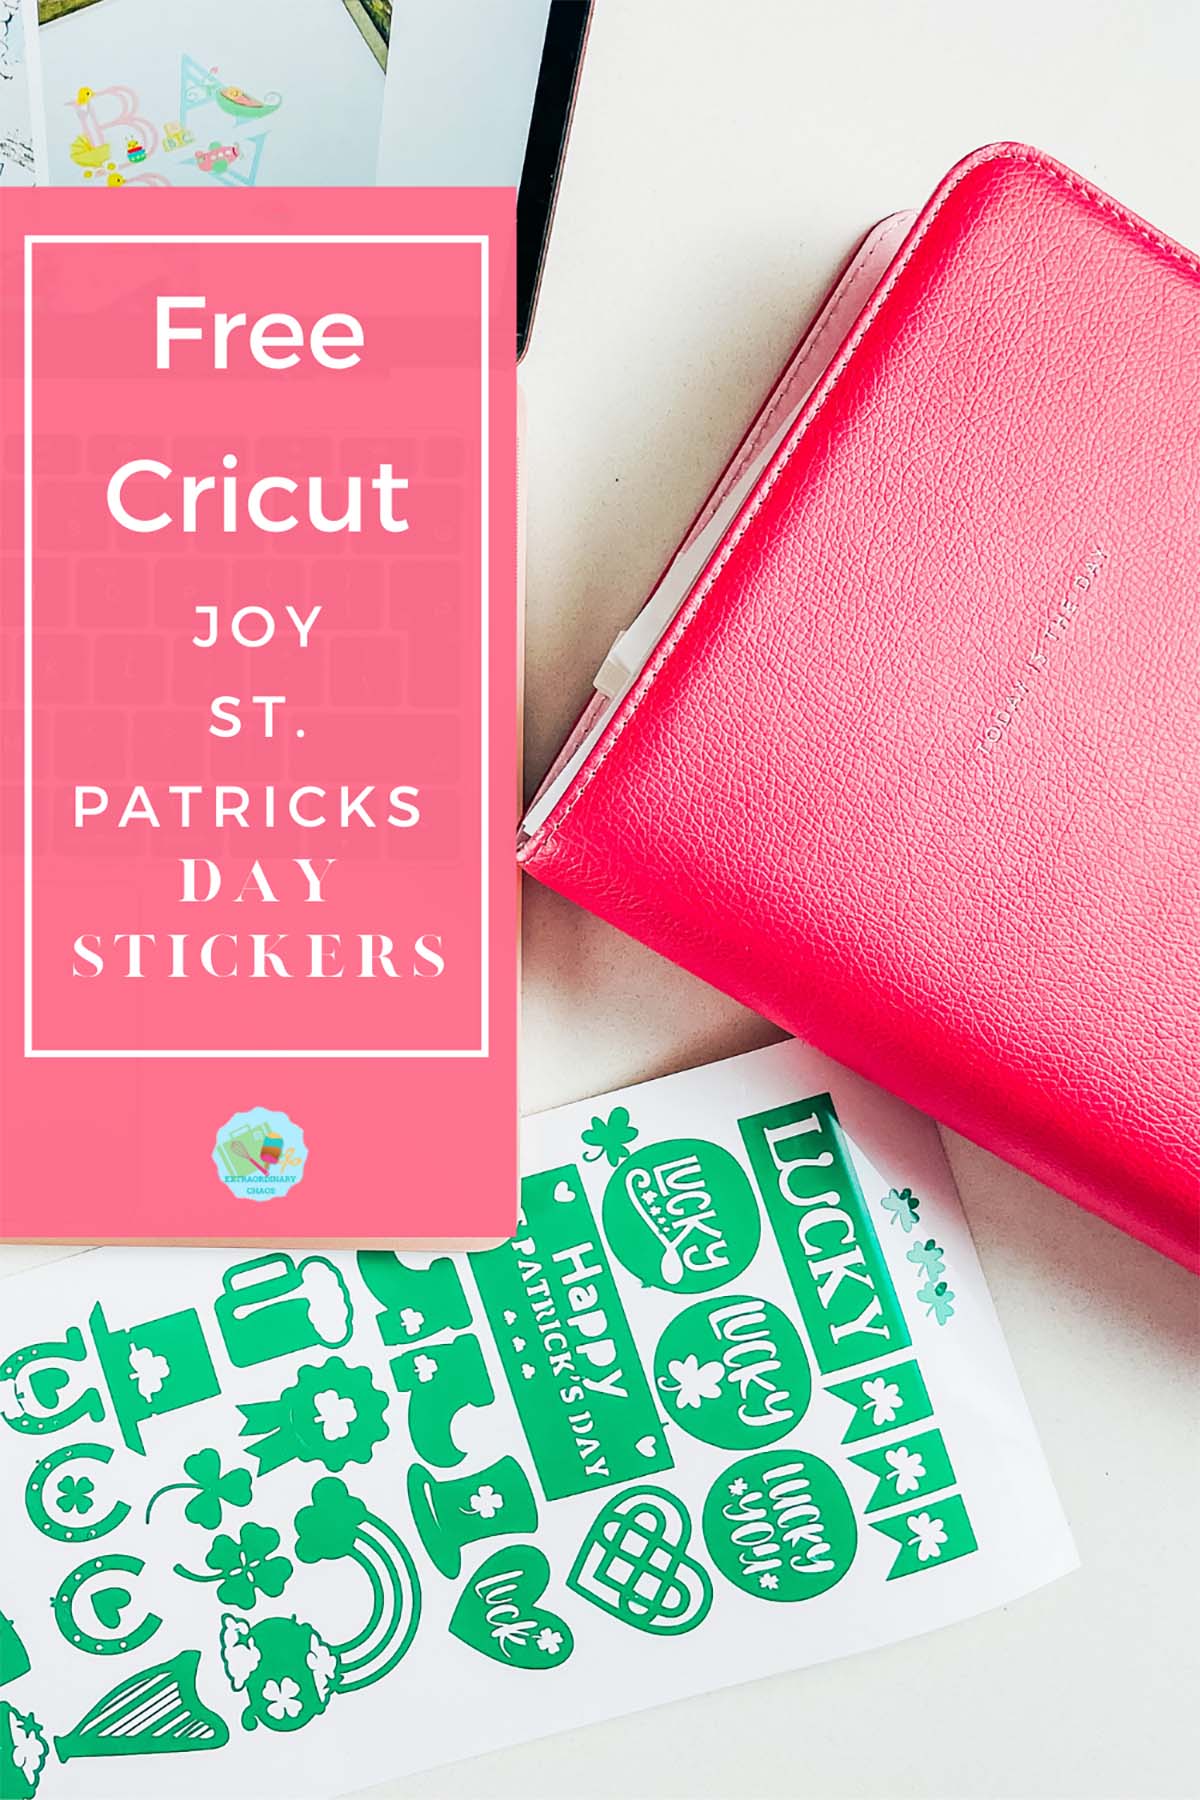
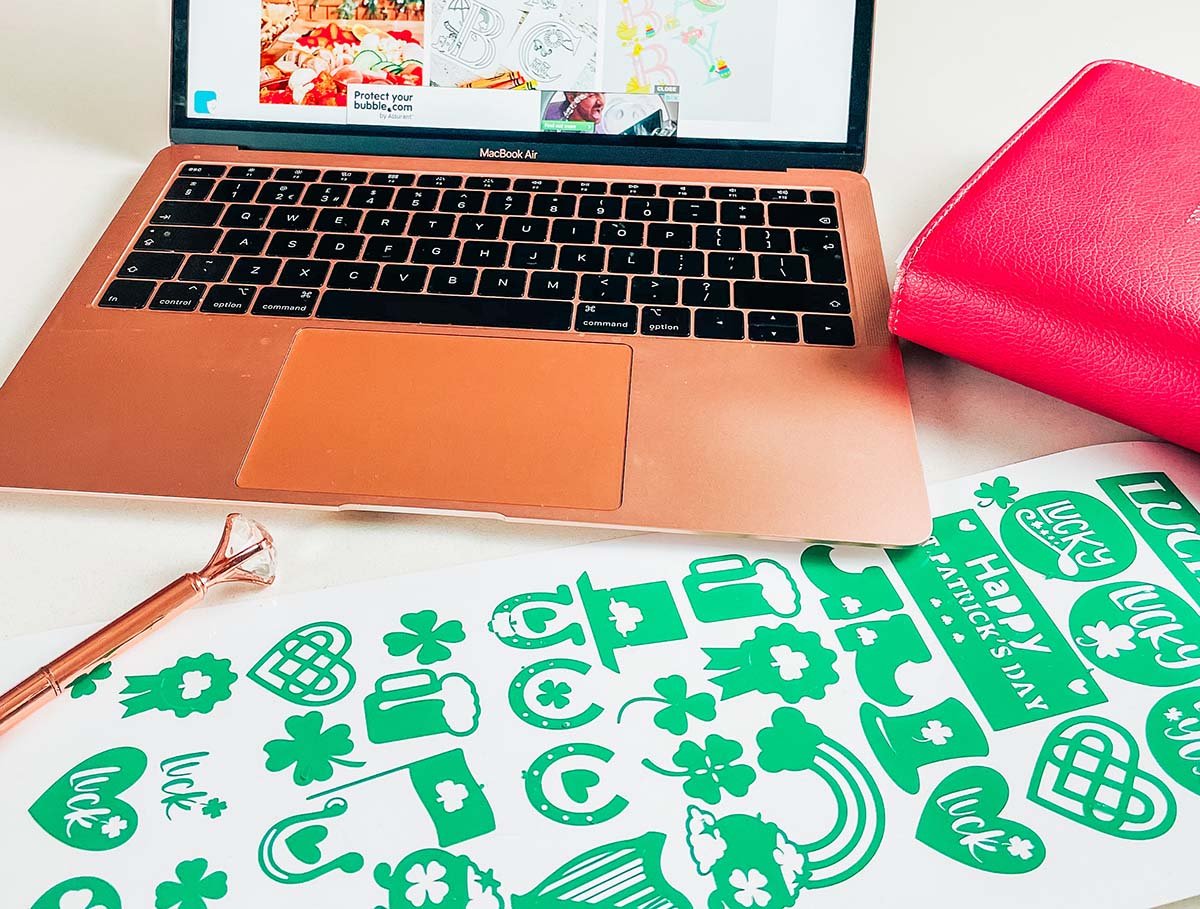
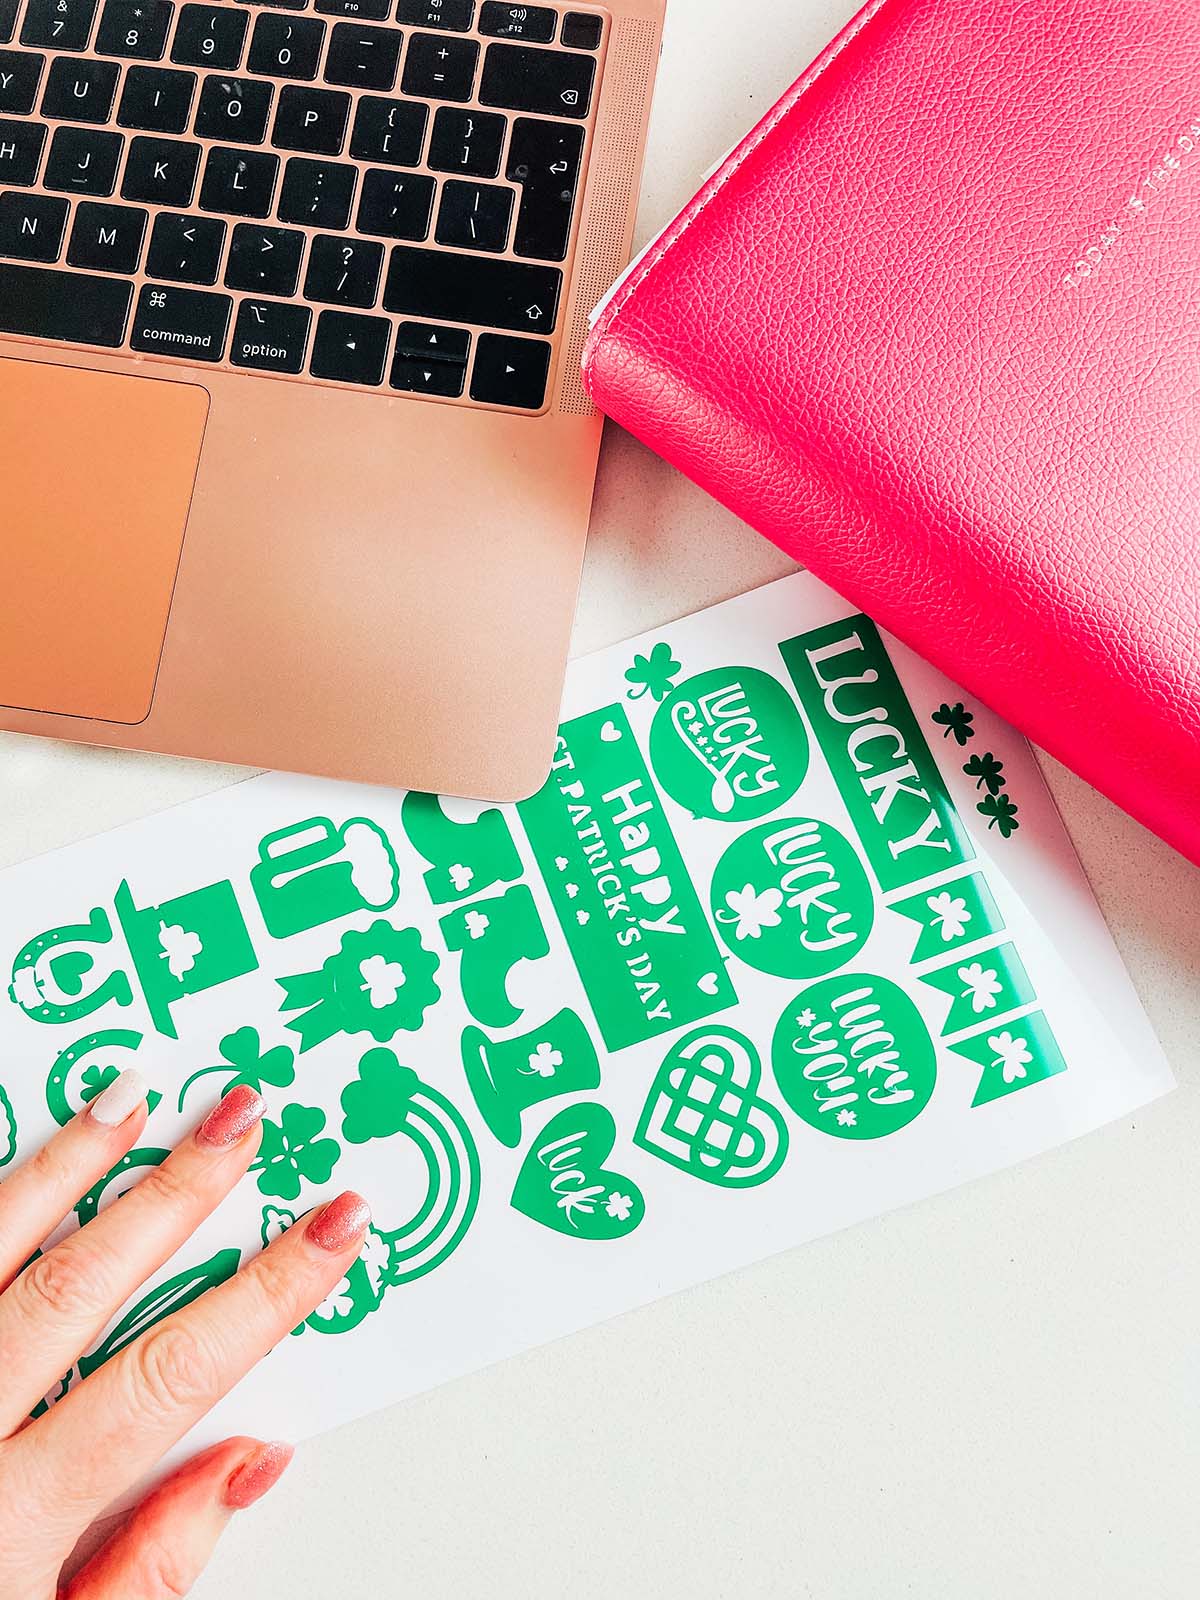
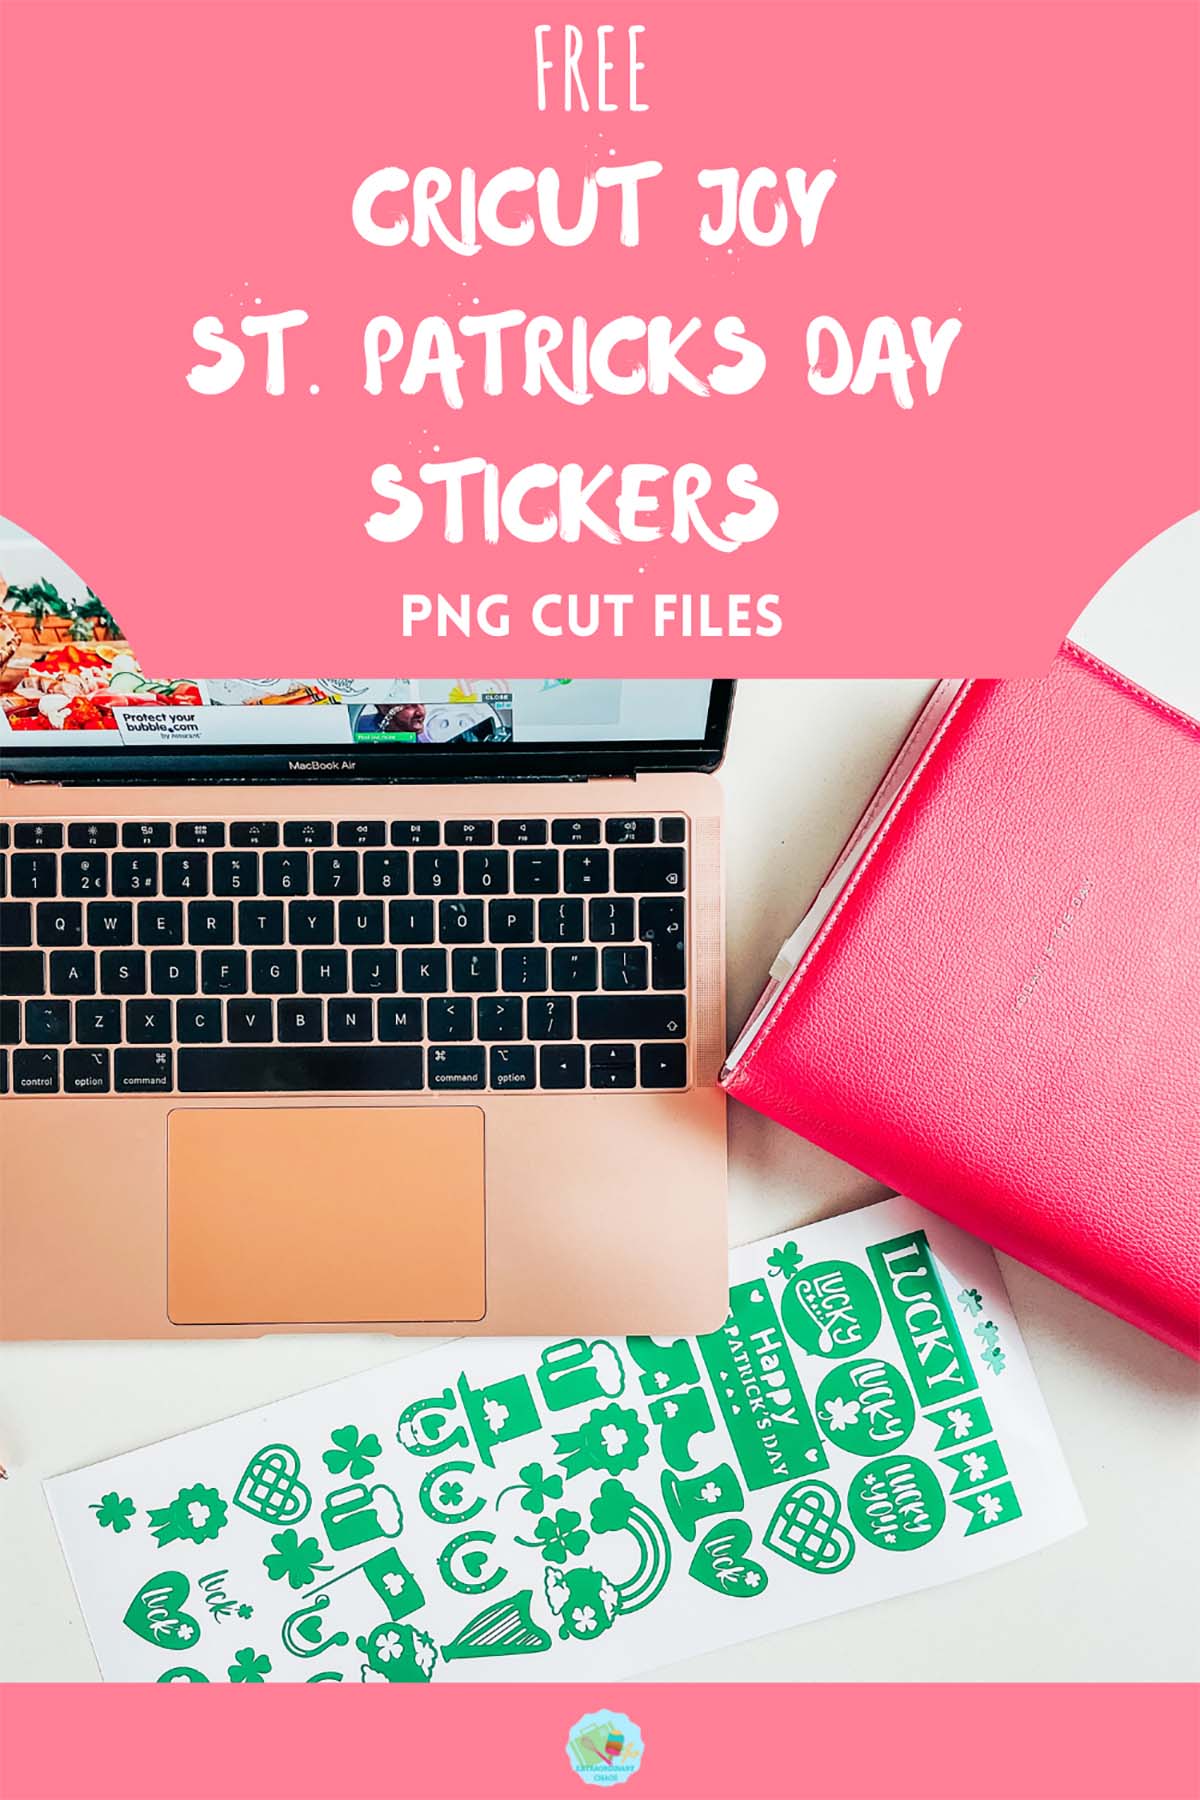
You may have seen my St Patrick’s Day Alphabet cut files, a celebration of all things Irish and of course green. But sometimes you just want an easy to make project such as a sticker sheet to cut out and use for crafting, planners or home school. The cute Cricut Joy St Patricks Day Stickers are perfect for such activities.
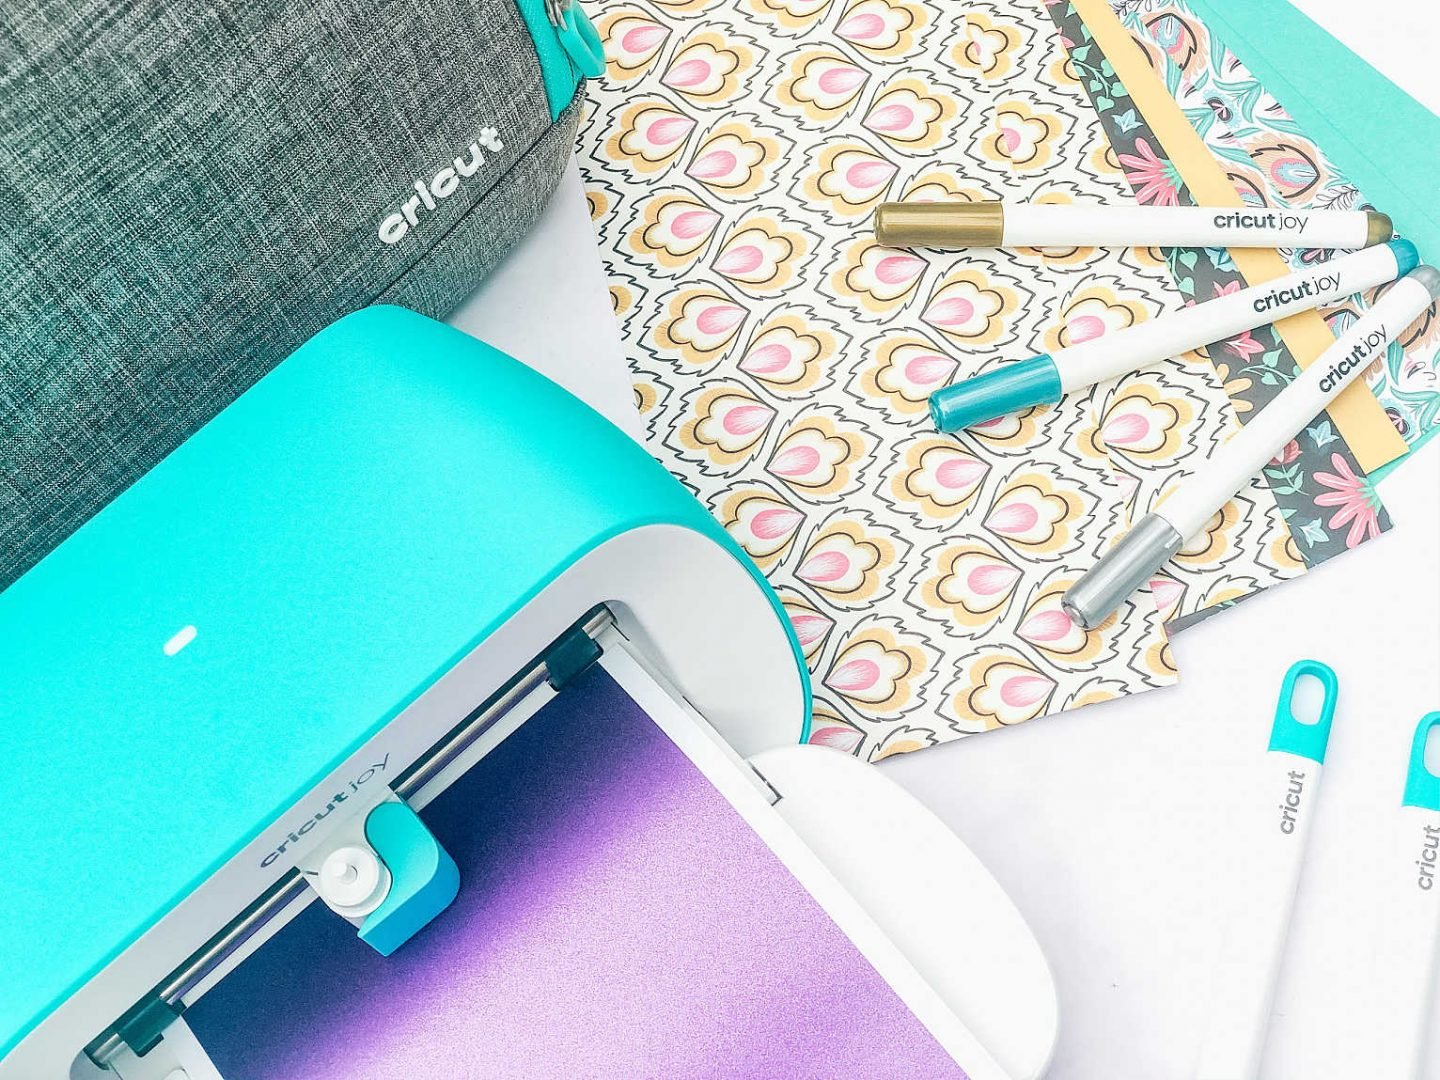
I love that you can make stickers on the Cricut Joy. They may be different than printable stickers, but the fact that the Cricut Joy can cut such detail is amazing.
If you want to see me create my projects, follow me on Tik Tok and Instagram.
Can The Cricut Joy Cut Stickers?
Yes and its super easy. Cricut smart vinyl comes in a variety of lengths, so you can make sticker sheets as long or as short as you need your stickers to be. This is a great craft to do with kids. But also a wonderful way of making reward sticker sheets. Or for older children to make sticker sheets for school projects, or just because they want to design and create stickers themselves.
What a wonderful way to cover a St Patrick’s Day lesson or just enjoy afternoons crafting than with stickers. And not only do you cover history and art but also problem solving, ICT, maths and working out area. I mean come on, educational crafting has to be a winner right?
How To Make St Patricks Day Stickers With The Cricut Joy?
You Will Need
- Cricut Joy
- Design Space
- Cricut Removable Smart Vinyl
- Or Cricut Regular Size Removable Vinyl With A Blue Cutting Matt
- Weeding Tool
What Can I Use These Cricut Joy St Patricks Day Stickers For?
- Stickers sheets, nothing gave me more joy as a child than sheets of stickers, still does, if I am honest!
- Seasonal window decals
- St. Patricks Day history lessons
- Wall decals
- Decals for parties
- Reward charts
- Home made board games
- Envelope seals
How To Design And Make Your Own St Patricks Day Cricut Joy Stickers In Cricut Design Space?
Designing Your Stickers
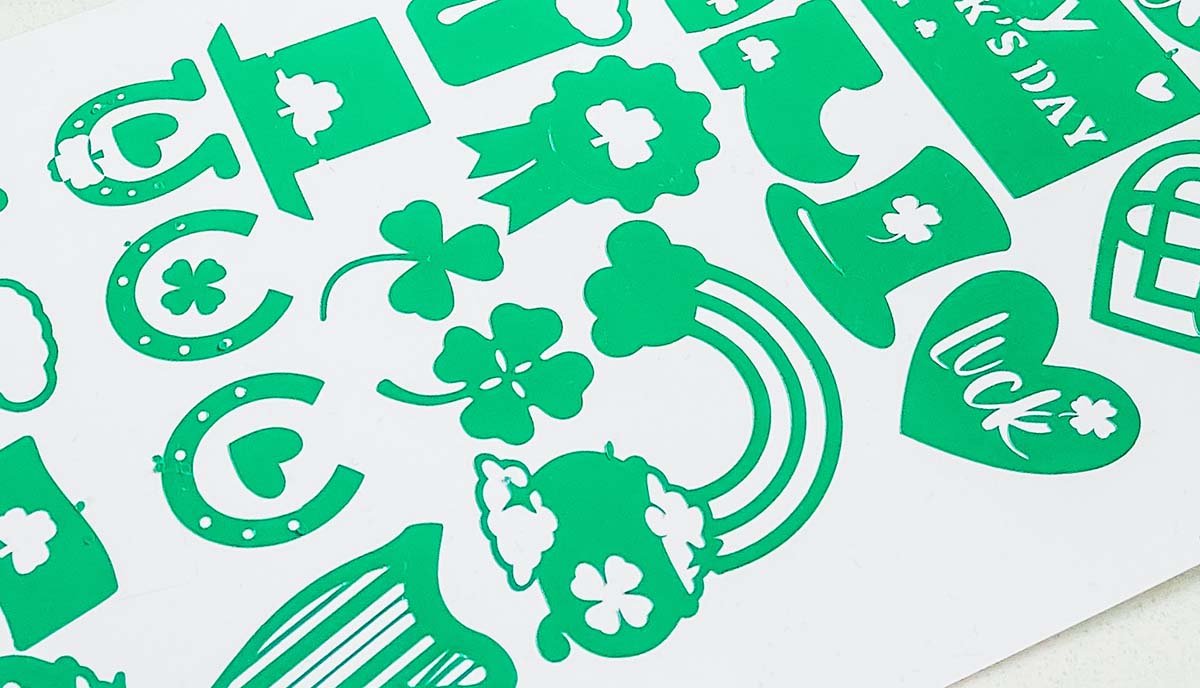
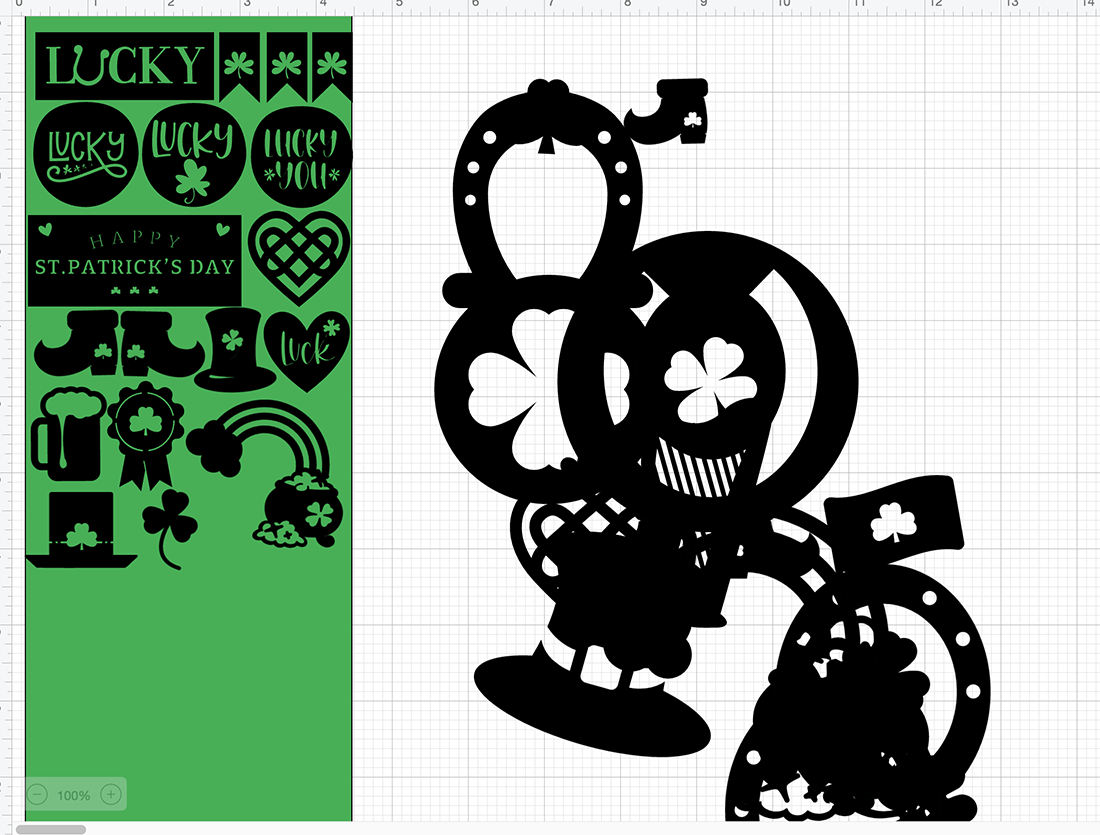
Select images in the left hand bar and search images. The stickers I have made are St. Patricks Day themed so I searched St Patricks Day. I wanted to be able to create a happy traditional Irish feel, thus searched all the things I would associate with St Patricks Day.
When selecting your images, single images work better. Also check the image is fully connected so it peels in one piece. If it doesn’t you can weld on small shapes such as circles or squares to connect the image.
If you choose a sticker image that has multiple layers you have 2 options. You can ungroup it and remove parts you don’t need. Or you can weld it together, however this will make it one solid image.
How To Use The Contour Tool In Cricut Design Space
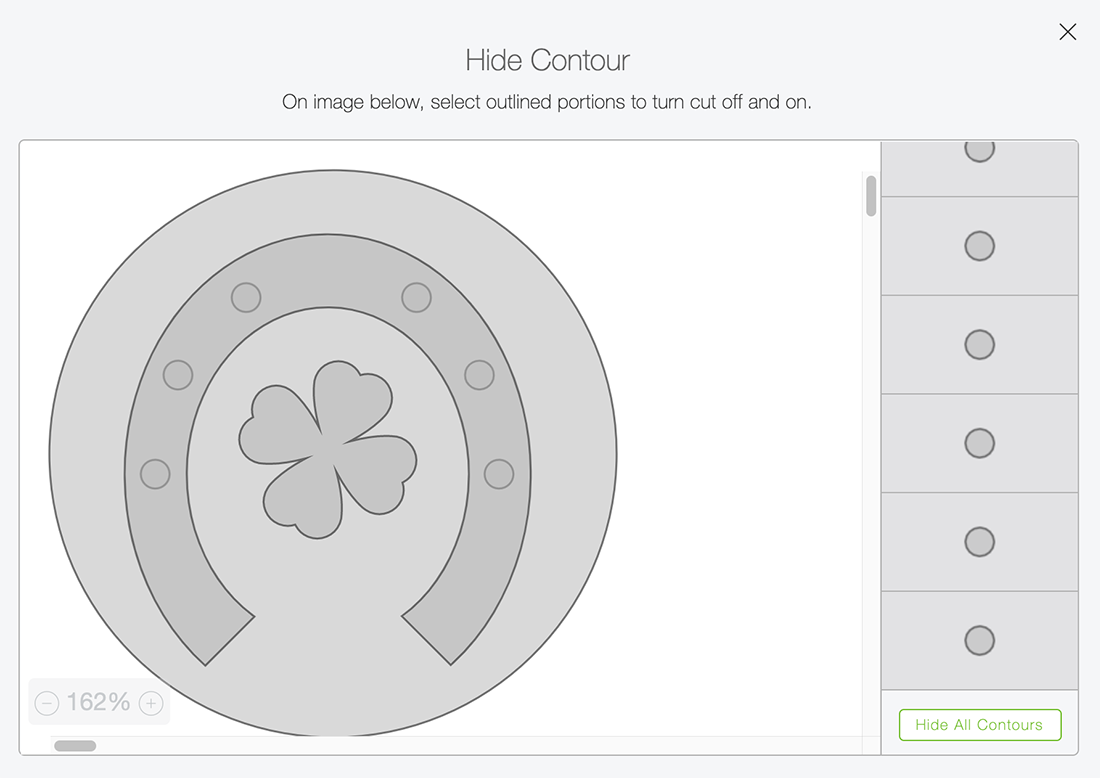
Additionally, if you choose an image like the horseshoe below, you can reverse the contour. I wanted my image to appear in a circle.
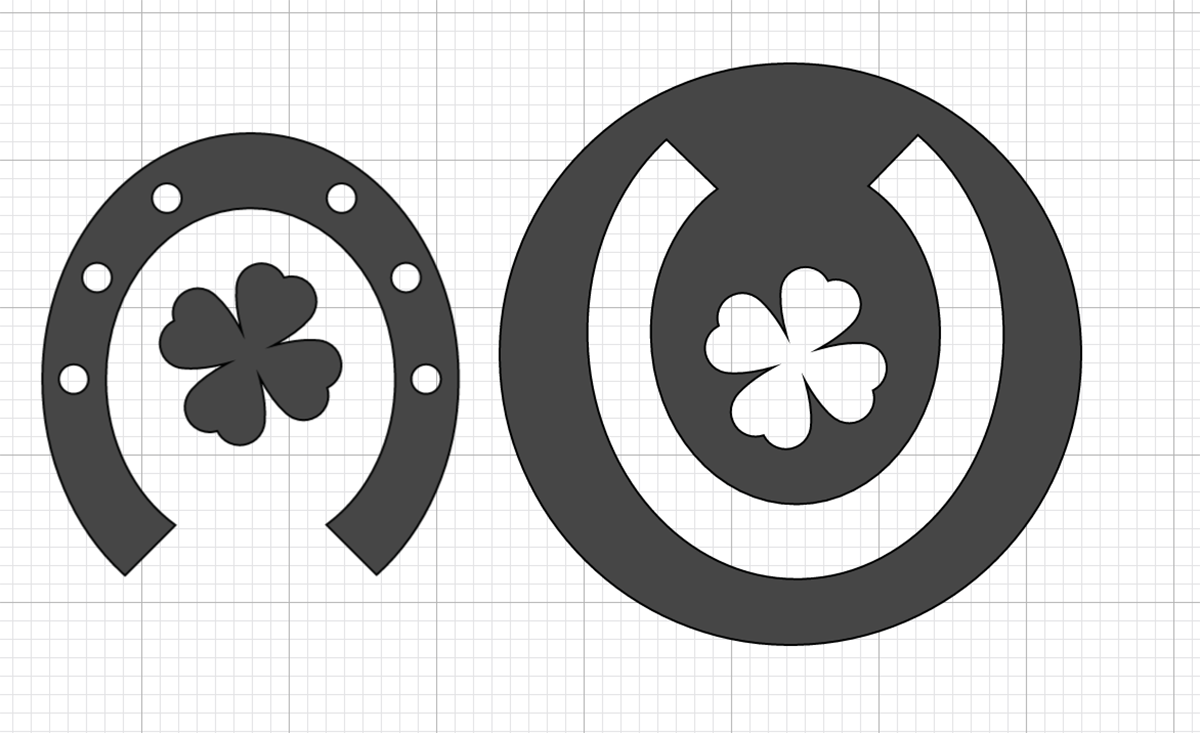
Click on the image and select the contours you want to remove/reverse or hide. You can do this by clicking on the image, or the boxes in the side bar. Changing contours takes a bit of practice, but is a great way too change images in design space.
Set A Template Size As A Guide For Your Cricut Joy Stickers
Decide on a colour for your mat images and set a template for them to sit on. You will remove the template when you have finished but it helps as a guide. Cricut Joy Stickers must be 4.5 inches wide and as long as the vinyl you are cutting on.
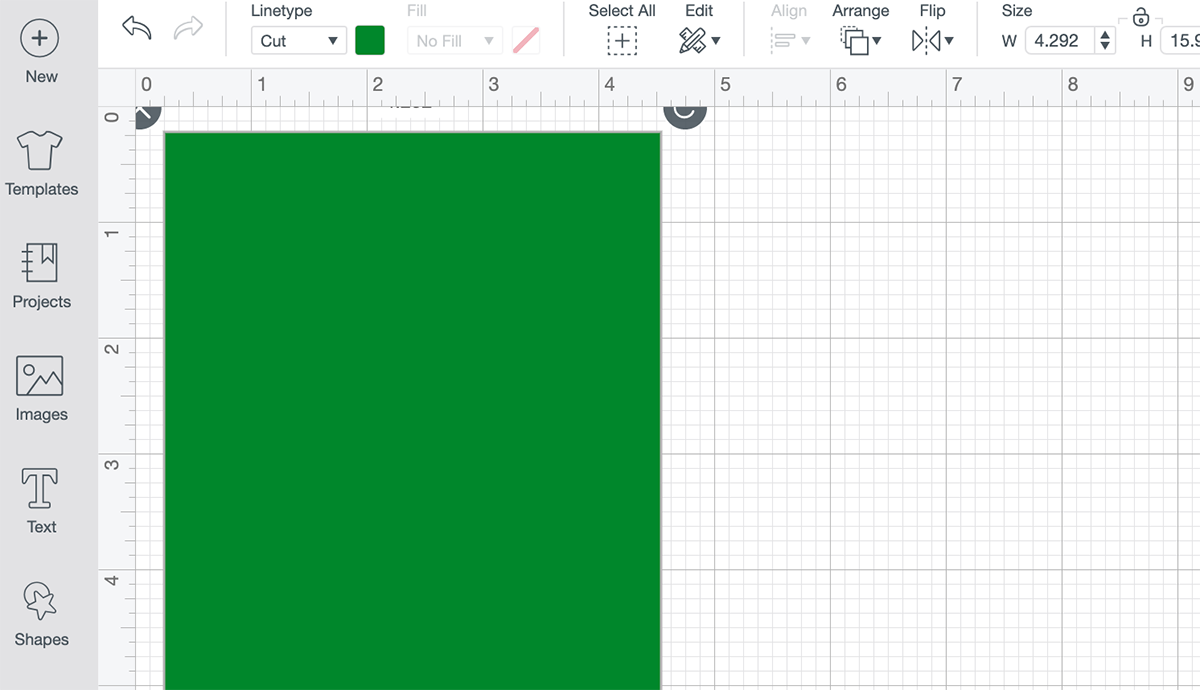
It also helps if all images are the the same colour. However, it also helps to attach the images once arranged as it saves space when cutting if you arrange your sticker layout yourself.
Cutting Your Cricut Joy St Patricks Day Vinyl Stickers
Click on MAKE IT in the top right hand corner and choose your material before you get to see your cut mat view. Here you will see the final cut layout.
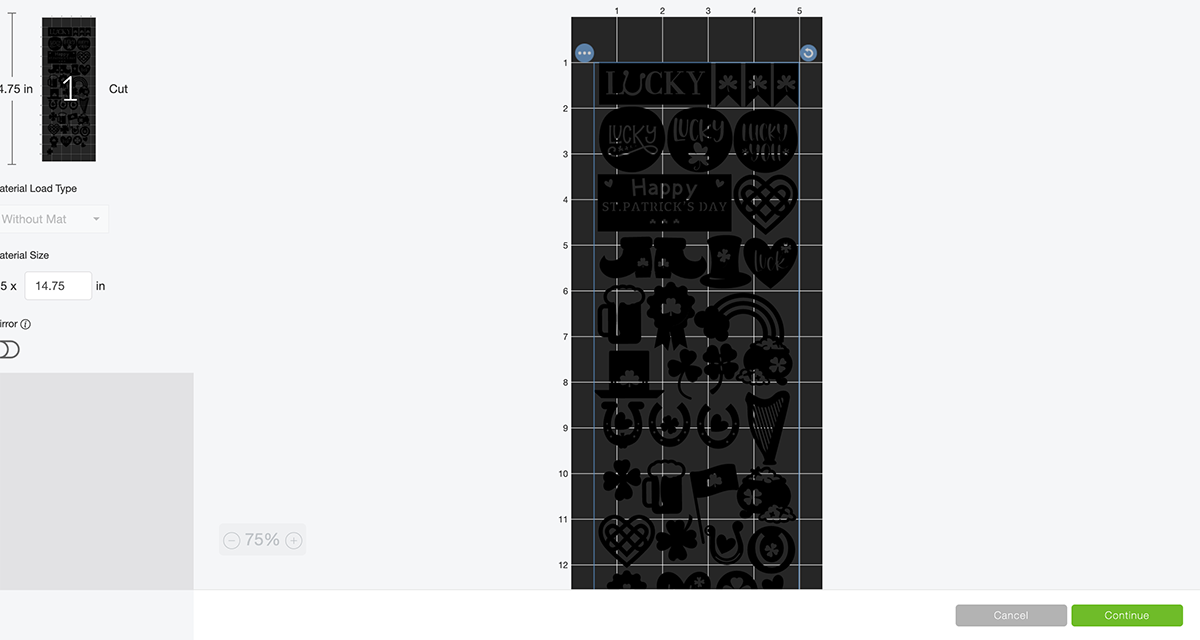
The Joy will now pull the vinyl through to check there is enough for your cut.
If You Want To Use Our Free St Patricks Day Stickers Template?
Click here or on the image below to get your free downloadable png files from our shop and follow these instructions to add your St Patrick’s Day stickers to Cricut Design Space.

How To Upload Your St Patrick’s Day Cricut Joy Stickers To Cricut Design Space
Firstly click upload at the bottom of the left hand bar and find the St Patrick’s Day stickers. You now have the option to remove the background, however I have done this for you.
The first option you will see is the image below, choose moderately complex. You will be taken to the select top page, this is where you can remove any background.
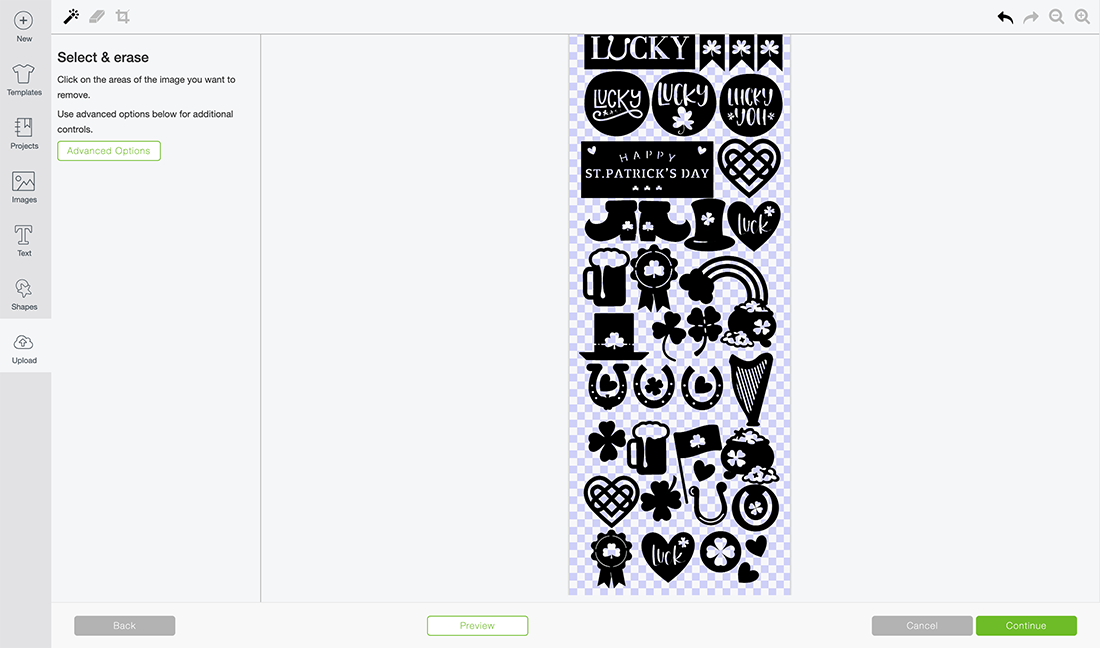
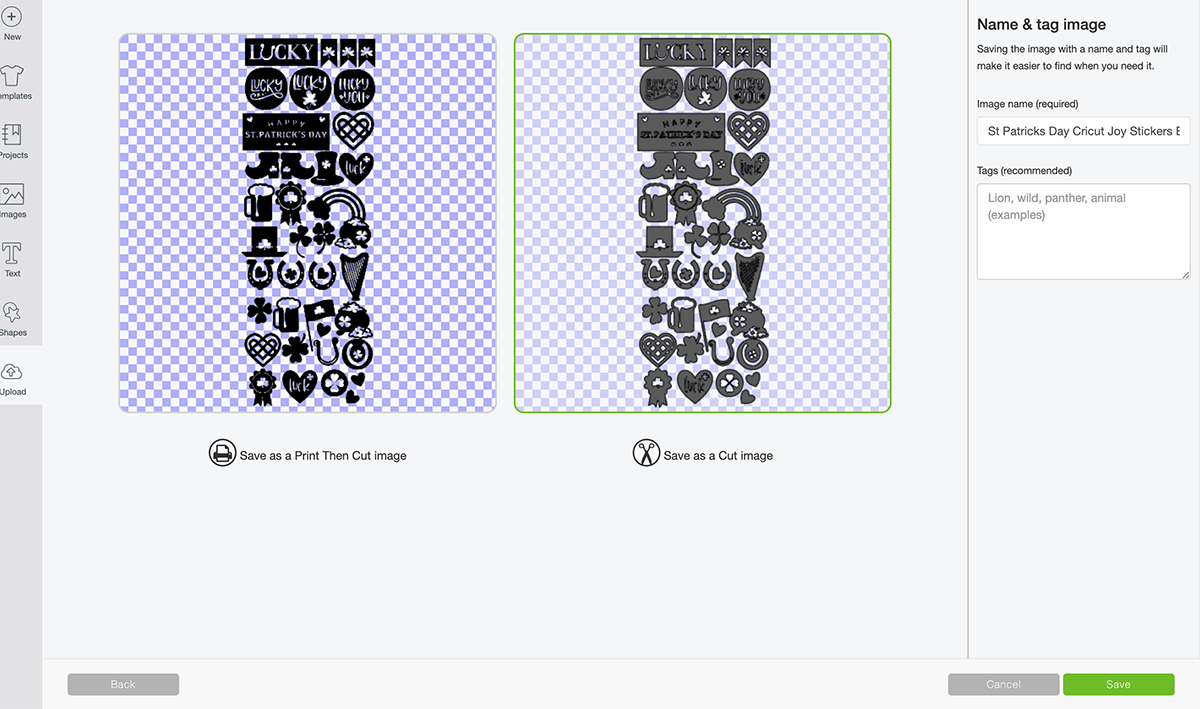
You can then choose to save as a print and cut or cut file, before uploading to design space. Don’t worry if the image looks grainy, as soon as it’s in design space it will be fine.
If You Want To Reduce The Size Of My Sticker Sheet
Just drag the image smaller, I have designed this to be around 15 inches long, if you are using a 12 inch Cricut Joy smart vinyl sheet then simple slice the bottom row or two of the sticker template off in design space.
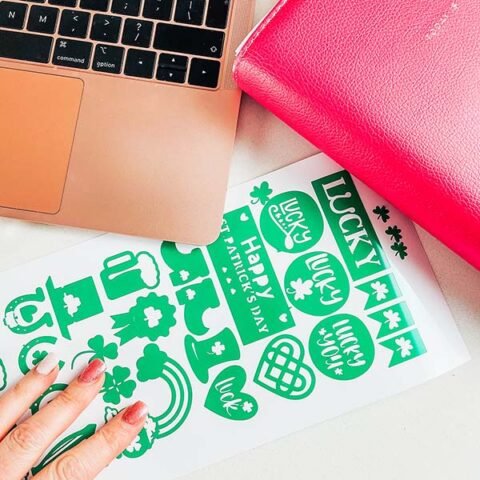
Weeding Your Vinyl Stickers
To weed simply peel of the outer vinyl, I have weeded the inside of the stickers, however you don’t need to. When you peel the stickers from the backing paper it leaves the cut residue behind.
To Put Your Vinyl Stickers On A Window?
If you are cutting Cricut Joy Vinyl Stickers to put on a window make sure you click mirror to reverse the image if you want them to appear from the front. If you are making stickers for the window ensure you do use removable vinyl!
Cricut Joy Vinyl St Patricks Day Stickers
Free Cricut Joy St Patricks Day Stickers and step by step tutorial to make Cricut Joy Vinyl stickers for Cricut Crafts, cards & scrapbooking.
Materials
- Cricut Removable Smart Vinyl
- Or Cricut Regular Size Removable Vinyl With A Blue Cutting Matt
Tools
- Cricut Joy
- Design Space
- Weeding Tool
Instructions
How To Design And Make Your Own St. Patricks Day Cricut Joy Stickers In Cricut Design Space?
Step 1. Designing Your Stickers
Select images in the left hand bar and search images. The stickers I have made are St. Patricks Day themed so I searched St. Patricks Day. I wanted to be able to create a happy traditional Irish feel, thus searched all the things I would associate with St. Patricks Day.
When selecting your images, single images work better. Also check the image is fully connected so it peels in one piece. If it doesn’t you can weld on small shapes such as circles or squares to connect the image.
If you choose a sticker image that has multiple layers you have 2 options. You can ungroup it and remove parts you don’t need. Or you can weld it together, however this will make it one solid image.
Step 2. How To Use The Contour Tool In Cricut Design Space
Additionally, if you choose an image like the horseshoe below, you can reverse the contour. I wanted my image to appear in a circle.
Click on the image and select the contours you want to remove/reverse or hide. You can do this by clicking on the image, or the boxes in the side bar. Changing contours takes a bit of practice, but is a great way too change images in design space.
Step 3. Set A Template Size As A Guide For Your Cricut Joy Stickers
Decide on a colour for your mat images and set a template for them to sit on. You will remove the template when you have finished but it helps as a guide. Cricut Joy Stickers must be 4.5 inches wide and as long as the vinyl you are cutting on.
It also helps if all images are the the same colour. However, it also helps to attach the images once arranged as it saves space when cutting if you arrange your sticker layout yourself.
Step 4. Cutting Your Cricut Joy St. Patricks Day Vinyl Stickers
Click on MAKE IT in the top right hand corner and choose your material before you get to see your cut mat view. Here you will see the final cut layout.
The Joy will now pull the vinyl through to check there is enough for your cut.
How To Upload Your St Patrick’s Day Cricut Joy Stickers To Cricut Design Space
Firstly click upload at the bottom of the left hand bar and find the St Patrick’s Day stickers. You now have the option to remove the background, however I have done this for you.
The first option you will see is the image below, choose moderately complex. You will be taken to the select top page, this is where you can remove any background.
You can then choose to save as a print and cut or cut file, before uploading to design space. Don’t worry if the image looks grainy, as soon as it’s in design space it will be fine.
If You Want To Reduce The Sizer Of My Sticker Sheet
Just drag the image smaller, I have designed this to be around 15 inches long, if you are using a 12 inch Cricut Joy smart vinyl sheet then simple slice the bottom row or two of the sticker template off in design space.
Step 5. Weeding Your Vinyl Stickers
To weed simply peel of the outer vinyl, I have weeded the inside of the stickers, however you don’t need to. When you peel the stickers from the backing paper it leaves the cut residue behind.
To Put Your Vinyl Stickers On A Window?
If you are cutting Cricut Joy Vinyl Stickers to put on a window make sure you click mirror to reverse the image if you want them to appear from the front. If you are making stickers for the window ensure you do use removable vinyl!
Notes
What Can I Use These Cricut Joy St. Patricks Day Stickers For?
Stickers sheets, nothing gave me more joy as a child than sheets of stickers, still does, if I am honest!
Seasonal window decals
St. Patricks Day history lessons
Wall decals
Decals for parties
Reward charts
Home made board games
Envelope seals
Recommended Products
As an Amazon Associate and member of other affiliate programs, I earn from qualifying purchases.